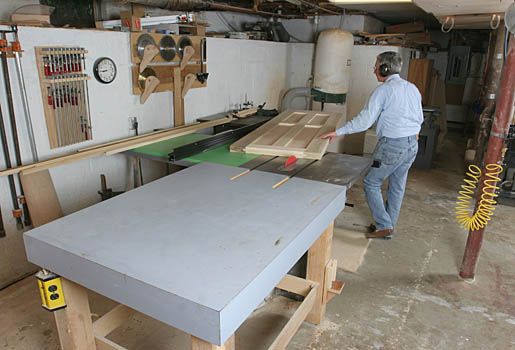
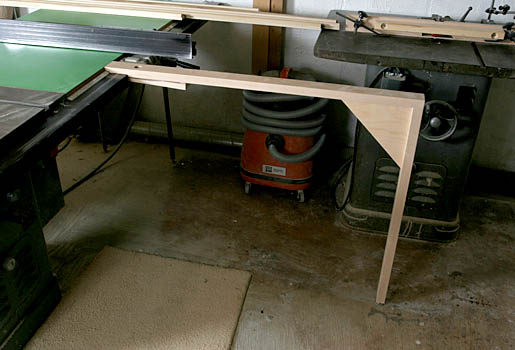
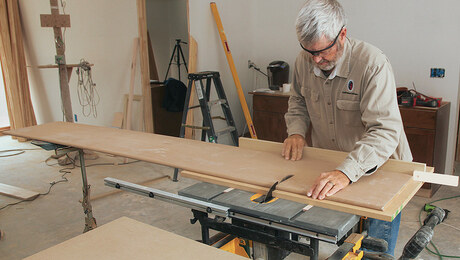
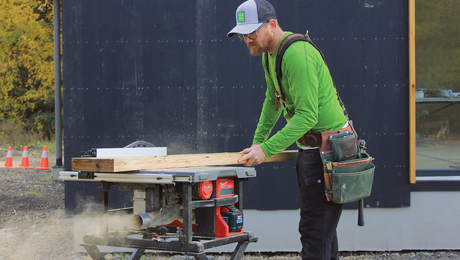
The infeed support I designed and built is made from two pieces of hard maple 5/4 stock. The pieces are about 2 in. wide, although their width is not critical. A small, third piece of stock bolted to the horizontal member serves to clamp the support to the tablesaw. The point where the infeed support rests on the fence rail is drilled and tapped for nylon Allen screws. They can adjust the rail so that it is dead level with the saw. An adjustable nylon padded foot raises or lowers the other end of the rail so that it is even with the saw surface. The infeed leg is just long enough to support a 6-ft. 8-in. door unattended. When not needed, it is stored on wall hooks.
To learn how Levine uses joinery and moldings to construct his doors, read Build Your Own Interior Doors from Fine Homebuilding Issue #192 (Dec 2007/Jan 2008), pp.54-55.
Photos by: Justin Fink
-
Although the door is fully supported by the leg, do not stress the leg laterally because it has little strength in the direction. All its strength is vertical and aligned with the sawblade.
-
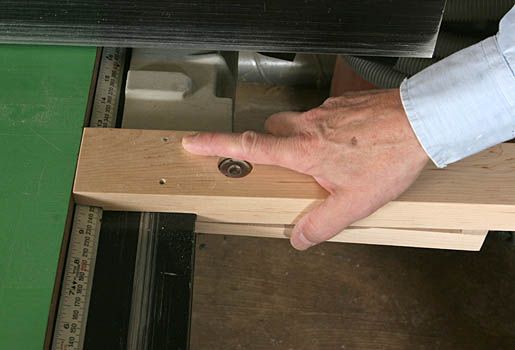
Height adjustment is made by through-boring two holes and tapping them for nylon Allen-head screws. They are easily adjusted from the top with an Allen wrench. This clamp is meant for the Unifence but can be easily adapted to other styles.
-
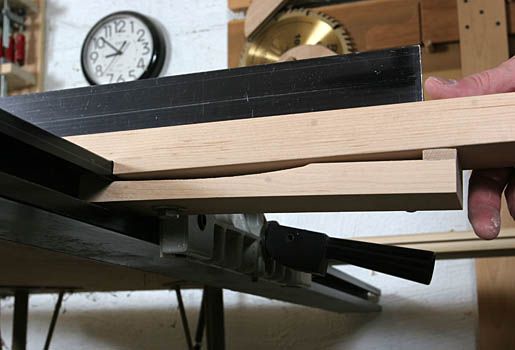
As seen from below the working surface, the clamp holds the support in place.


View Comments
Clicking the 'above photo' (under close-up of infeed support) for a plan doesn't seem to work for me.
Yes, same experience. The promised PDF plans are not included ~ what gives?
Details around the table saw rail - 1) height adjustment; 2) clamp to hold against the rail are in the slideshow. Launch slideshow to see the details. Neat compact design!