How Giant Clamshells Form
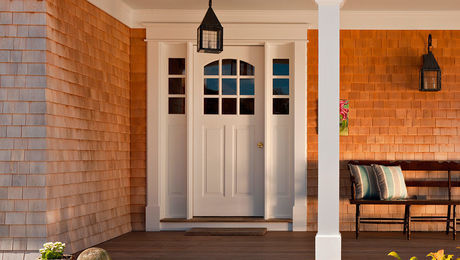
This massive entryway above a Rhode Island beach was inspired by nature, but built by hand
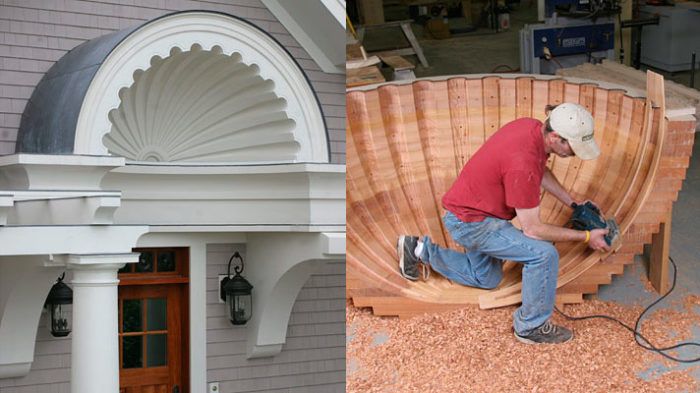
What do you get when you combine the design of Ronald F. DiMauro Architects; the CAD and construction work of New England Woodworking; the carving, detailing, and layout work of Stephen Plaud Inc.; and the installation and finish work of Kirby Perkins Construction? A giant clamshell, of course. And a masterfully crafted one at that.
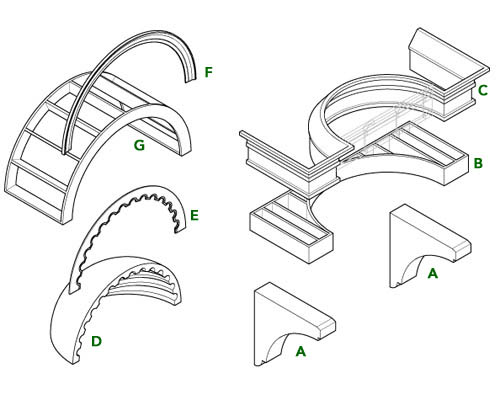
The clamshell, perched atop the entry of a Rhode Island beach house, is made from 19 layers of 2-1/4-in. thick pattern-grade mahogany and took the quartet (all of which are based in the Ocean State) 300 man-hours to engineer and build. But, don’t worry, watching a slide show of the shell’s painstaking construction will only take you a minute or two. We’ve also included a detailed drawing of the project and show you the carving tools you’ll need, should you attempt a giant clamshell of your own.
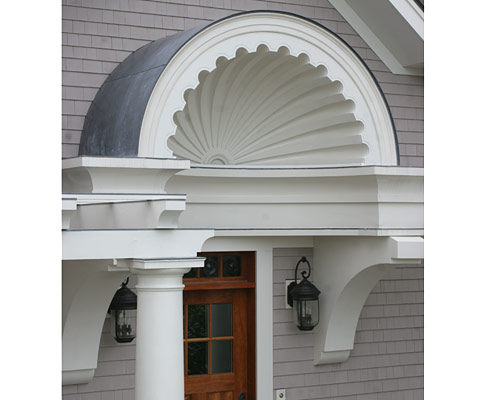 Measuring 12 in. by 50 in. by 51 in., two painted mahogany corbels support the coved tray and shell.
 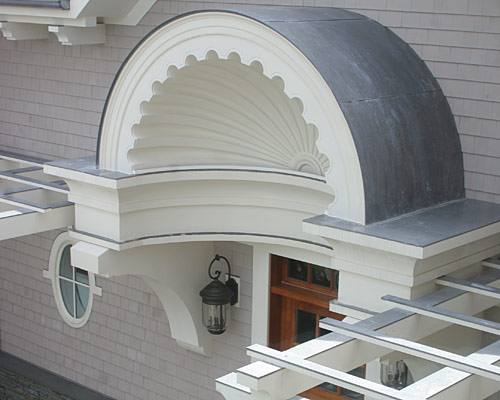 Lead flashing protects the shell, the tray, and the pergola’s horizontal surfaces.
Photos by Chris Ermides
-
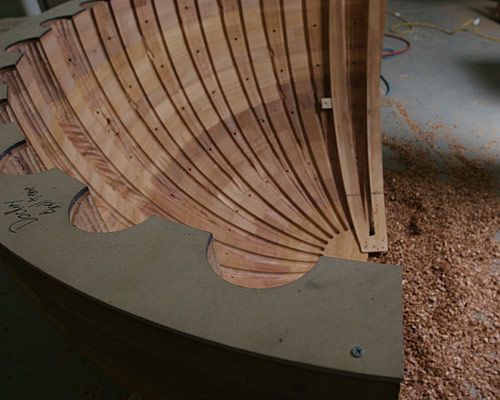
Nineteen layers and a pattern guide. Once New England Woodworking Company completed the glue-up of the shell’s basic shape, Stephen Plaud Inc. used a custom-built template to lay out the shell’s flute locations.
-
Flute-mouth template. A template made of melamine was screwed to the front of the shell to locate the widest parts of the flutes, establishing their layout.
-
Flute pattern template. A custom router template made out of luan was attached to the front and back of the shell for roughing out the flutes’ length and shape.
-
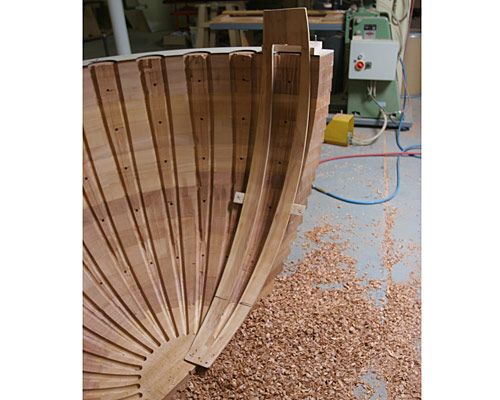
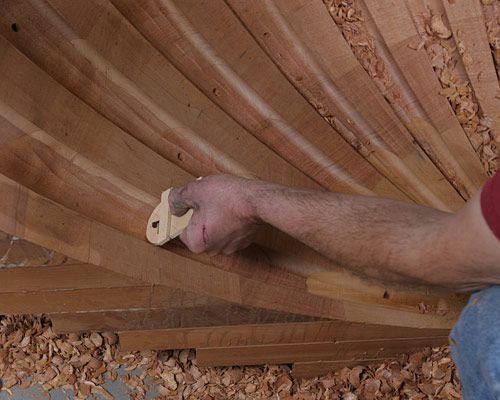
Router work makes less handwork. Here, the scale of the shell becomes more clear. Woodworkers roughed out much of the material for each flute with the router and a guide.
-
A router, a bit, and a bushing remove a lot of material. A large cove router bit and bushing followed the router template to remove material quickly.
-
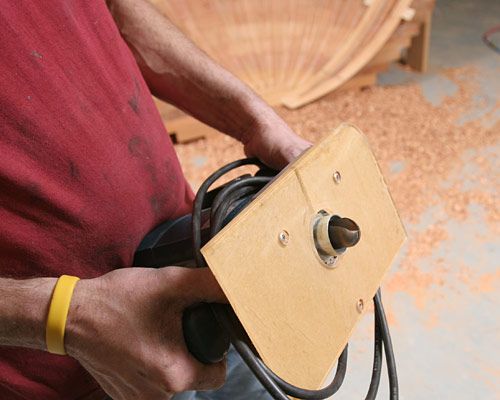
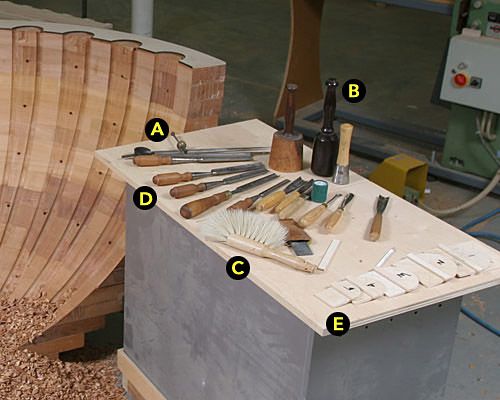
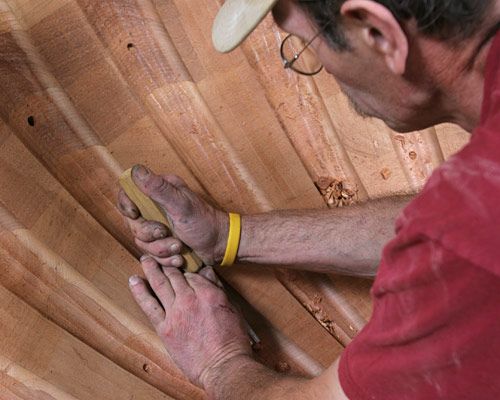
Tools for hand-carving the flutes: A caliper to measure flute diameter (a). Carving mallets of assorted weights for fine-tuning the cuts (b). Dust brush for clearing away chippings (c). Straight, fishtail, and veiner gouges for making various cuts in each flute (d). Flute width/depth gauges help guide the cuts (e).
-
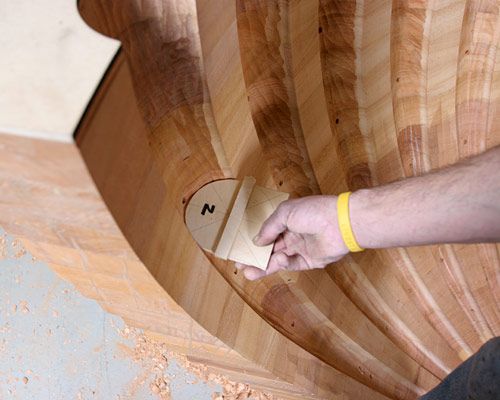
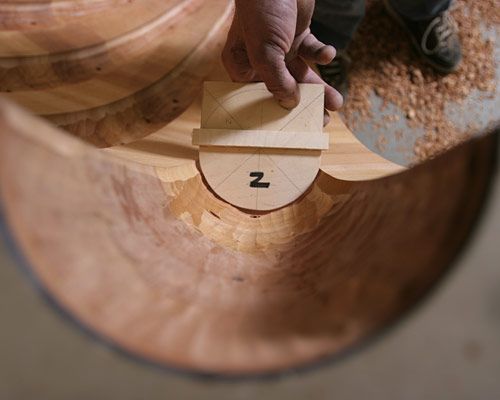
Depth gauges guide the carving. A series of depth-gauge blocks sized for different areas in the flutes guided the hand-carving.
-
Holes locate the depth gauges. Holes were drilled within each flute in rows across the shell as a marker for each depth gauge. The second hole down from the top is shown here.
-
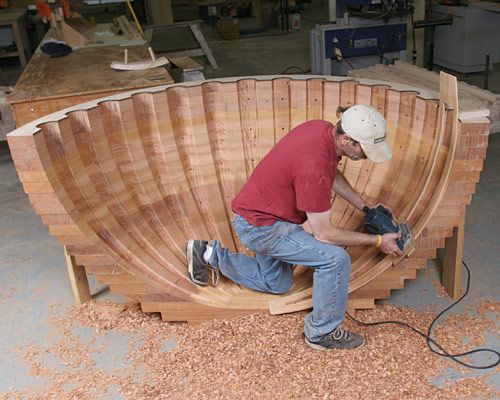
A little more work. The high areas of the flute still touching the depth-gauge block indicate that a little more carving needs to take place so that the block fits perfectly in the flute.
-
Hand carving fine-tunes the flutes. With chisels of various sizes and a great deal of patience, woodworkers carefully make their final passes.