
Cutting with a Handsaw
For small, quick jobs where a power saw wouldn't make sense, you'll need to know the proper use of this carpentry staple.
Handsaws offer some distinct advantages over power saws. A handsaw is small and lightweight, so it’s easy to pack and carry. A handsaw also is a lot quieter than a circular saw and makes less of a mess. When you have only a few boards to cut, reaching for a handsaw is often faster than taking the time to run an extension cord and set up a power saw. And where a power tool might be cumbersome and dangerous—cutting overhead or on a ladder, for example—a handsaw offers a safe alternative.
Choosing the best handsaw for the job is the first step in making clean, accurate cuts (for more on this, read the article Handsaw Revival from Fine Homebuilding Issue #170 [April/May 2005], pp.64-67). But learning to use the saw properly is equally important. Because handsaws are not very good for cutting less than 1/8 in. off the end of a board, measuring and cutting accurately on your first attempt is essential.
Cut lumber with a long saw and a low horse

Step 1: Mark the cut. On thick material, mark the cutline on two adjacent faces. Some saw handles allow you to lay out 45° and 90° lines without reaching for a square.

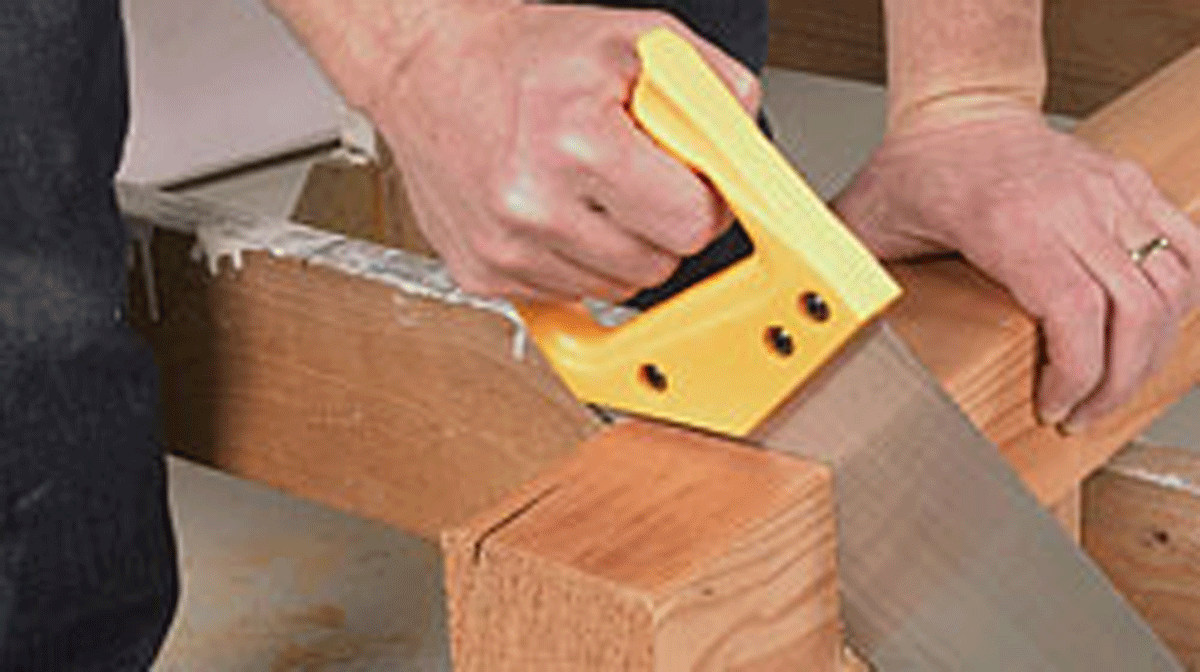
Step 2: Use your thumb to start the cut. With the sawblade on the waste side of the cutline, use your thumb to align and steady the blade. Hold the saw at a low angle and pull to get started.
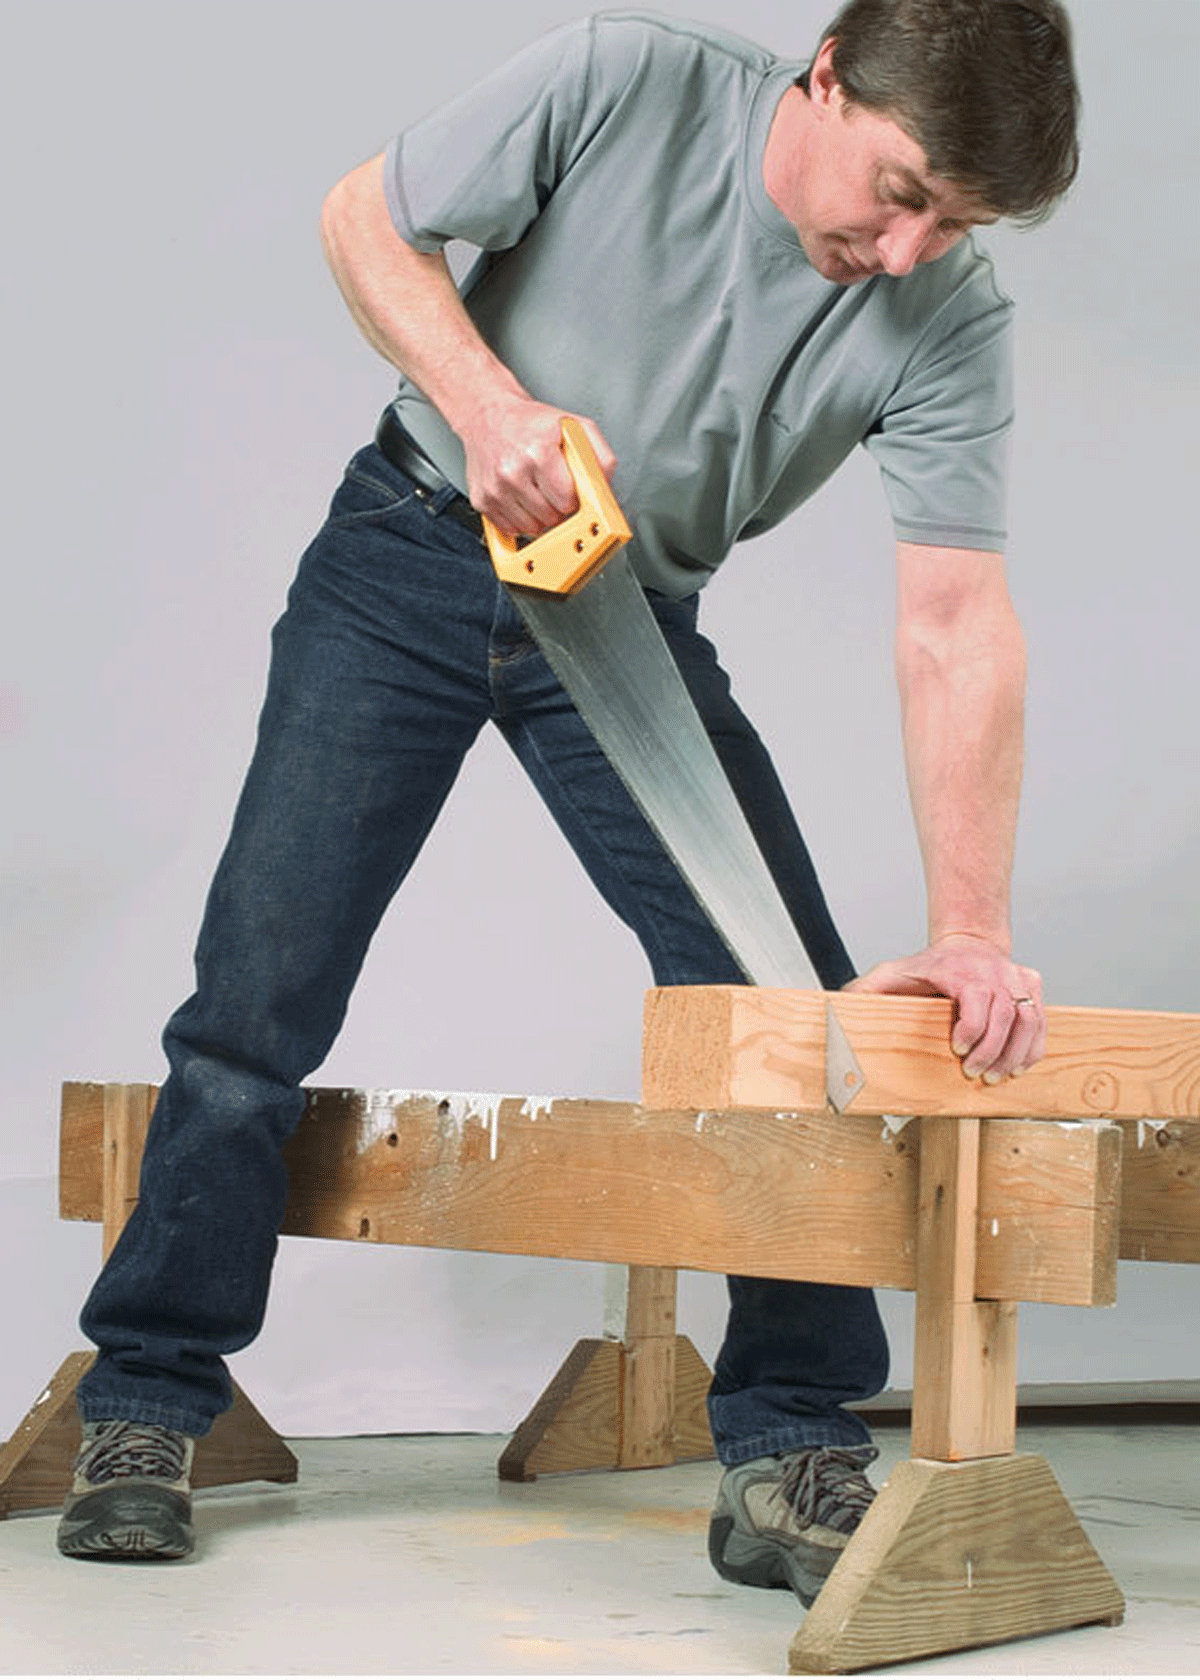 |
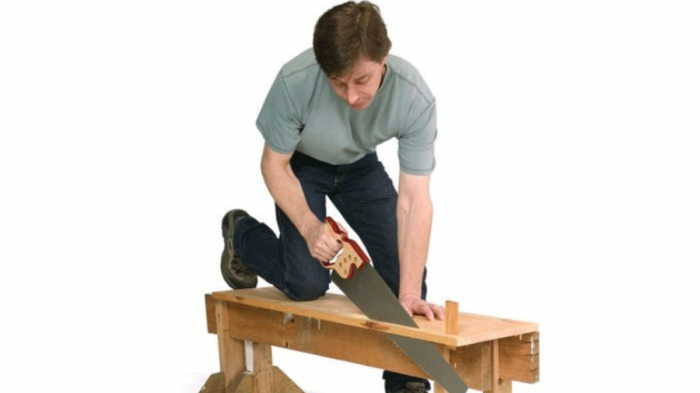
Step 3: Put your weight behind the blade. A good stance is important when you’re using a handsaw to cut thick material like this 4×4. Low sawhorses or other supports will enable you to get your hand, elbow, and shoulder in line with the blade. |
Step 4: Use full strokes at 45°. Long strokes save energy and produce smoother cuts. Keep the blade at 45° when crosscutting.
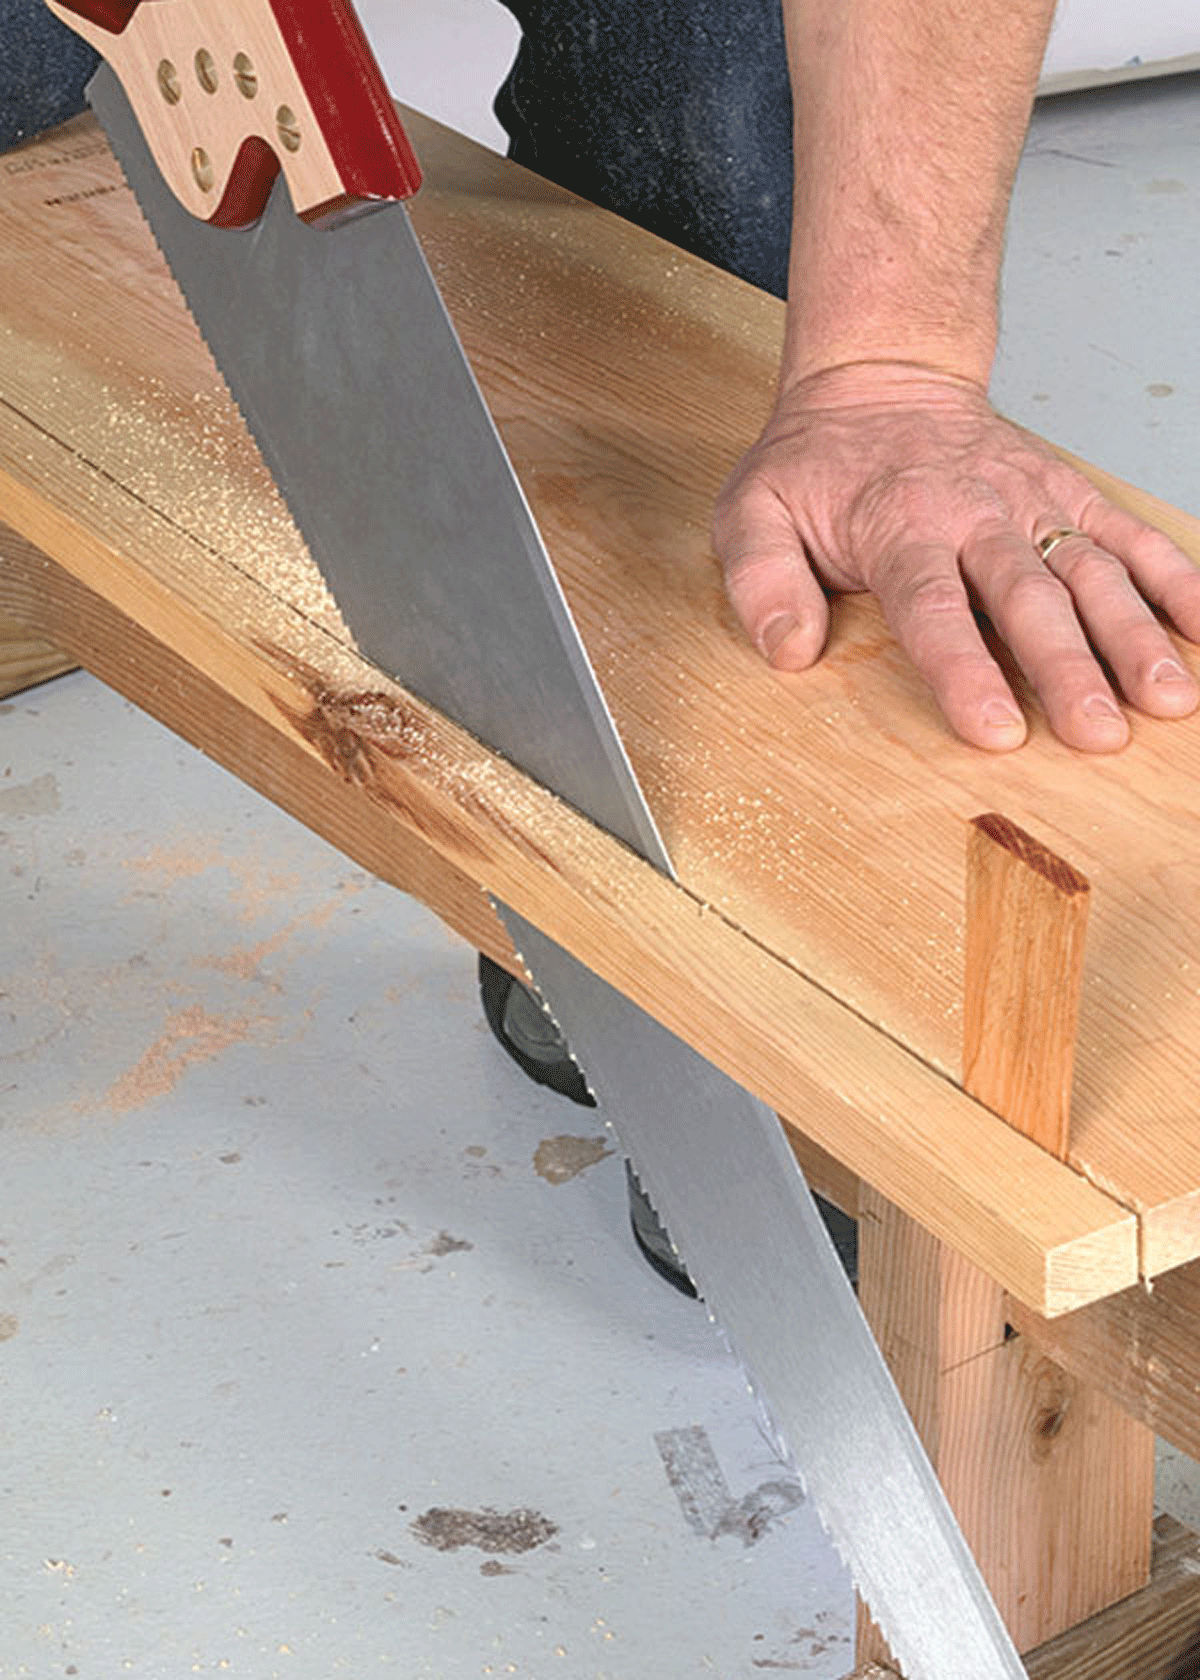
Step 5: Don’t let the board break. Unsupported, the cutoff can cause the stock to tear toward the end of the cut. For a clean finish, clamp the stock to a sawhorse and support the cutoff with your free hand. Finish the cut with smooth, gentle strokes.
Better blade protection
 |
A handsaw is only as good as its teeth are sharp. That’s what makes the Carpenter’s Saw Bag a bargain ($22.50; 800-871-8158; www.leevalley.com). Fabric dividers inside the bag separate and protect up to four saws. Two outside compartments and a shoulder strap complete the package. |
Tips for making common cuts accurately
 |
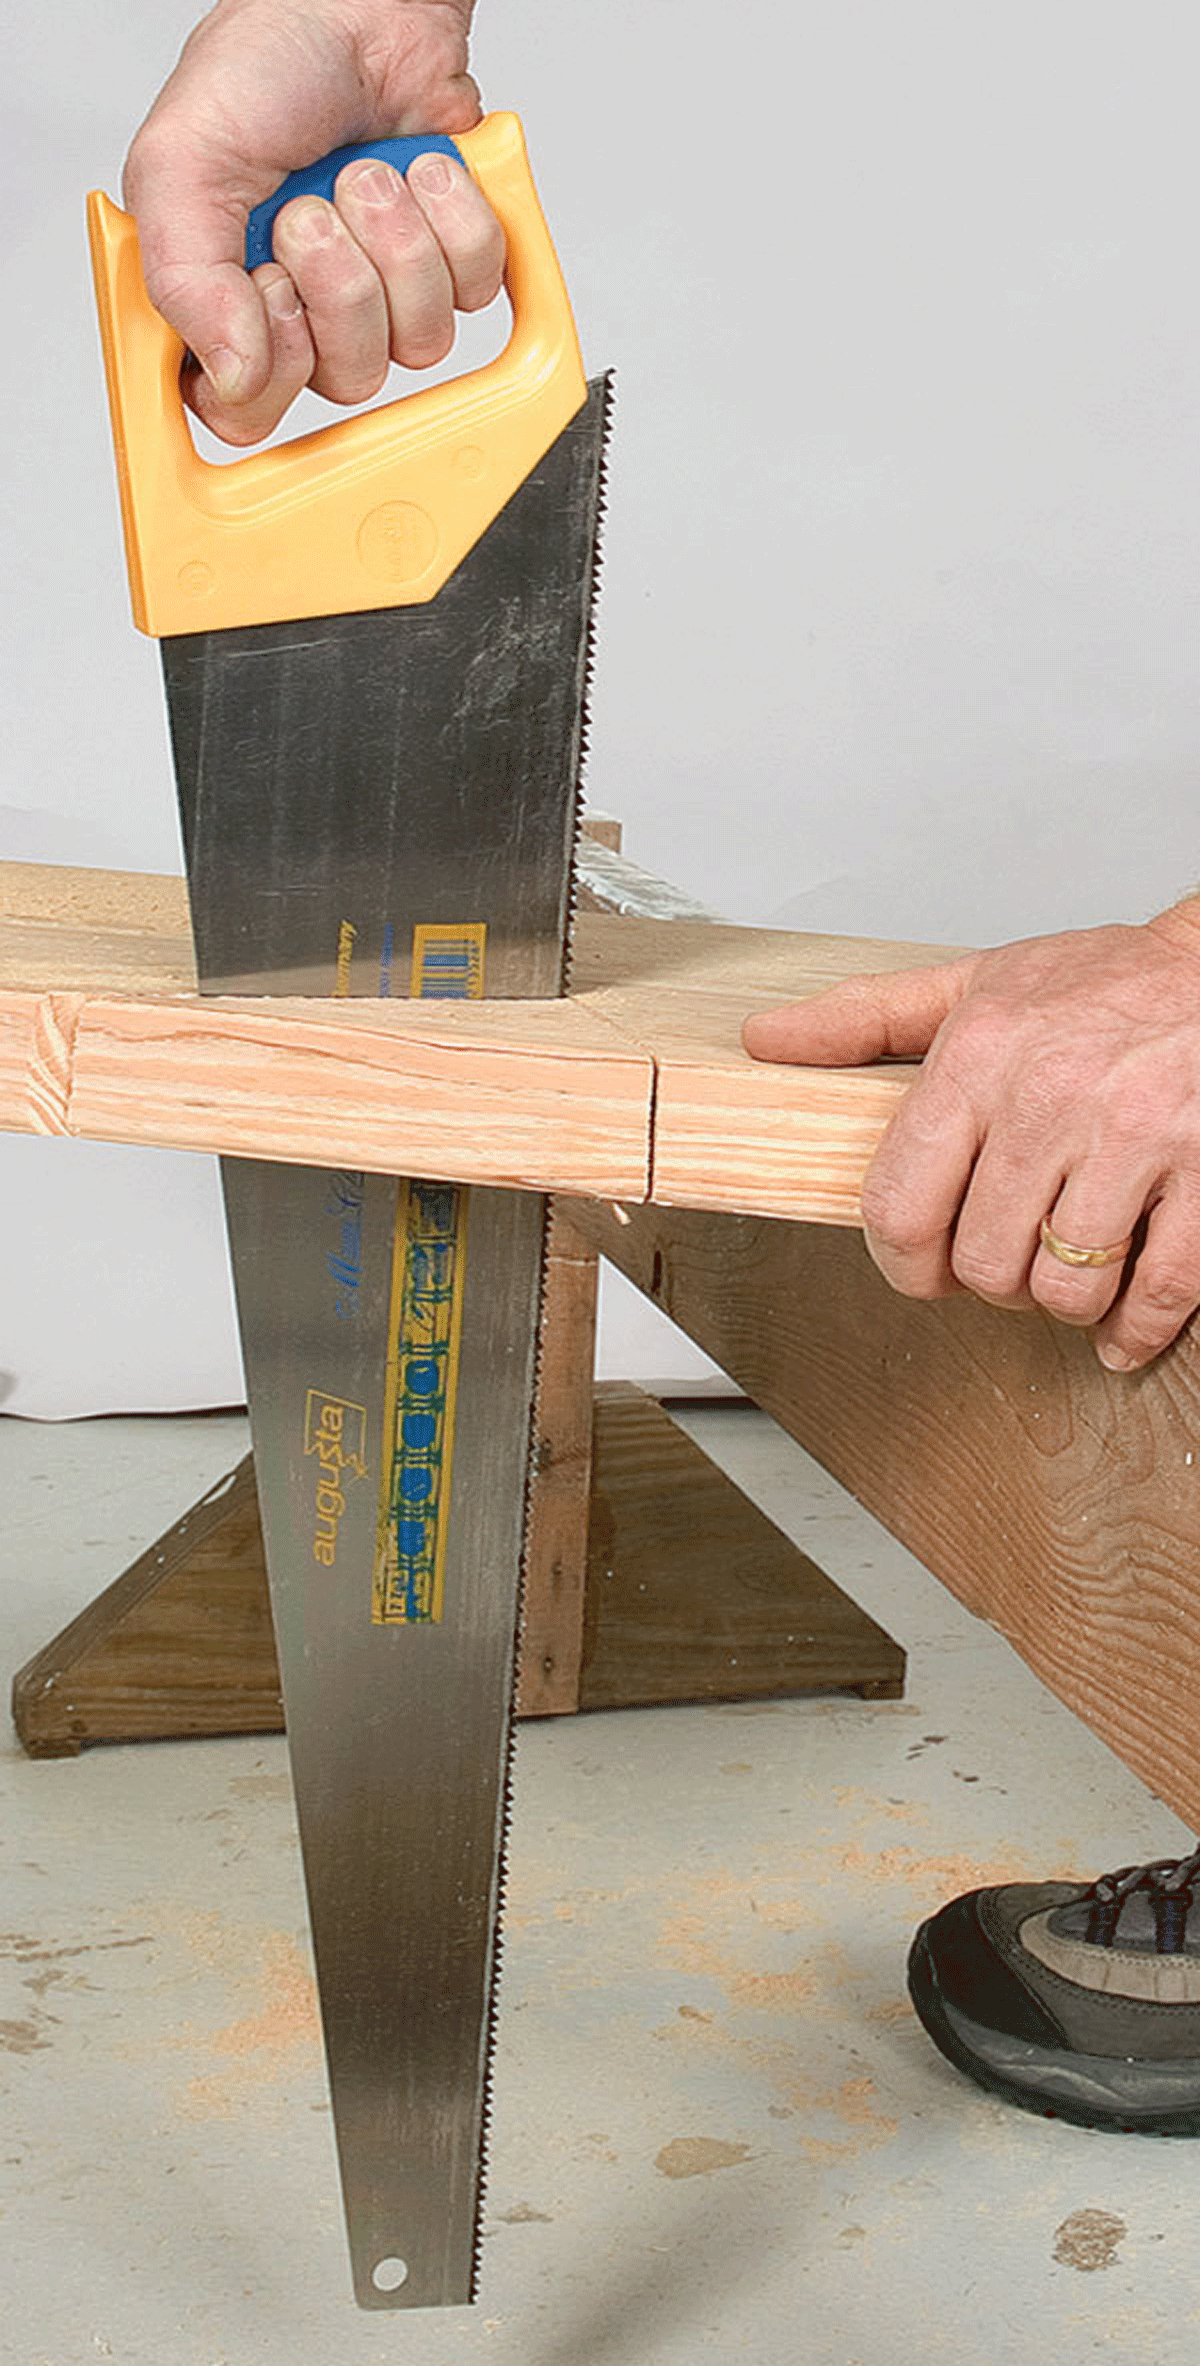
Rip with the right saw. Ripping a board (cutting with the grain) is usually more difficult than crosscutting. Use the right saw: a traditional Western-style ripsaw (shown in the photo), a Japanese ripsaw, or a modern hybrid saw. Cutting action is best with the blade at a 60° angle. If the kerf starts to close and pinch the blade, use a wedge to keep it open. |
 |
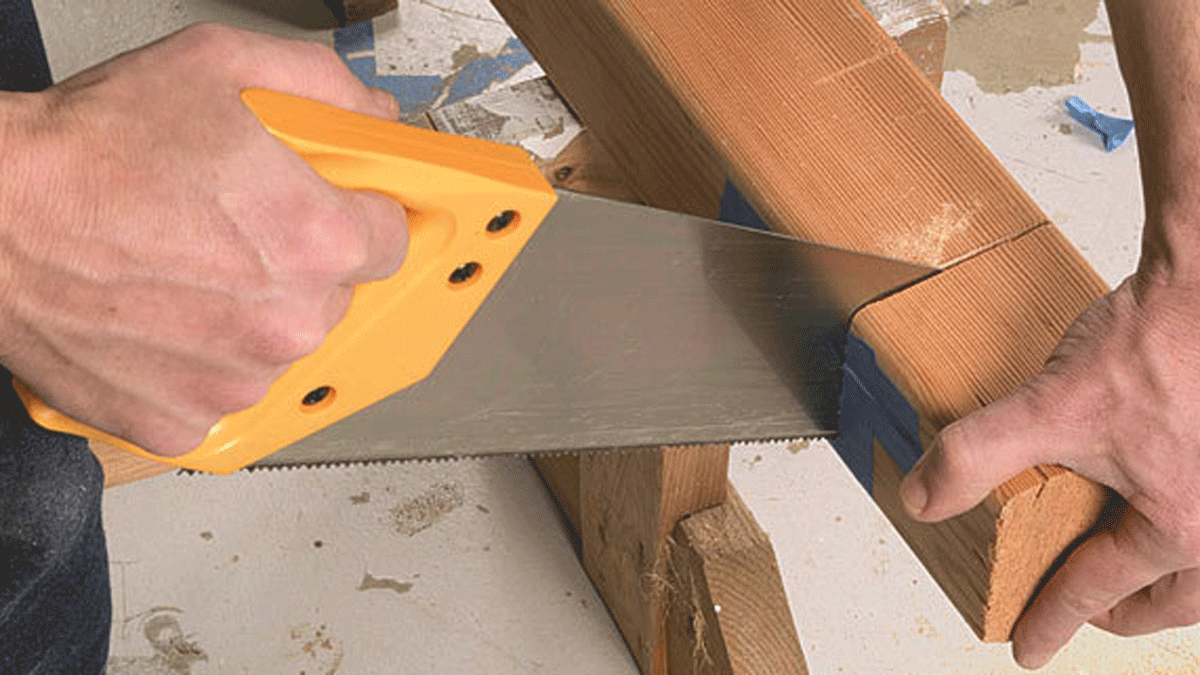
Go vertical for notches. When notching the end of a board or finishing the cuts for a stair stringer, cut with the saw perpendicular to the stock. This way you won’t cut any deeper on one side of the board than on the other.
|
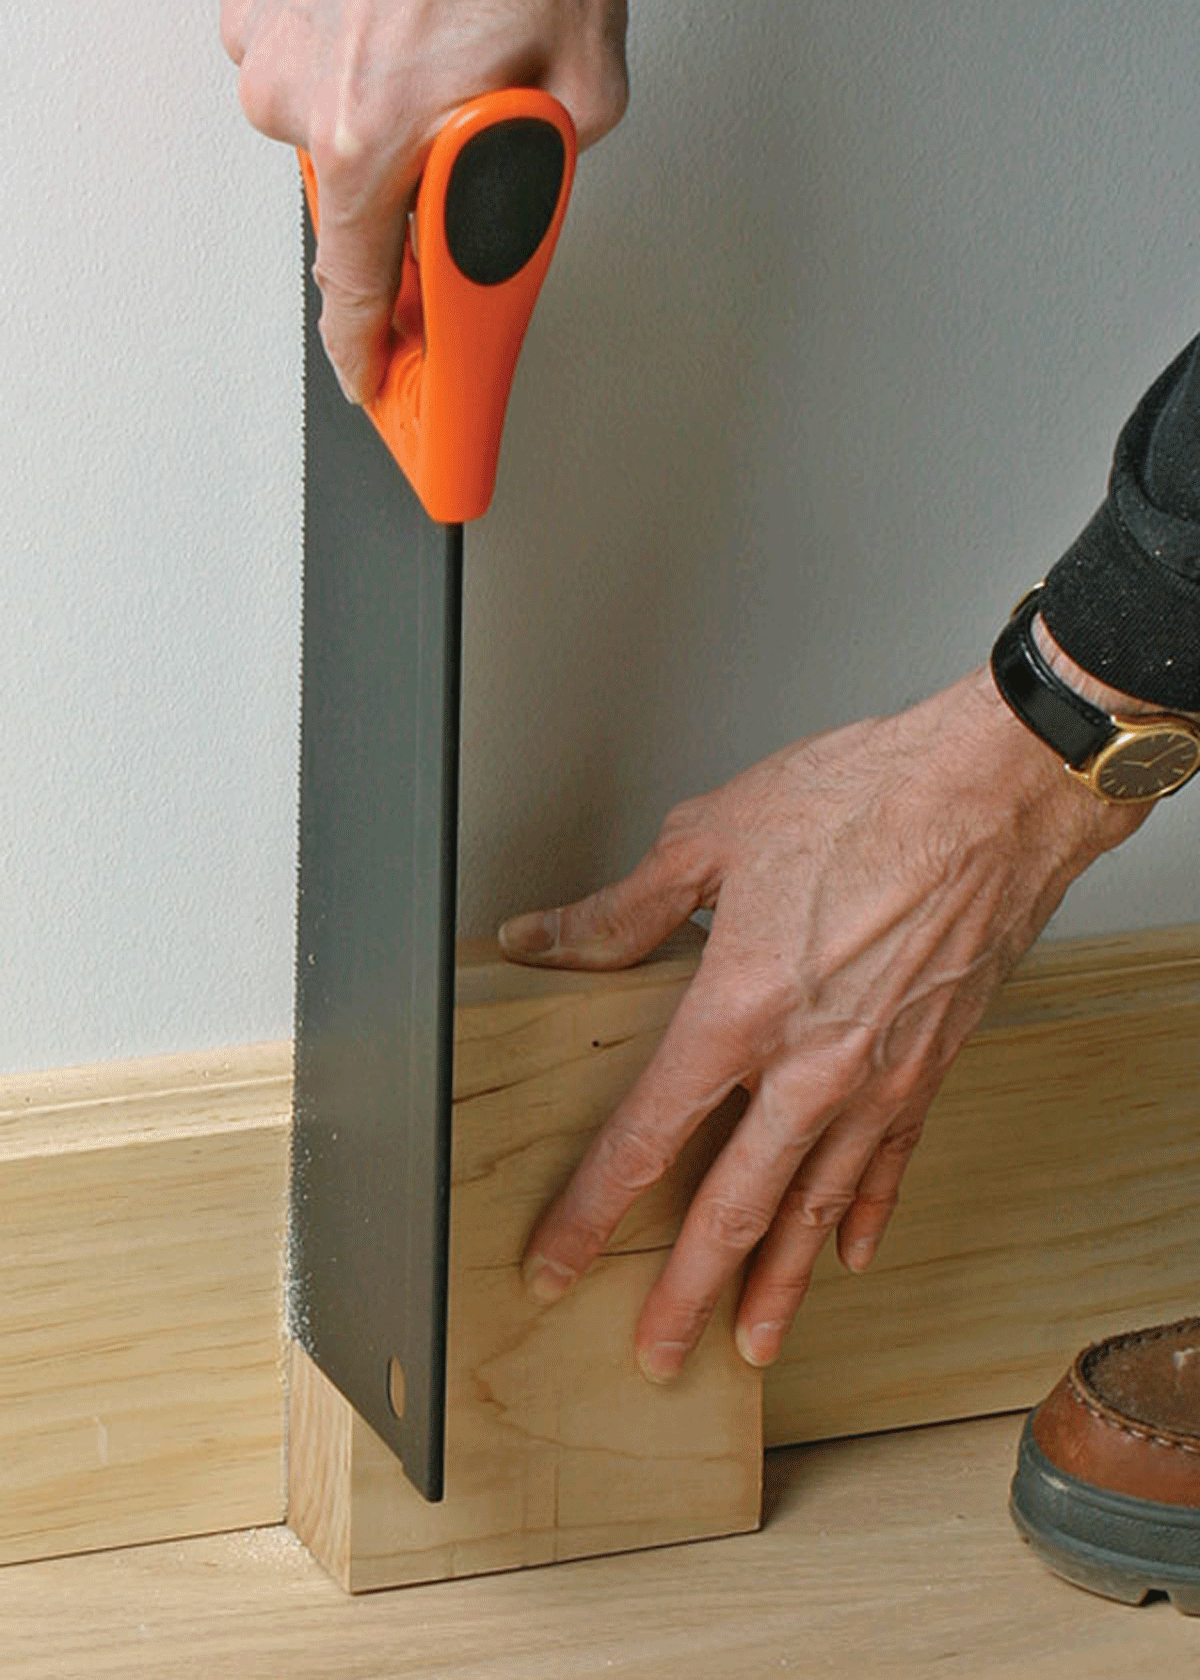 |
Cut moldings in place with a guide block. When a power saw isn’t an option for making a clean, accurate cut in an installed molding, use a backsaw with a square block of wood as a guide. |
|
|
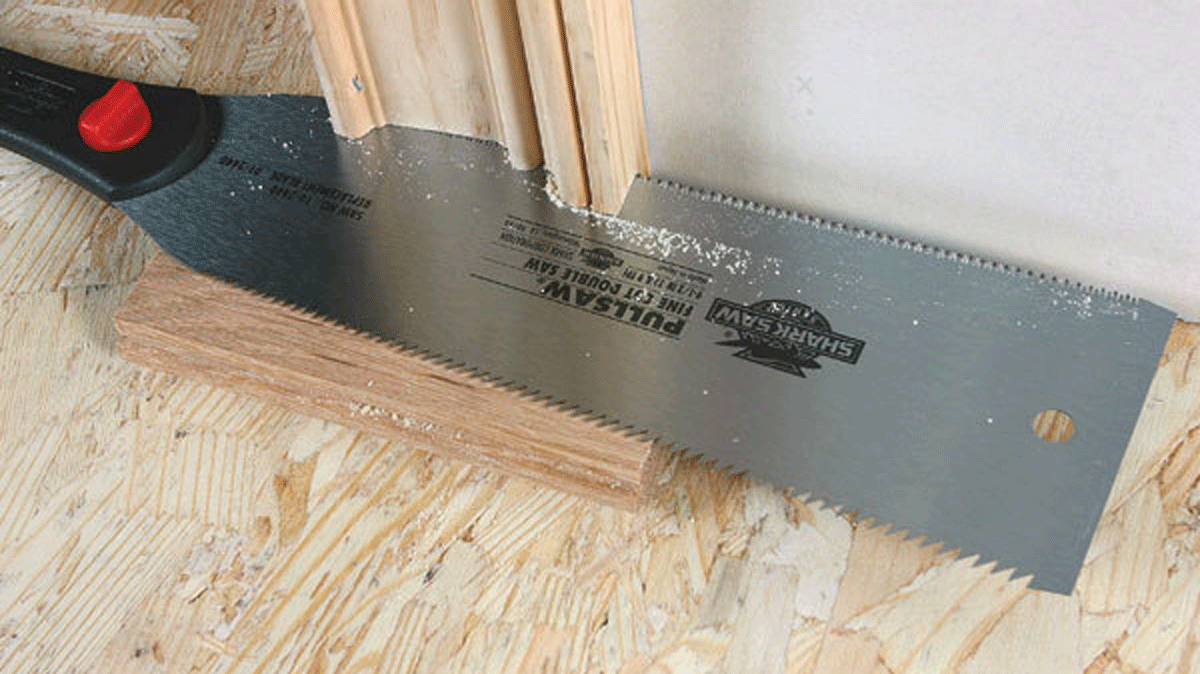
Don’t scribe the flooring. Instead, trim door casing in place when installing new flooring. Use a straight-handled, fine-toothed pull saw guided by a scrap of the new flooring. |
Photos by: Joseph Kugielsky, except where noted
From Fine Homebuilding #170

View Comments
Great post, really your content is very informative and helpful about handsaw. i am a professional woodworker and i will do overall cutting work with a handsaw, even i have available a miter saw and circular saw. Handsaw is best tool for wood cutting chores.
Thanks for sharing your thought with us. keep up the good work.