Q:
I’ve noticed that the siding where the roof meets my house is rotted. The step flashing is installed properly, and the rest of the siding above that spot is in good condition. It’s clear that water is getting behind the siding where the drip edge and the siding meet, and behind the gutter cap as well. How can I get the water to run into the gutters instead of down and behind the siding?
Josh Martin, Altamont, NY
A:
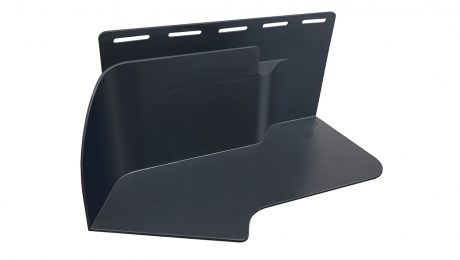
Michael Chandler, owner of Chandler Design-Build (www.chandlerdesignbuild.com) near Chapel Hill, N.C., replies: This problem happens a lot where a lower-level roof and an upper-level wall meet. The capped end of the gutter is generally held about an inch off the wall, leaving the area where the siding is cut to fit around the fascia open to water intrusion. The water finds its way into the cut in the siding where the lower fascia intersects with the wall. The solution is to install a kick-out flashing, a piece of aluminum or copper that directs the water away from the wall before it reaches the last piece of step flashing so that the water flows into the gutter instead of behind the siding.
I make kick-out flashings from regular 14-in.-wide aluminum coil stock cut into a square 14-in. piece (see my process in detail below). I use the same color stock as the step flashings or the shingles when I want the kick-out to blend in to the roof. I fold the coil stock with a rubber hammer, some duck-billed seamers, and a length of framing lumber. You could use a sheet-metal brake if you have one, but most houses need only three or four of these flashings. In the time it would take to get out the brake, I can have all the flashings done with simpler tools.
The key is to make the flashings rugged and inconspicuous. Using a 45° dogear at the end makes that vulnerable area four layers thick. My roofer installs step flashing before the siding goes on the house. I could teach him to do the kick-outs, but it’s easier to let the siding crew install them or to do them myself.
Drawing by: Dan Thornton

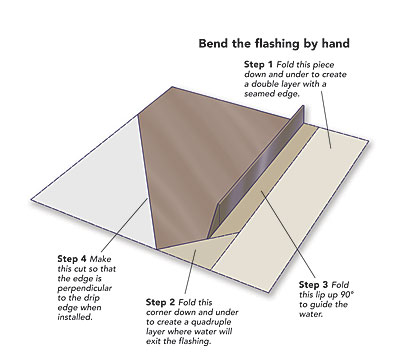
Shape the metal flashing on a solid surface that can take some abuse. Scrap 2×10 secured to a sawhorse makes do here. Bends are started as needed by hand, then further persuaded with a rubber mallet. A hand seamer is useful for tuning the final bend, but isn’t necessary.
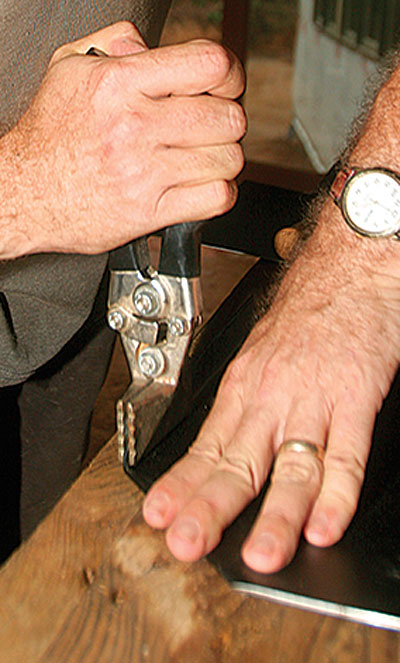
Photo by: Chris Ermides

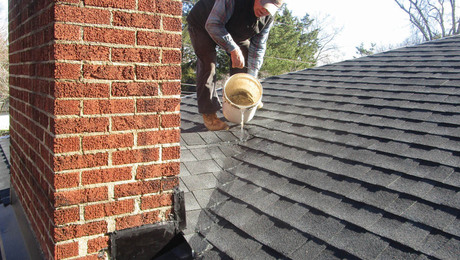
Slide the kick-out flashing beneath the second-course shingle and step flashing. Position the piece so that the cut end is perpendicular to the drip edge; then nail it down with two roofing nails under the upper shingle.