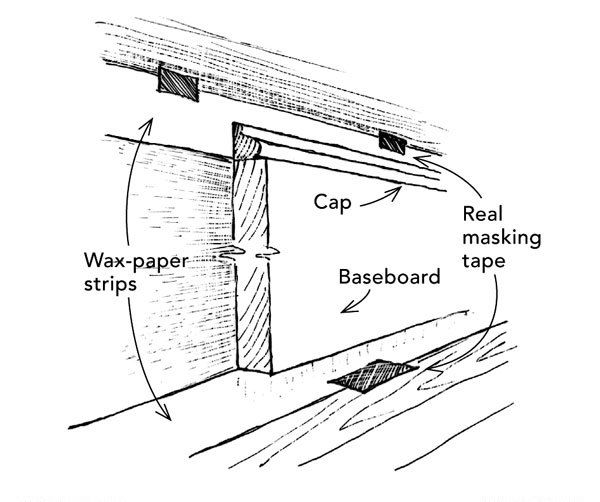
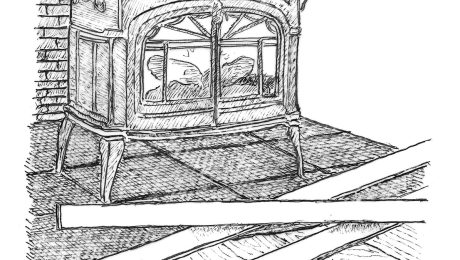
If your ability to cut in a sharp edge with a paintbrush is on the shaky side and you don’t mind saving a dime or two, you’ll appreciate the masking tip that I came up with on a recent baseboard job. As shown in the drawing, I used narrow strips of wax paper held in place by bits of masking tape to protect the floor and the wall.
I bought a 25-yard roll of wax paper for $1.50 at the market and cut it into four equal-width rolls with my bandsaw. For this two-piece base, I put down the floor strip first and nailed the base to the wall. Then, with the wall painted, I put the wall strip on and installed the base cap. For one-piece base, I applied both strips before installing the baseboard.
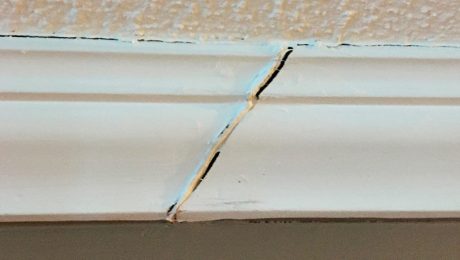
Now my shaky cut-ins are sharp edges. Once the paint dried, I used a utility knife to cut away the tape. I caulked the joint after removing the paper so that the caulk could bond to the wall.
This method works equally well for window casings, especially the side pieces, where gravity is in your favor. Just tape the wax paper at the top, and let it unfurl.
None


View Comments
When installing base or 1/4 round, I install it with two layers of boxboard (cereal box) between it and the floor to raise it slightly. Door casings are similarly elevated. Newsprint easily slips underneath to mask when painting. Painting the base when dark hardwood floors have been installed is no longer a problem.
I also don't use caulk when installing casing or base. The small gap assists in masking or cutting-in. The slight gap is not displeasing to me but anything less than a perfect paint line is.