
Drywall Cutting-Tool Protection Strips
Try this ingenious alternative use for paper-face metal drywall tape when cutting against a finished surface.
Synopsis: Thanks to Greg Langdon and his father, Ralph, of Louisville, Ky., for a smart tip you can file under “Why didn’t I think of that?” Rotary cutting tools, like the RotoZip used in the video, are great for making accurate cuts in drywall for outlet boxes and switch boxes, and for routing holes for recessed-light cans. But they aren’t so great for making cuts adjacent to soft surfaces that you need to protect, such as finished or painted drywall. To avoid damaging the finished drywall when Greg needed to make a large cutout for a pass-through, his father suggested using a strip of paper-faced metal drywall tape as a bushing guide for the router’s bit to ride against. The result was a clean edge for Greg and a useful tip for you.
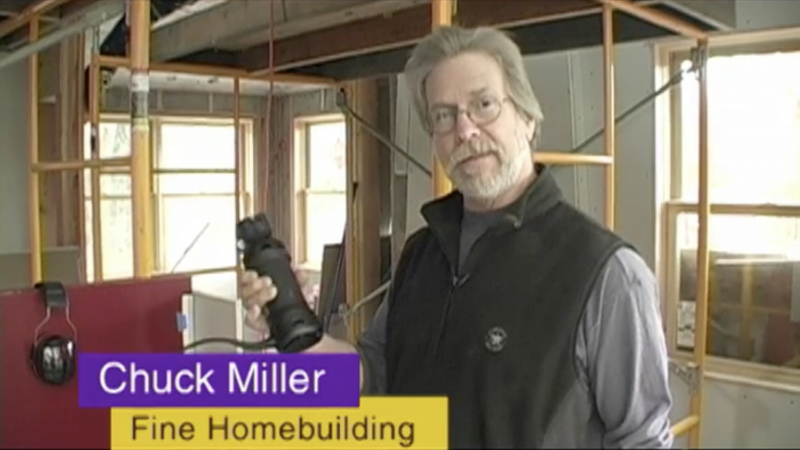
Video Transcript: We are going to cut some Drywall today with Zippy the Router. This is called RotoZip tool and it’s what drywall people use to make very accurate cuts in Drywall. Around things like outlet boxes, switch boxes, recessed can fixtures in the ceiling. And the way it works is that there is a small diameter bit that you plunge through the Drywall and then you nest it up against the side of the outlet box and that becomes the template. And as you move it around the box it cuts a very narrow little slot that exactly imitates the space that the outlet box is going to use.
Now when it’s running against an outlet box this bit isn’t going to damage it because the outlet box is a sturdy piece and you are not going to see it anyway. But if it’s going to ride against something that’s a finished surface this could conceivably scar it or if it’s a smooth piece of painted drywall for instance it could gouge it.
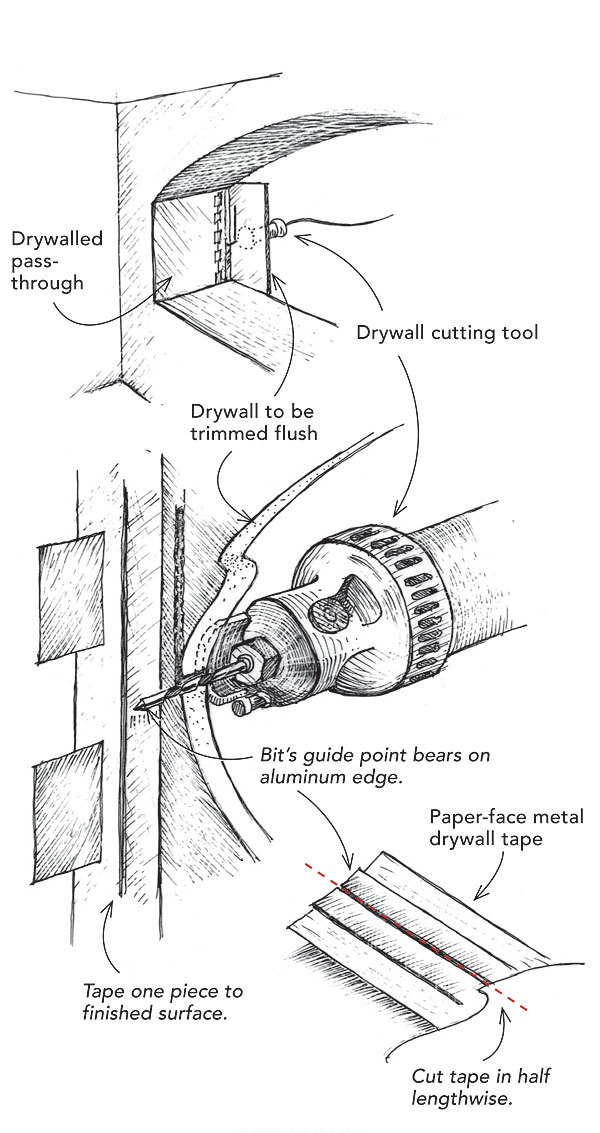
So here is a tip that Greg Landon out of Louisville, Kentucky sent in about how you can use this portion of the bit, which has no cutting edges on it it’s more like a bushing. And what he’s done, let me show you this piece of drywall tape here. This is called paper faced metal corner bead and it’s got two thin strips of metal in it. That can be used as either an inside corner or an outside corner
Now he and his dad, Ralph had some of this on hand for the job they were doing and Ralph thought you know I bet we can cut that in half and tape it to this painted surface that we got that we don’t want damaged. And use half of it as a bushing guide surface that would be more durable.
So I have cut one of these in half and taped it to a piece of lament here. Let’s try it.
Plunge the bit first through the drywall. I snug the bushing portion of the bit against the metal guide strip. I run the bit down the length of the guide strip making a smooth cut in the drywall. That is a really clean edge. Look none of that lament got abraded or scarred up in anyway.
Good Tip Greg.
