previous
  • Outdoor Kitchen Design Inspiration
    Outdoor Kitchen Design Inspiration
  • 7 Solutions for Kitchen Layout and Design
    7 Solutions for Kitchen Layout and Design
  • 10 Basement-Remodeling Tips and Techniques
    10 Basement-Remodeling Tips and Techniques
  • Energy-Smart Details
    Energy-Smart Details
  • 12 Remodeling Secrets Revealed
    12 Remodeling Secrets Revealed
  • Deck Design & Construction Showcase
    Deck Design & Construction Showcase
  • 9 Design Ideas & Tips for Concrete Countertops
    9 Design Ideas & Tips for Concrete Countertops
  • 15 Coffered Ceiling Design Ideas and Tips
    15 Coffered Ceiling Design Ideas and Tips
  • Complete Kitchen and Bath Guide
    Complete Kitchen and Bath Guide
  • Guide to Paperless Drywall
    Guide to Paperless Drywall
  • 2012 HOUSES Awards
    2012 HOUSES Awards
  • Fine Homebuilding: The Digital Issues
    Fine Homebuilding: The Digital Issues
  • Buyer's Guide to Decking
    Buyer's Guide to Decking
  • How it Works
    How it Works
  • Meet the Fine Homebuilding Project House!
    Meet the Fine Homebuilding Project House!
  • 13 Door Design and Installation Tips
    13 Door Design and Installation Tips
  • The Inspector Game: Decking Dos and Don'ts
    The Inspector Game: Decking Dos and Don'ts
  • 7 Small Bathroom Floorplan Layouts
    7 Small Bathroom Floorplan Layouts
  • Roofing articles, videos, tools, and materials
    Roofing articles, videos, tools, and materials
  • Painting Ideas, Tips, and Techniques for a Professional Finish
    Painting Ideas, Tips, and Techniques for a Professional Finish
next
Pin It

Custom cap for pneumatic tools

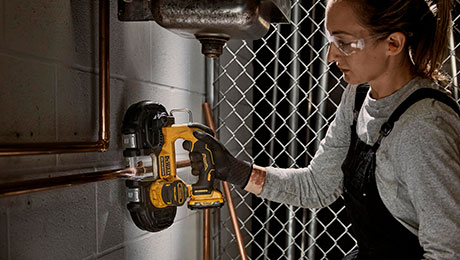
As I was trying out a new nailer, it occurred to me that the tool would probably last longer if I could keep dirt and grit out of its innards while the tool wasn't in use. So I made some plastic caps to cover the nailer's hose coupling.

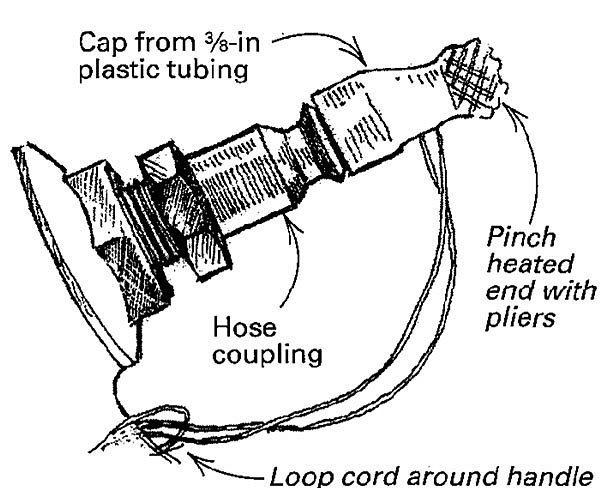
I made the caps of in ID plastic tubing, the kind that is often used for water levels. With a butane lighter, I flamed the end of the tubing until it melted. Then I squished the end shut with a pair of wide-lipped pliers. After waiting a halfminute or so, I removed the pliers and cut off the end of the tube. The resulting cap is about I in long. As shown in the drawing, I used a large sewing needle to thread a loop of braided fishing line through the side of the cap. The line wraps around the nailer's handle, keeping the cap where I need it.

This technique can be used with larger or smaller diameter tubing, cut to different lengths, to make caps for innumerable items that have lost their original caps or didn't come with them. I've even used them to cap tubes of partially used caulk. By the way, filling the cap with the appropriate solvent before slipping it onto the caulk nozzle will prevent the caulk from hardening.


Ted Vish, Weaverville, NC
From Fine Homebuilding 99, pp. 22 January 1, 1996