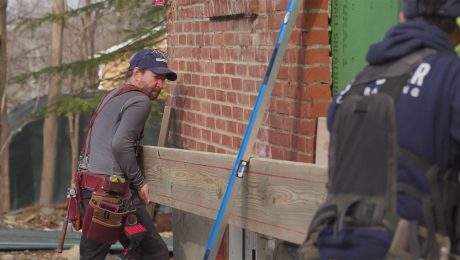
We had a job recently that required thousands of studs, trimmers, sills, cripples and nonstructural headers. A lot of these parts were identical lengths, so we decided to rig up a fixture that would let us easily adjust the length of the parts and use the tools we had on site (worm-drive circular saws) to make the cuts. The drawing shows what we came up with.
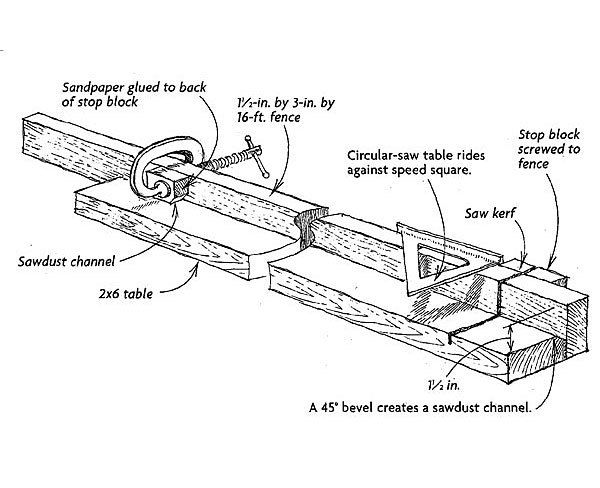
The fixture is essentially a long miter box that is designed to cut one angle: 90°. The base is a 2×6, and the fence is a 16-ft. 2×4 ripped to 3 in. wide. The 2×6 base has a 45° bevel along its inside edge to catch sawdust, which periodically has to be swept away with a broom or blown away with a blast of compressed air. At the right end of the fixture, a stop block that is affixed to the back of the fence registers the position of a speed square. To the left of the speed square, an adjustable stop block is clamped to the fence.
To use the fixture, you simply lay a 2x on the 2×6 table and butt it against the stop block. Now hold the speed square against the fixed stop block, and use the square to guide the baseplate of the saw. The first cut will make a kerf in the fixture’s table and fence, and a portion of the stop block. Locate the screws in the stop block accordingly, and set the depth of the saw to limit the depth of the kerf in the fixture. Once the kerf is cut in the fence, you can hook a tape measure to it to measure the position of the adjustable stop block for different-size parts. By the way, we put some sticky-back sandpaper on the back of this stop block to help give the block a better bite and to keep it from moving inadvertently from its clamped position.
Bill Amaya, Hailey, ID