
Installing a Cast-Iron Kitchen Sink: Set, Caulk, and Plumb
Now that the fixtures are on the sink, see how to lay it into position, seal the edges, and connect the waste and water lines to complete the installation.
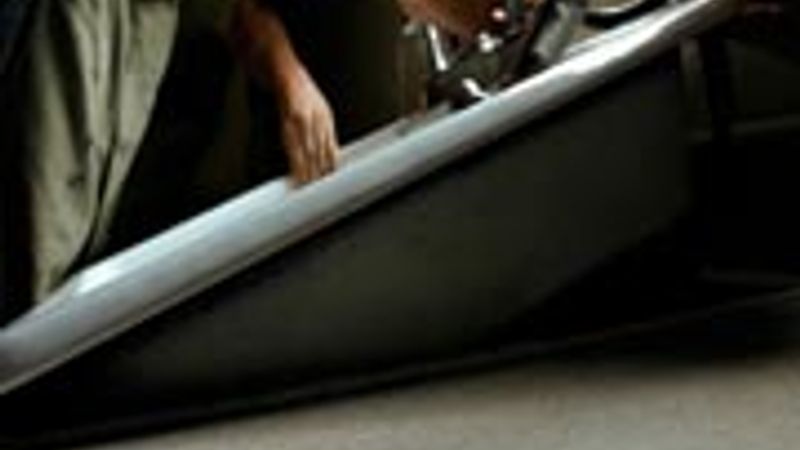
In our last episode of Building Skills, we measured and cut the opening in the countertop where the sink will set it, and we installed the drain and faucets. Now it’s time to drop the sink into place and make the final connections.
Sealing the sink to the countertop
Make sure the surface is free of dust. What were using next is a caulk that inhibits mold and bacteria. Carefully set the sink into the countertop, once you’ve run the bead of caulk around the hole. After the sink is in place, caulk around the edge where the lip of the sink meets the countertop. I use a latex caulk because it cleans up easily with water before it sets up.
Attaching the water and drain lines
We’ve already installed PEX supply lines to the faucets; now that the sink is in place, we can cut the lines to length. The PEX supply lines should be just long enough to slip into the fittings on your shut-off valves. When connecting the lines to the valves, be sure you have the appropriate fittings — in this case, compression fittings with PEX ferrules.
Watch Replacing a Sink Trap, and make all of your drain connections to complete your kitchen-sink project.
Check your work
Once everything is connected, temporarily take the aerator off (in case any debris ended up in the water lines), and run the faucet to see if there are any leaks. Replace the aerator. Then, you’re good to go.
More videos and articles by Bruce Norman
Learn a simple and professional technique for replacing a sink trap, along with tips for proper venting
Video: Build Like a Pro: Replace a Sink Trap
In this Build Like a Pro video, Bruce Norman explains how to rebuild your entire sink trap assembly and make it the best plumbing in the house.
Video: Build Like a Pro: How to Make Basic PEX Connections
Plumber Bruce Norman demonstrates how to connect PEX components with a push-fit fitting or a clamp ring
Video: How to Make Basic PEX Connections
A plumber demonstrates how to connect PEX components with a push-fit fitting or a clamp ring
