previous
  • 7 Small Bathroom Layouts
    7 Small Bathroom Layouts
  • Seven Steps to Choosing the Perfect Circular Saw
    Seven Steps to Choosing the Perfect Circular Saw
  • Top 10 Videos of 2011
    Top 10 Videos of 2011
  • Fine Homebuilding: The Digital Issues
    Fine Homebuilding: The Digital Issues
  • Replacing a Roof : Installing a Ridge Vent
    Replacing a Roof : Installing a Ridge Vent
  • The Self-Taught MBA: Inspired Reading
    The Self-Taught MBA: Inspired Reading
  • Your Guide to Energy Smart Homes
    Your Guide to Energy Smart Homes
  • How to Avoid Complicated Fractions
    How to Avoid Complicated Fractions
  • Patrick's Barn: A Perfect Place for a Party
    Patrick's Barn: A Perfect Place for a Party
  • Tool Test Preview: Compact Compressors
    Tool Test Preview: Compact Compressors
  • 10 Basement-Remodeling Tips and Techniques
    10 Basement-Remodeling Tips and Techniques
  • VIDEO: Stop Paint from Bleeding
    VIDEO: Stop Paint from Bleeding
  • Fine Homebuilding: The Current Issue
    Fine Homebuilding: The Current Issue
  • The Inspector Game: Goofs on a Roof
    The Inspector Game: Goofs on a Roof
  • How to Fill Nail Holes and Paint PVC Trim
    How to Fill Nail Holes and Paint PVC Trim
next


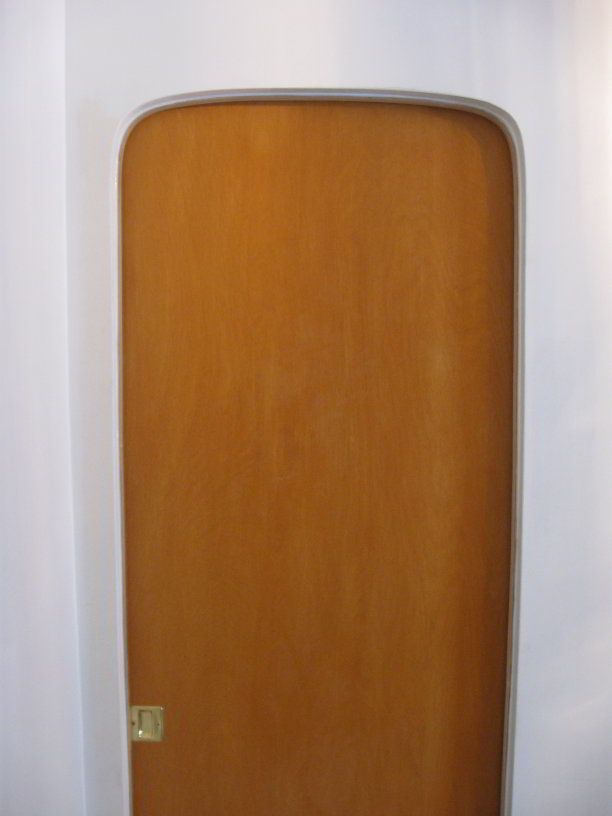
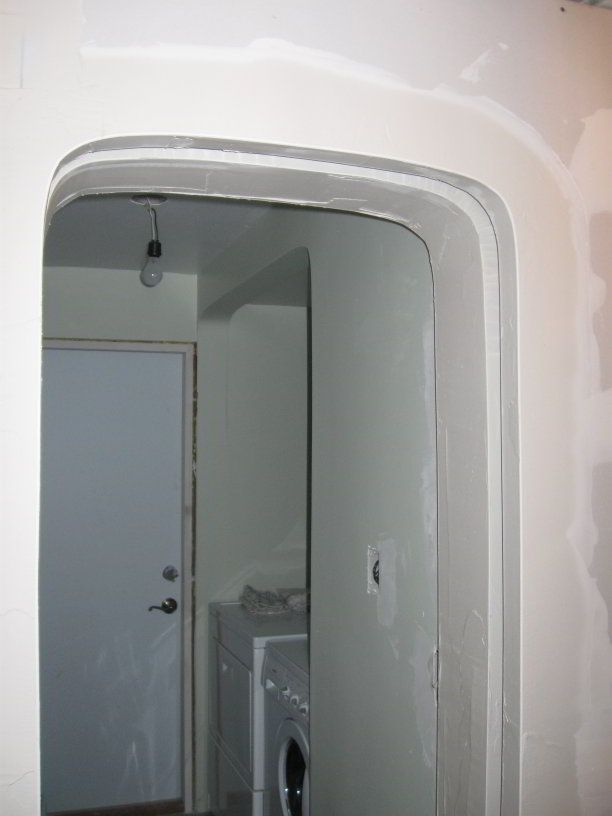
Pseudo-Elliptical Pocket Door in Arch

comments (0) March 17th, 2010 in Blogs        
basswood Brian Campbell, member
1 user recommends

Click To Enlarge Photo: B. Campbell

I'll start at the end, to show the finished product, then jump back a few steps (some of this was already in the "Cutting Corners" blog on arches).  

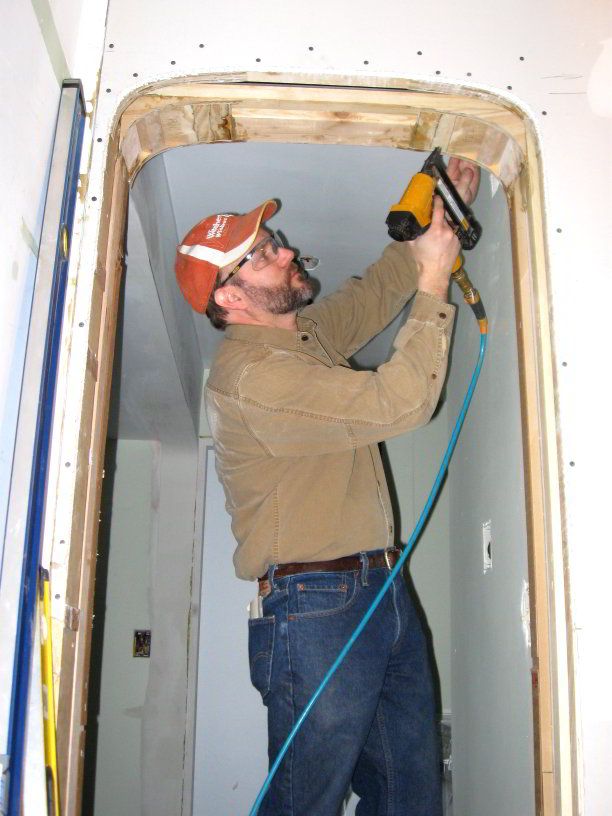
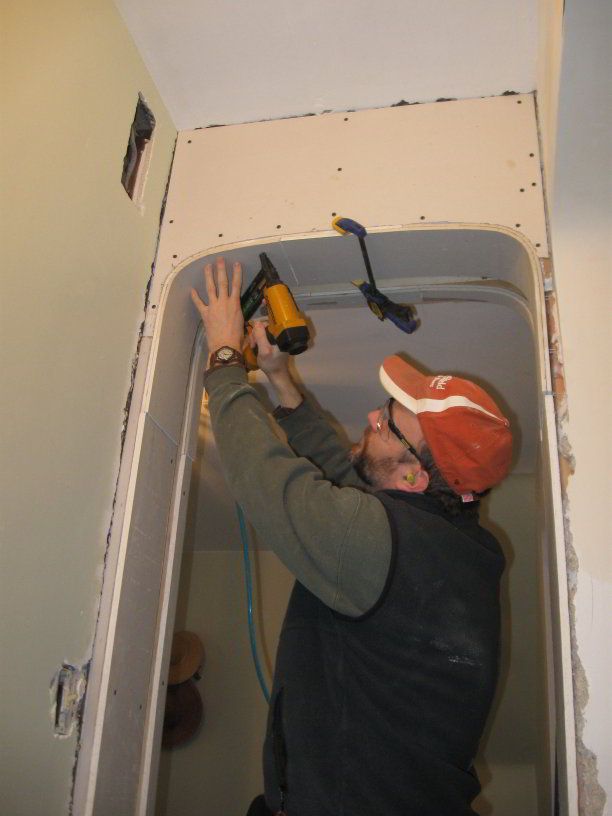
Here are some pics of stapling in the curved corner frames and then rocking. These were done in double layers of 1/4" rock run long and using offset splices. This rock was set in PL Premium and stapled off with a narrow crown stapler.  

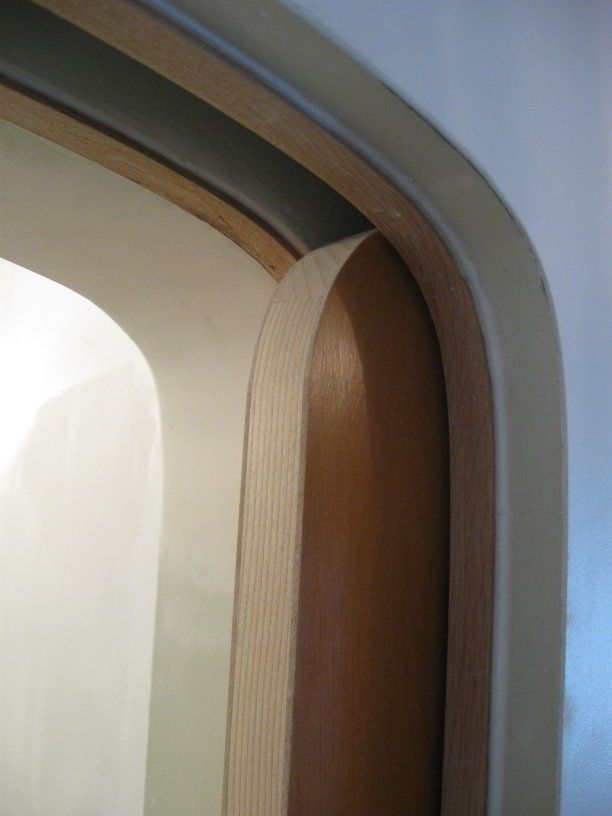
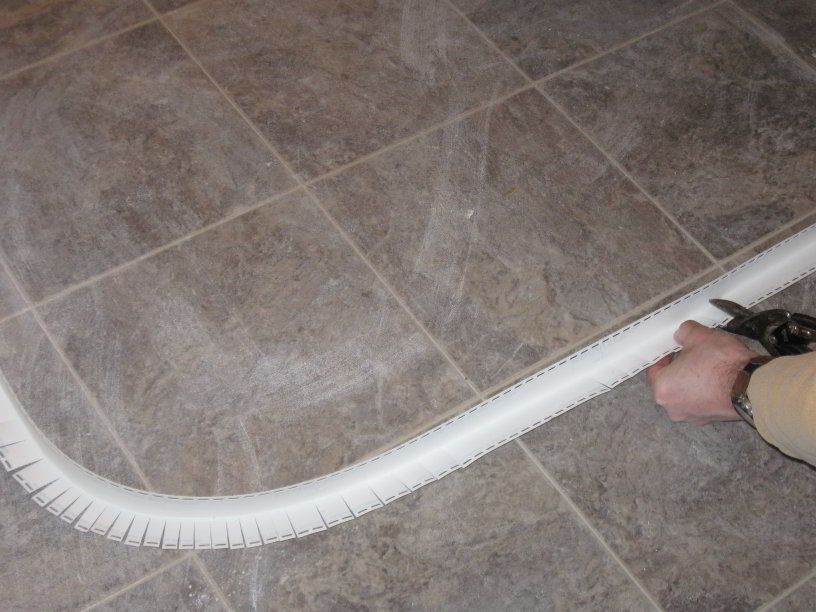
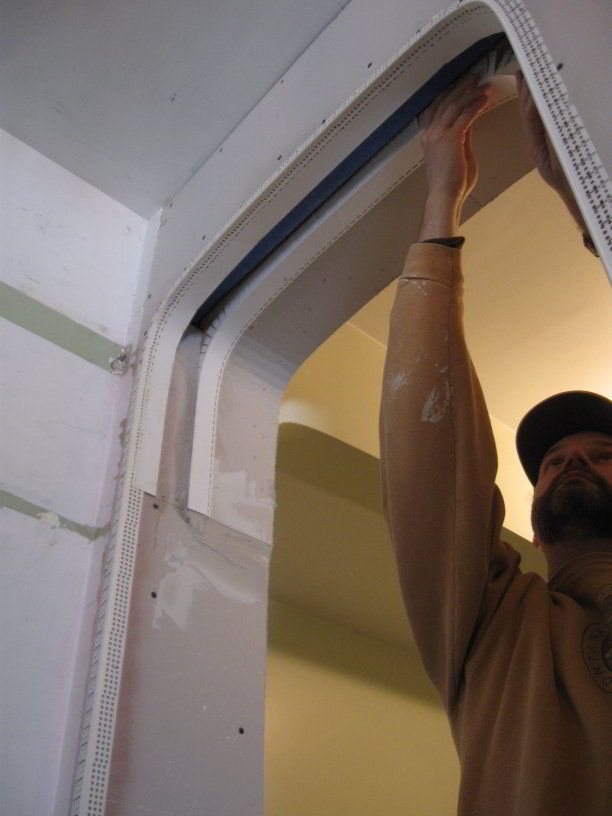
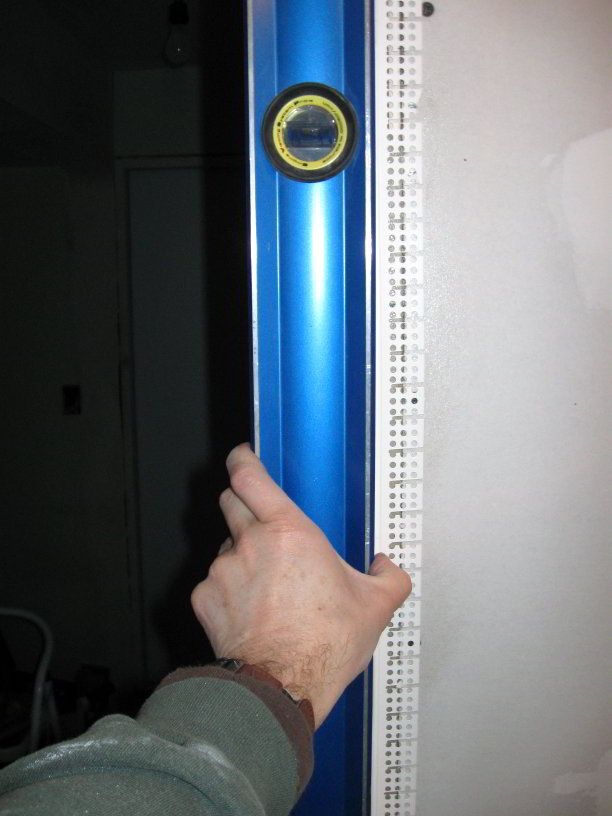
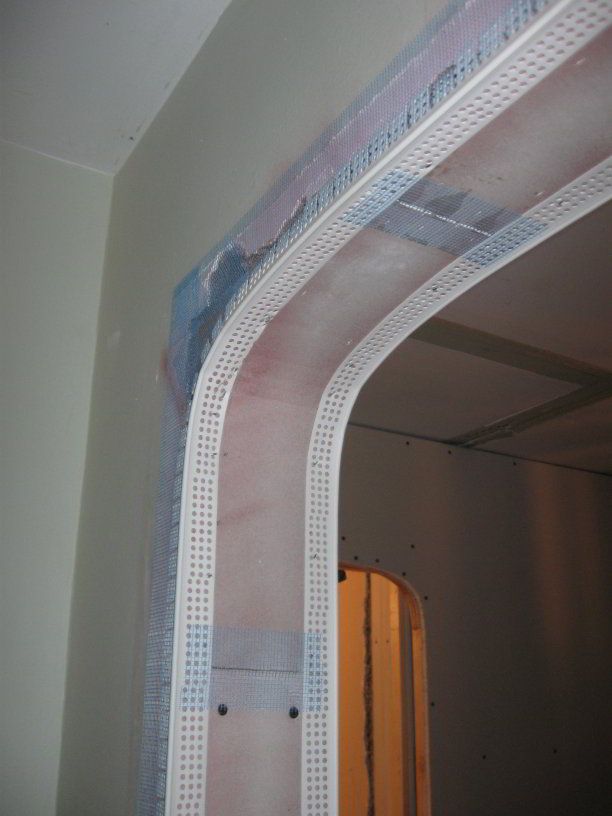
Standard Flex Bead kinked bending this tight, so I made my own flex bead with Straight Flex. I set the bead in 3M spray adhesive and added a few staples to keep it where I wanted it. The bead on the pocket edges needed to be perfectly plumb and straight so I set it with a level.  

Here is a pic showing mesh taping of bead and splices. I did this to keep cracking to a minimum (especially on the door pocket).

And a pic of mudding in the pocket.
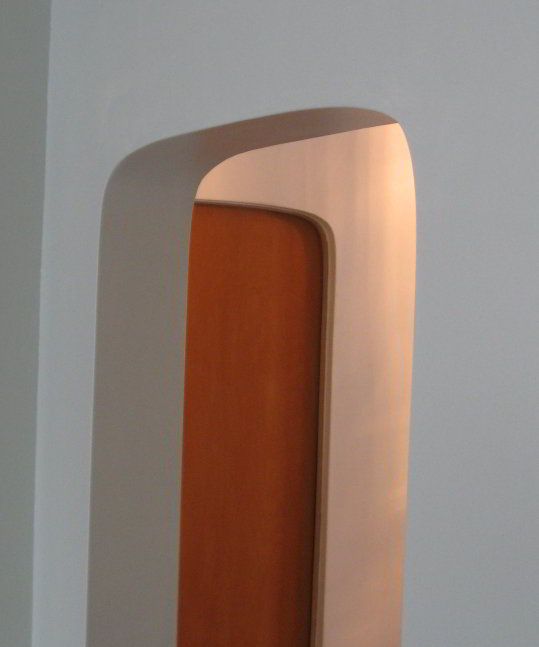
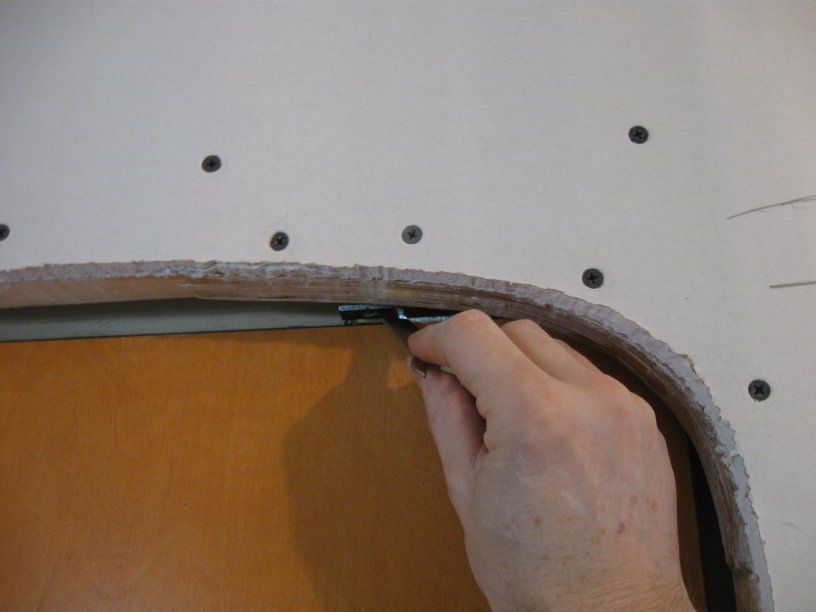
The last pic is out of order... I test fit the door and made sure I could reach the trolley hardware with the arches before I got too carried away.


posted in: Blogs, How-to, arches, pocket doors

Comments (0)

You must be logged in to post comments. Click here to login.