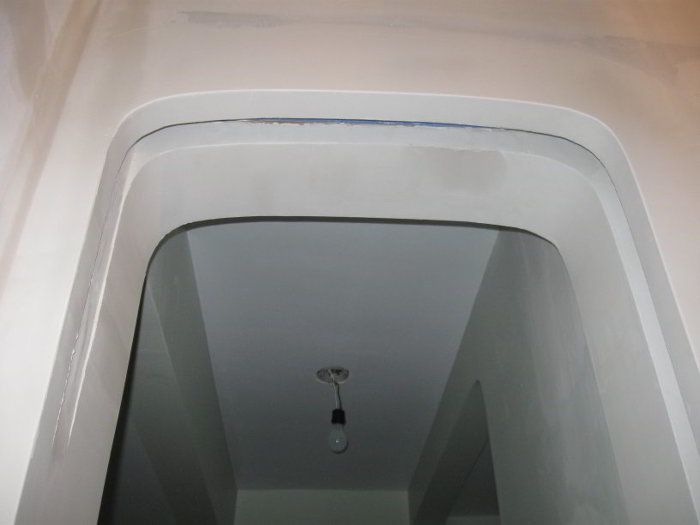
This is the fourth installment in my series of posts on pocket doors installed in arched openings.
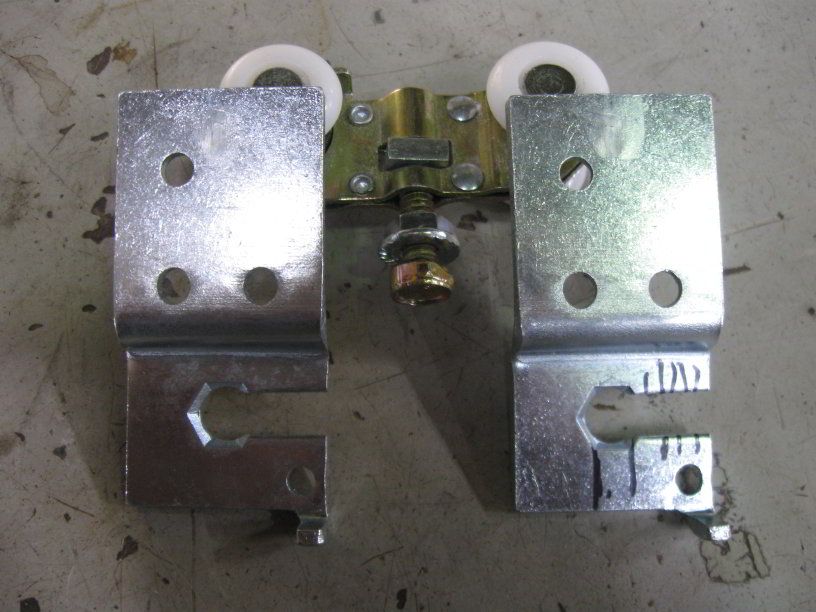
The trolley brackets were slotted for sideways removal of the door, though this does help keep the bolts in place, I wanted to be able to slide the bolts in and out of the brackets with the door in the place. This may be overkill, but is would allow for replacement of worn out rollers without removing the door (so no removing of bent stop molding required).
The slots are in the same axis as the motion of the door now, but they are in opposition, so both pulling on the door and pushing is forcing the hanger bolt into one of the brackets and keeping it from sliding out of the other bracket.
The bolts are seated into a recess in the brackets and lock washered, so they should stay put.
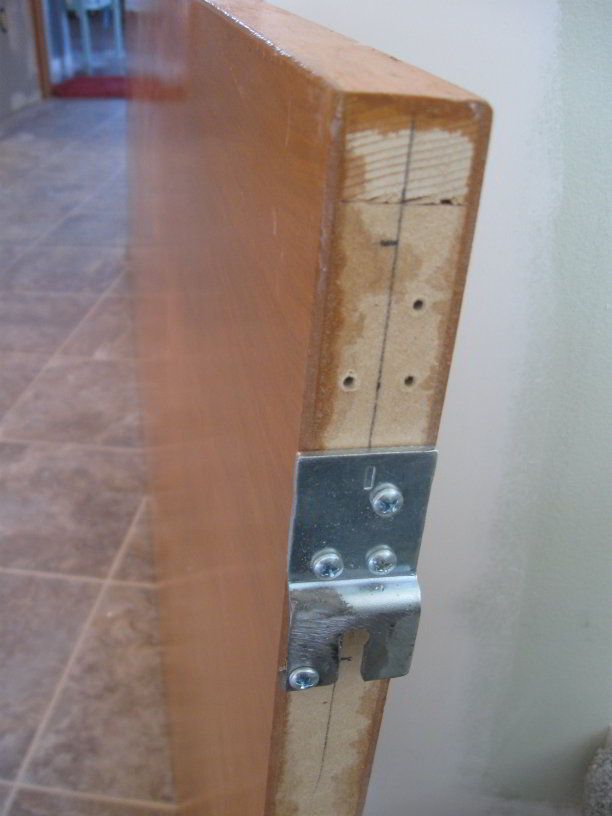
One pic here shows how far I moved the bracket in to allow for the curve of the arch.
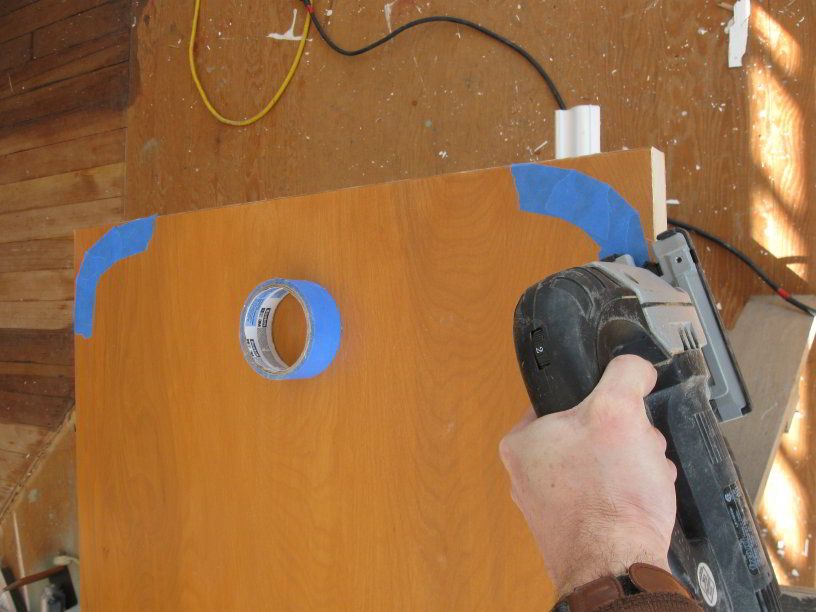
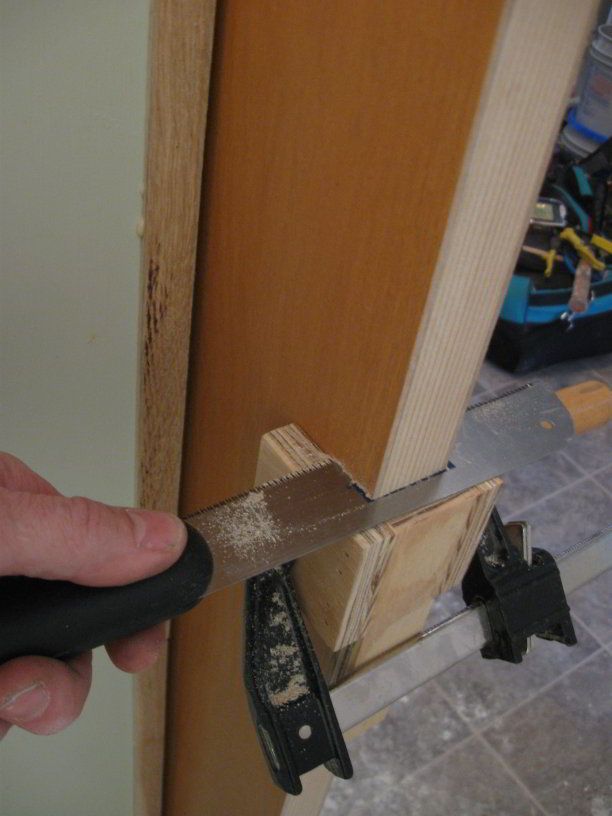
Another pic shows cutting the shoulders on the door. Just touched up the jigsaw cut with a belt sander.
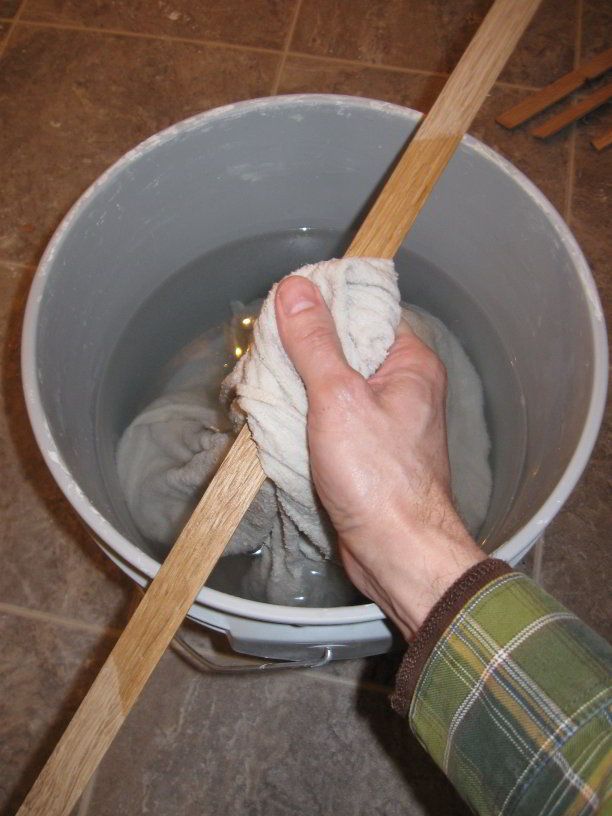
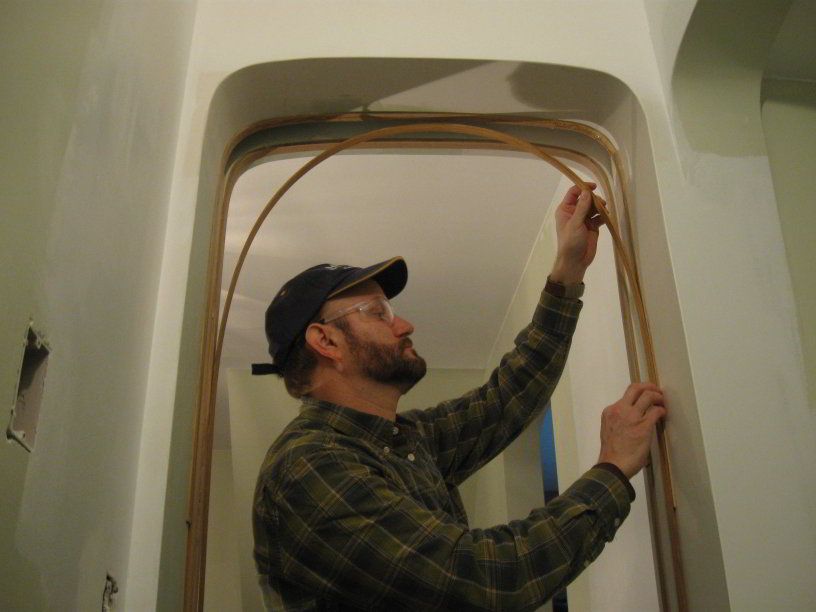
I ripped the trim from 4/4 flat sawn white oak. The rips of the edge of flatsawn stock are essentially quartersawn. These thin strips (3/32″) of straight, vertical grain stock bent nicely after soaking in hot water.
I used gorilla (poly) glue to deal with the wet wood. The stops were double-layered laminations. After the glue cured I cleaned off the squeeze out with a sharp chisel and broke the edges with a light sanding.
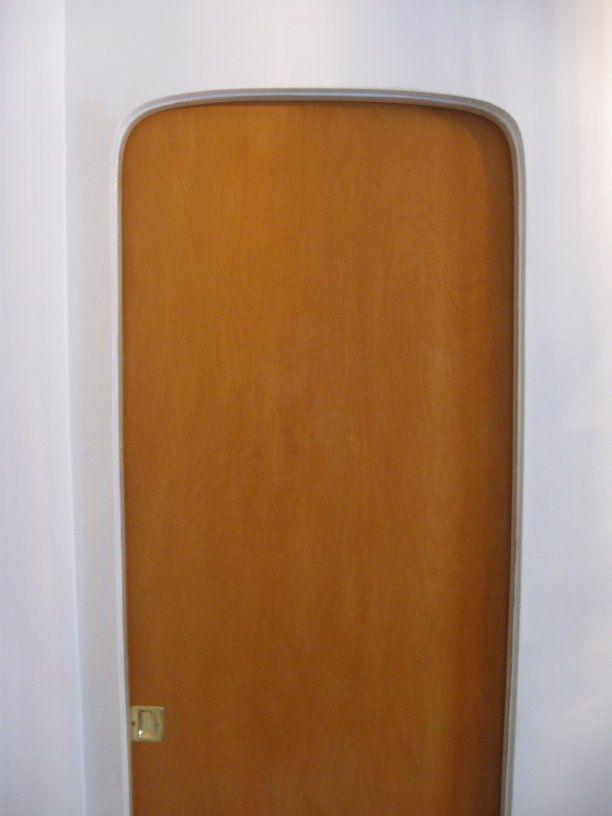
I install pocket door pull hardware after adjusting the hang of the door so the hardware is centered at the same height as other knobsets in the room. I clamp a jig to the door and make the top and bottom cuts with a pull saw, drill out the back corners of the mortise and make the vertical cut with a keyhole saw or jig saw.


View Comments
Great job