Our Building Skills video series is for new carpenters learning the basics of quality construction, and for old pros who want to share their experience.
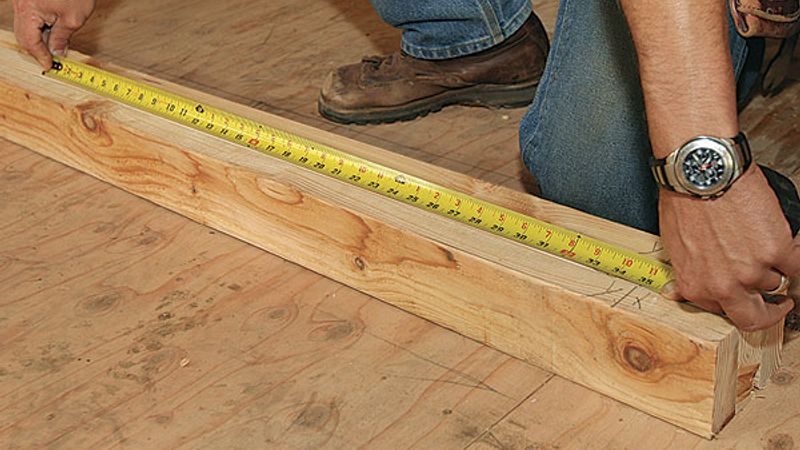
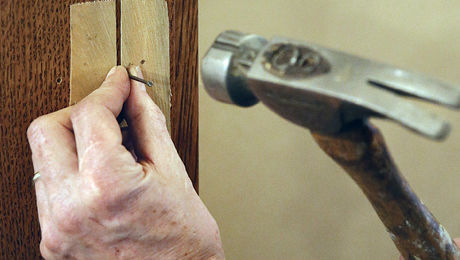
In this episode, watch remodeler and Fine Homebuilding editor Justin Fink lay out studs for a basic framed wall.
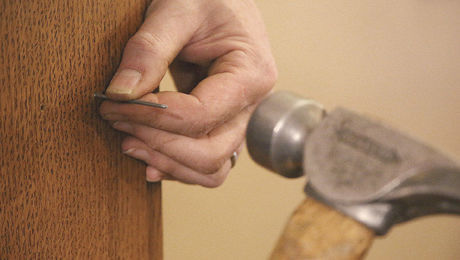
Also, watch our previous episode of Building Skills: Cutting a Door


View Comments
I've seen this way of marking for studs before. The question I always have is why are you deducting 3/4 from every 16 inches. There was no accounting for the first stud which is an inch and a half. That makes the center of the first stud 3/4 and by marking at 16 and putting the stud on the far side of the line, that makes the center of the next stud 16 even.
What am I missing?
OldHicory: The marks are stud edge, not center. He explains it at 2:40 of the video, but another way to think of it is: 96" plates = 2x48" sheathing, so there needs to be a stud at 48" to nail edge into. This stud needs to be 48" on center. which is 47-1/4" from each end of a plate.
well technically he's only subracting the 3/4" from the first stud, the others are all the full 16" in from that. Some guys will mark the first stud, the put the end tab of the tape on that 15 1/4" mark. then the pull the tape out the full length of the board and lock it. At that position they WILL use the full 16" (red marks) on the tape. The stud layout is all about being able to split studs where there are sheathing seams...the point of the layout is so that at 48" you have a stud centered on that dimension. When you think about what makes sense and what will work with stud layout just think about how the sheathing and drywall will install...
Thanks guys! Somehow I had missed the point you both make. And that does make better sense now.
Hi John and Justin,
Wall layout with a measuring tape? Now I do realize you know what a layout stick looks like. Is there some reason you didn't use it rather than a tape and a speed square.
The layout stick has been in existence for 60 years. We would have not have used it when framing if it was not faster than using a tape. I write about it in all three of the books I wrote. I even wrote about how to use it on exterior walls to offset the layout 3/4 in.
Hi John & Justin,
My message on the layout stick was sent before I finished.
Anyway, I know that construction information sometimes moves slowly across our wide country, but as I say, the layout stick has been around for 60 years. It is a production tool.
Take care, Larry Haun
Hi Larry,
The reason we focused on the tape measure and speedsquare is because this video series is focusing on the basics of homebuilding. A layout stick could speed things up for a production builder, but I'm willing to bet that they learned how to layout their first plate with a tape measure.
And for anybody reading these blurbs, go out and buy Larry's books and DVDs. They are an EXCELLENT resource for people new to building. Especially the "Habitat for Humanity: How to Build a House"
Can you explain to me the proper way to make a right angle join between two framed walls? I can make this work but would like to know the proper way to do it.
Cheers,
Dave
filch,
Do you mean a corner or an intersection, where one wall butts the middle of another?
Dan
I'm adding some walls in a room with a suspended ceiling and accustic tiles is their an easy way to frame up to the ceiling or do I have to go above and redo ceiling sections plumb with wall.