Hi Chuck
What a great feature you have !!
When installing crown molding alone or with help, the challenge is getting the floppy molding correctly positioned and hitting all the studs and joists with nails or screws. Every missed stud is another hole to fill.
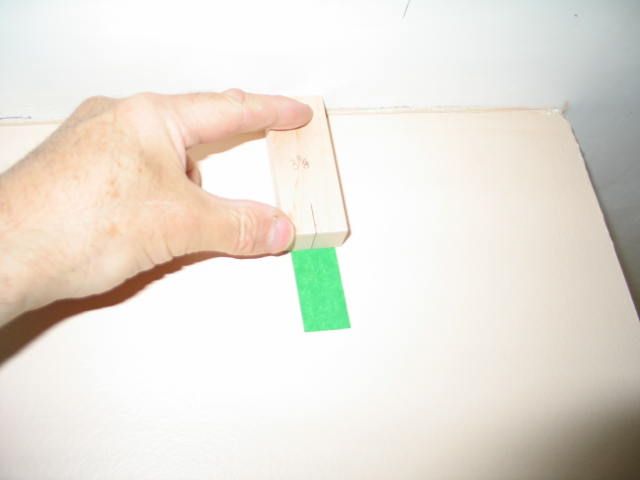
Some premeasuring and taping simplifies this problem. Locate the studs and joists and then cut hardwood blocks that are equal to the height and depth of the molding. Use the blocks to place tape on the wall for every stud and joist location. If you missed any it will be obvious where they all are after you have a few up. (cut several pieces in advance)
Of course you won’t have to mark joists all the way around because you will be using blocking on the walls that are parallel to the joists. The ceiling tape still helps on these walls with getting the molding positioned properly.
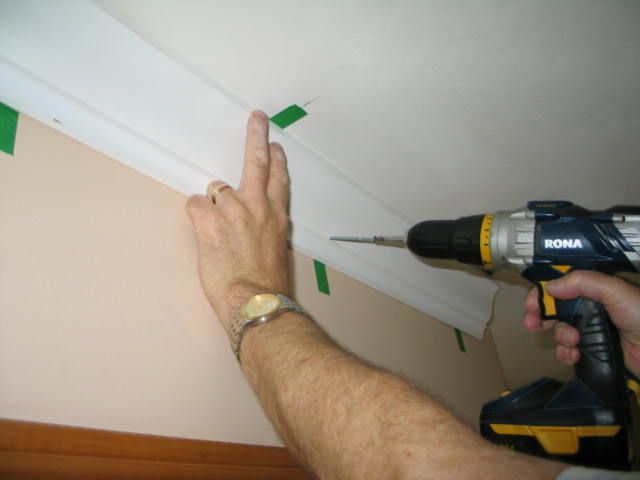
Now when you install the molding, all you have to do is place it between the two sets of tape and you know it’s at exactly the right angle. You can now put in your nails and screws with confidence that you will not miss the studs or joists.
The other locating problem is getting a sagging piece of molding located properly lengthwise on the wall. This is solved by marking the wall at a convenient length like 6 feet from the corner. Now mark the molding at the same length less any clearance that you had to allow (like 1/16″) Now when you line up these two marks during installation, you know it is perfectly located between the two corners.
(your photo size limit doesn’t allow me to add this one but it is pretty obvious)
Hope this helps.


View Comments
Hiya ABcanuck,
that's a slick way to keep your crown at the right spring angle, and locate nail backing at the same. thanks so much for contributing to our little brainstorm bulletin board here. glad you like the tips.
Chuck
Definitely helpful when working alone with longer lengths of crown. Thanks!