TRENDING ON FINEHOMEBUILDING

previous
  • 2013 HOUSES Awards
    2013 HOUSES Awards
  • All about Roofing
    All about Roofing
  • Outdoor Kitchen Inspiration
    Outdoor Kitchen Inspiration
  • Basement Remodeling Tips
    Basement Remodeling Tips
  • 7 Small Bathroom Layouts
    7 Small Bathroom Layouts
  • What’s the best decking?
    What’s the best decking?
  • 7 Smart Kitchen Solutions
    7 Smart Kitchen Solutions
  • 15 Coffered-Ceiling Ideas
    15 Coffered-Ceiling Ideas
  • 9 Concrete Countertops Ideas
    9 Concrete Countertops Ideas
  • 2014 HOUSES Awards
    2014 HOUSES Awards
  • The Hobbit House and More
    The Hobbit House and More
  • Read FHB on Your iPad
    Read FHB on Your iPad
  • 12 Remodeling Secrets
    12 Remodeling Secrets
  • Remodeling in Action
    Remodeling in Action
  • Clever daily tip in your inbox
    Clever daily tip in your inbox
next
Reader Quick Tips


Dead level demo

comments (0) May 20th, 2011 in Project Gallery
bikinmatt bikinmatt, member


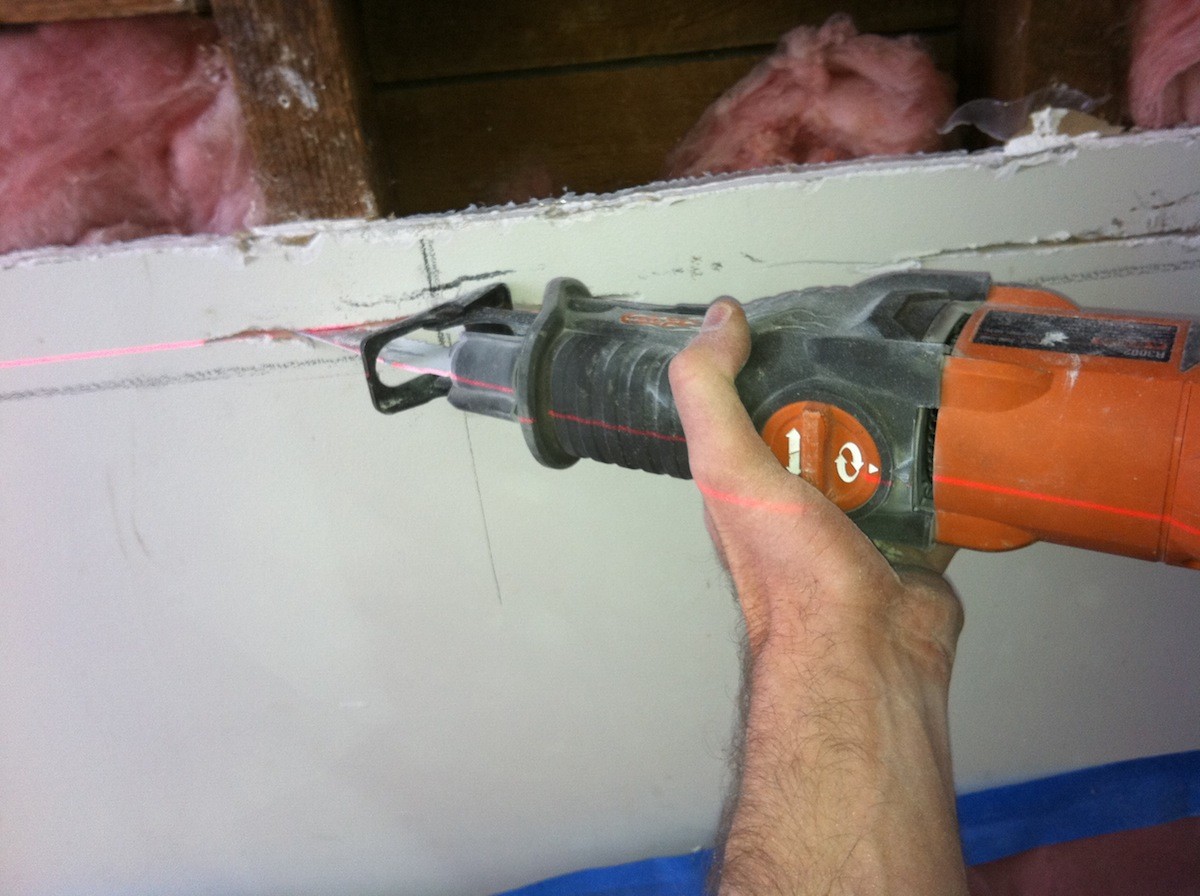
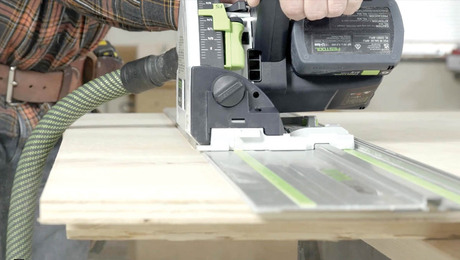
When cutting out a new RO for a window installation, I wanted to be sure my cut at the bottom would produce a level sill. I happened to have my layout laser set up because I wanted the new window to be positioned well with the rest of the casing in the room when it came time for the finish work. I discovered that if I set the laser line on my cut line, I could line it up on the body of the saw to help keep the cut from wandering. With a little practice, I was even able to sight the line all the way down the blade. Wish I had snapped a shot of the level after - it was dead on.


posted in: Project Gallery, remodeling, framing

Comments (0)

You must be logged in to post comments. Log in.