Reader Project
Closet Storage

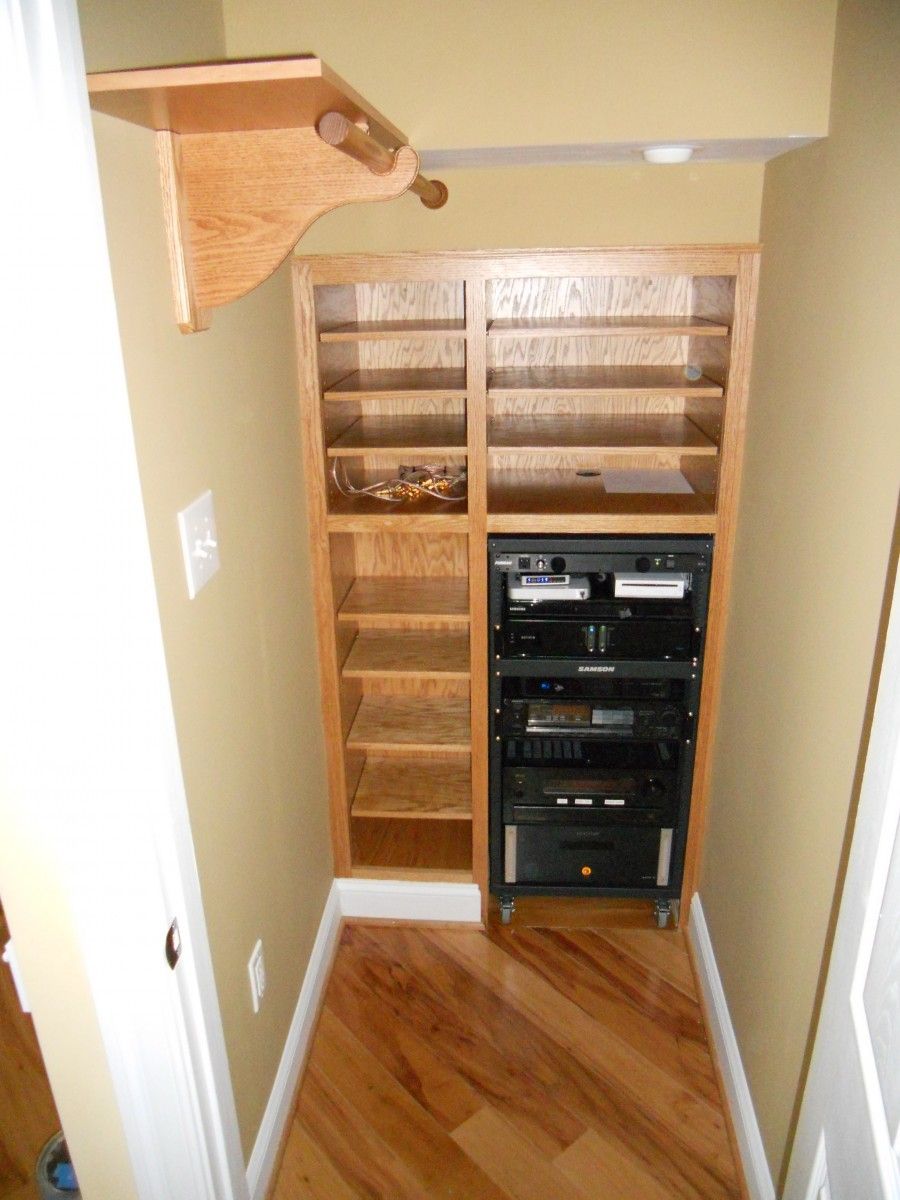
There was a waste of space inside a closet under a stairway that needed to be used for storage and to hold some entertainment componets. The back wall was removed (sheetrock, framing) new framing for the new storage cabinet was added and flooring for the cart thas holds all the componets, that is on wheels to access the wiring in the back. Any future componets could be added to the space above the cart. Also a closet rod and shelf was added. Now the closet can be used as a closet again so that the butlers pantry can get rid of the coats and clutter.
-
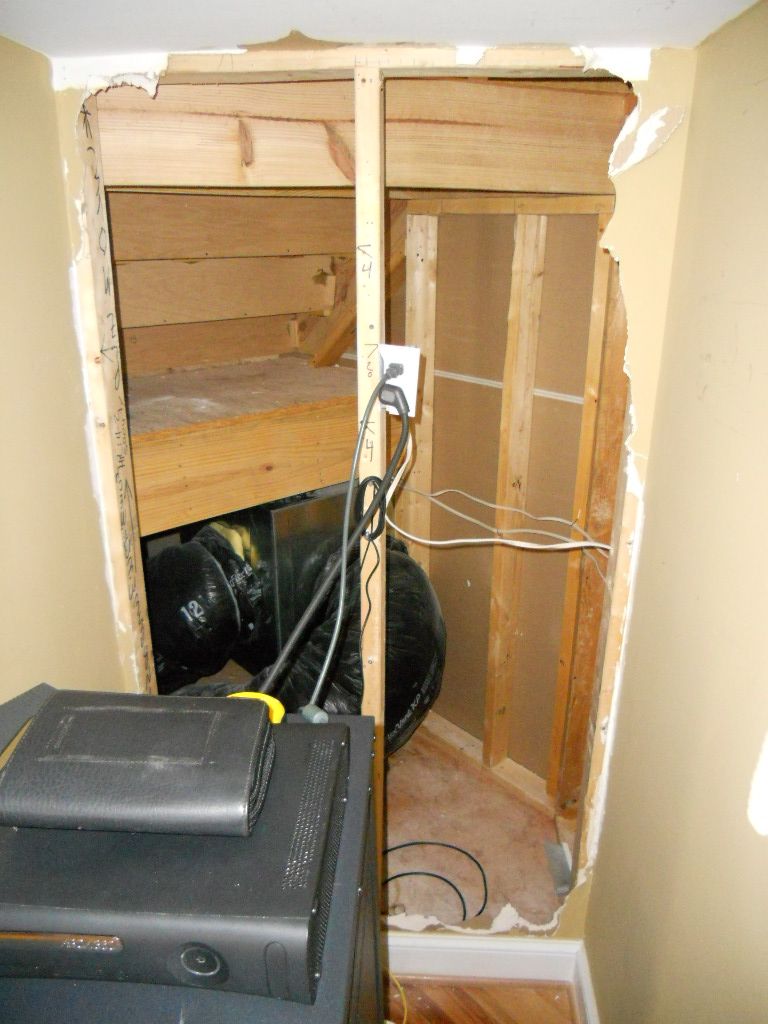
The demo begins. The plan is to use the unused space under the stairs for storage to be used for many things.
-
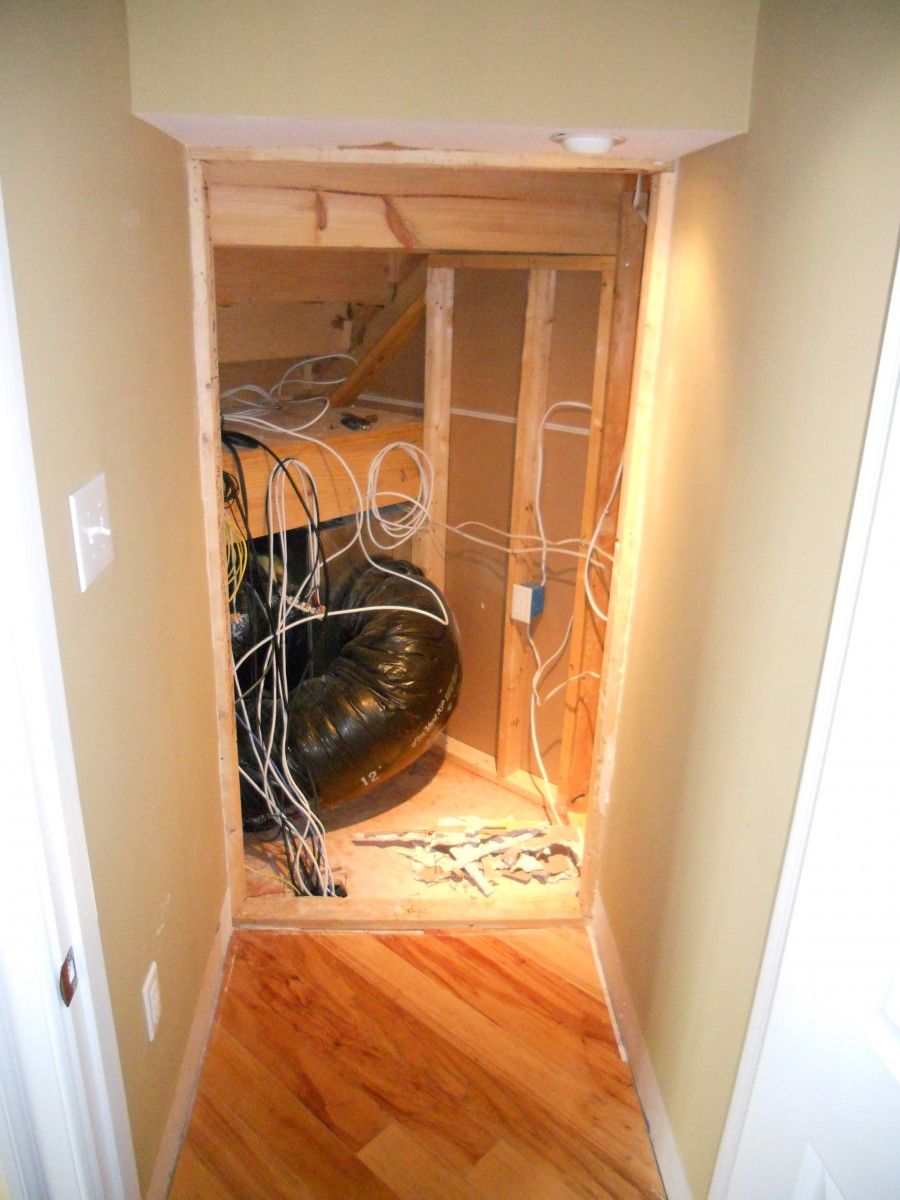
The demo is complete, now time for the prep work for the storage cabinets.
-
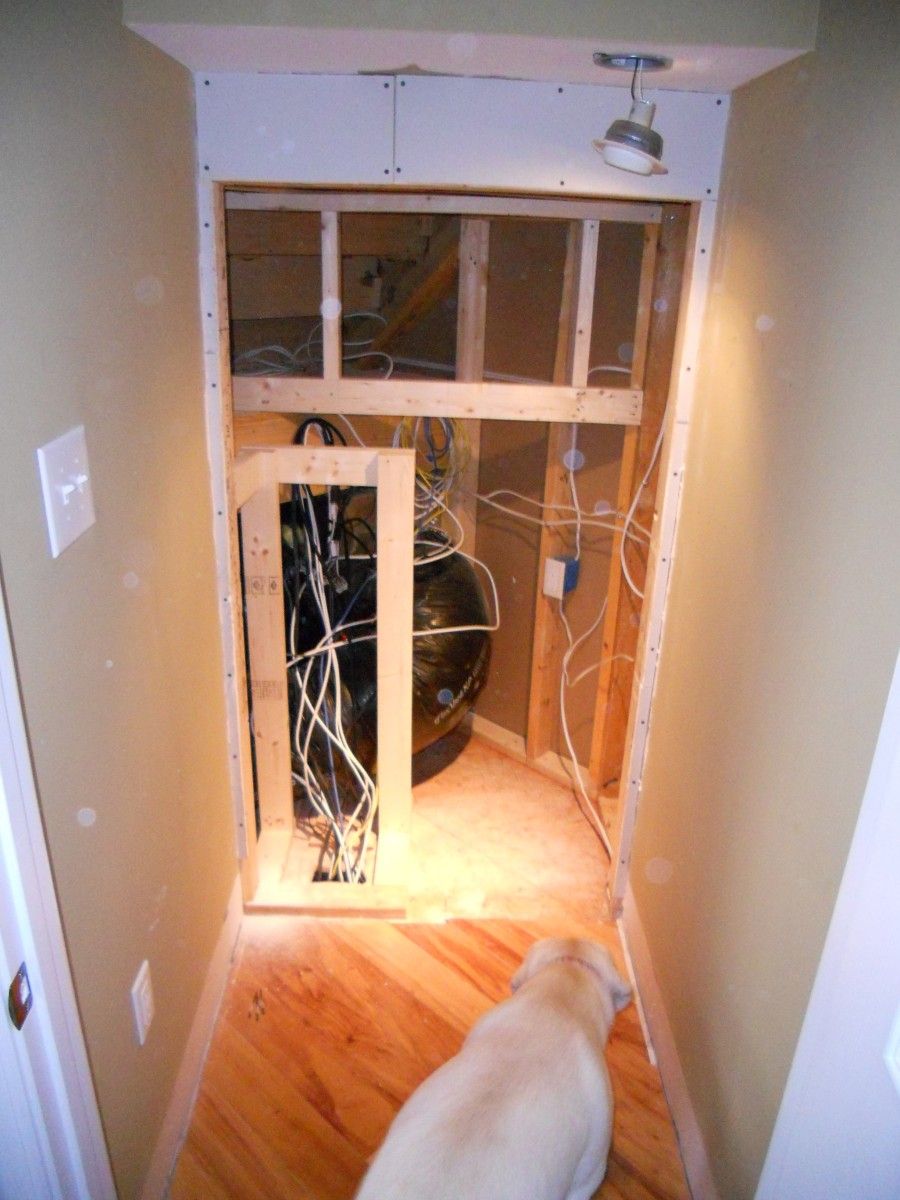
With the basic framing support for the cabinets and sheetrock now in place, time to install the storage unit.
-
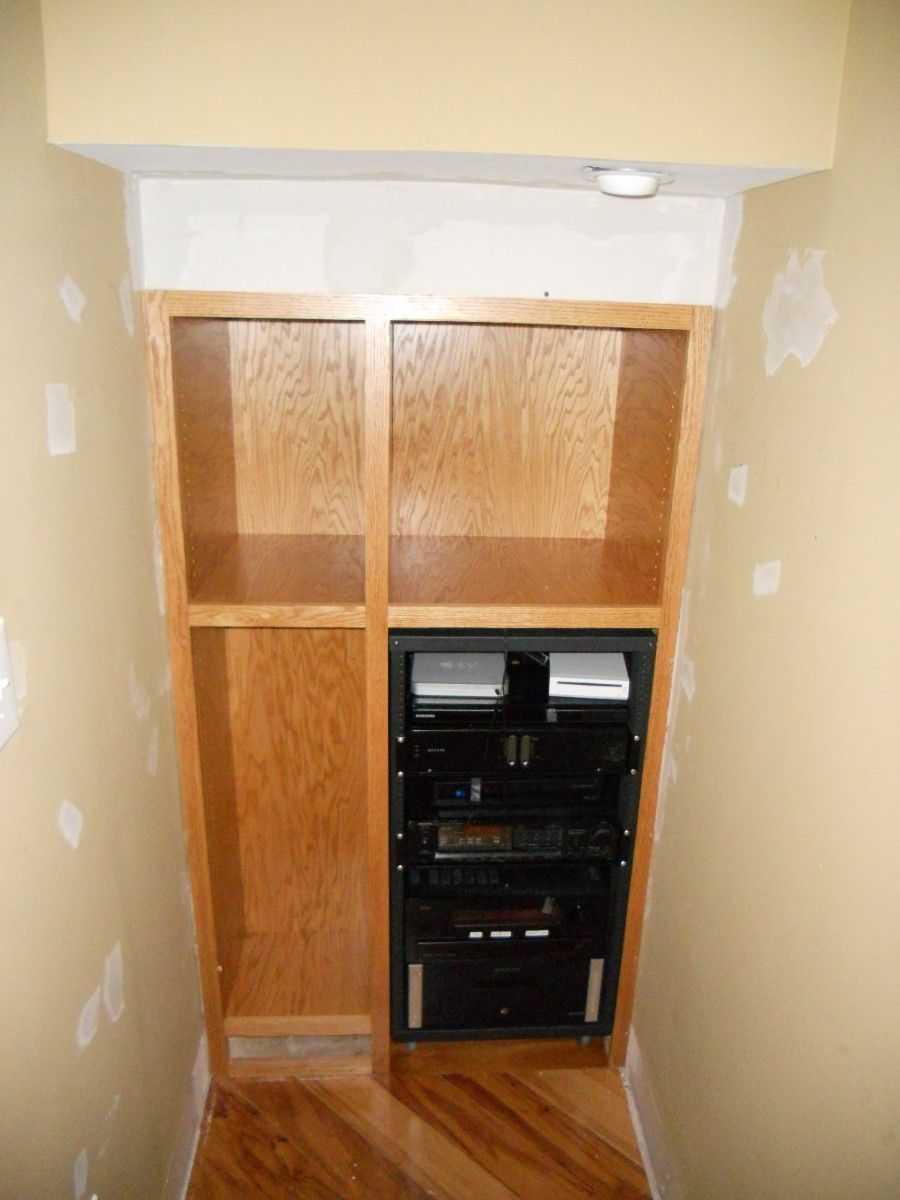
With the main body of the cabinet installed and the sheetrock mud aplied, all that is left is to sand, prime, paint and install the baseboard and shoe molding.
-
Baseboard, shelving, shoe molding and coat rack installed. Final coat of paint makes it all come together.


View Comments
i am you fan
cooooooooooooool
gud job
That is quite impressive
I really like it.. Well done
Like your work
Great project
Love this wonderwork
Great wood work with awesome finishing touch.
Just mind blowing.
Unique and brilliant designs
I appreciate with your work