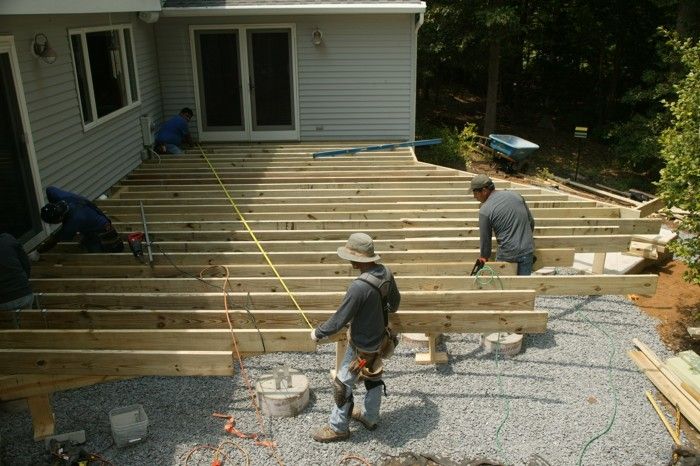
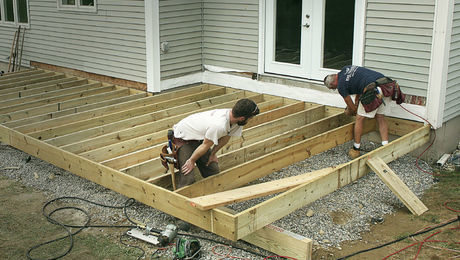
It’s day six of this deck in Maryland, and the weather couldn’t be better, a relief from last week’s heat. Once all the footings were dug and poured, the framing went pretty quickly, and today Clemens Jellema’s crew is tuning up the final details before they start installing the decking.
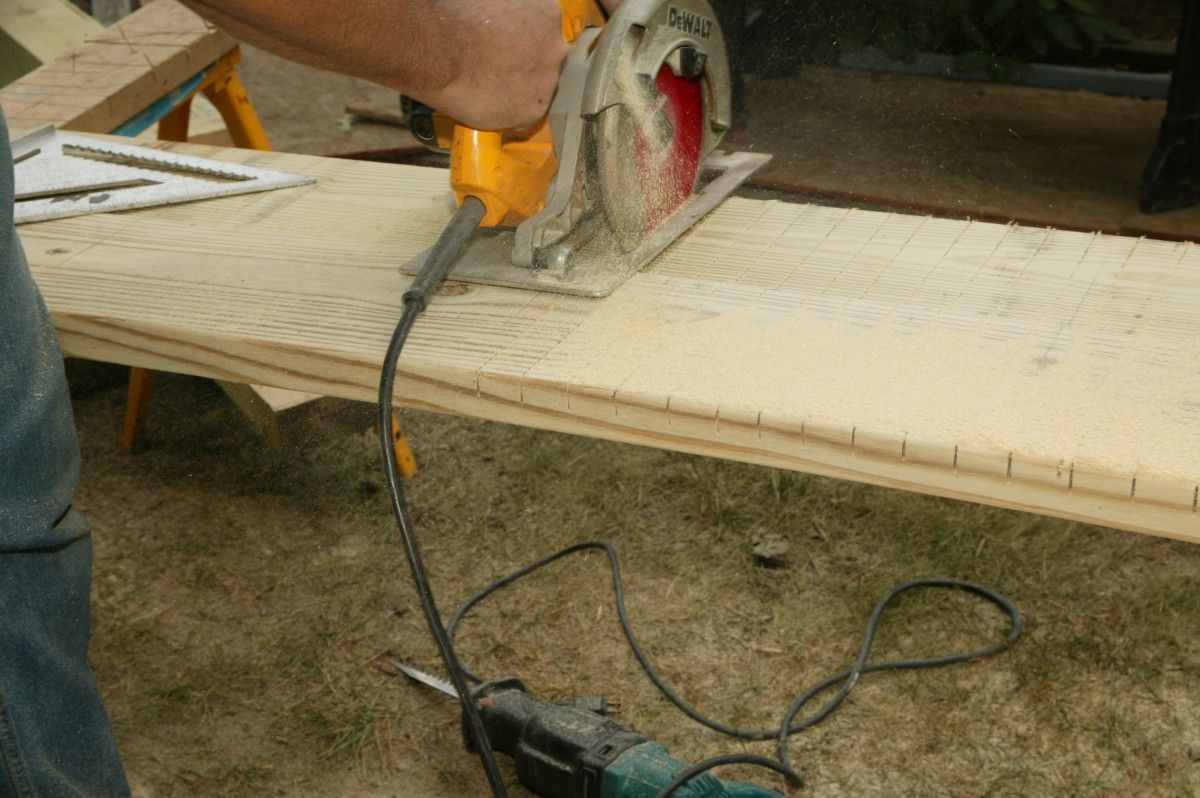
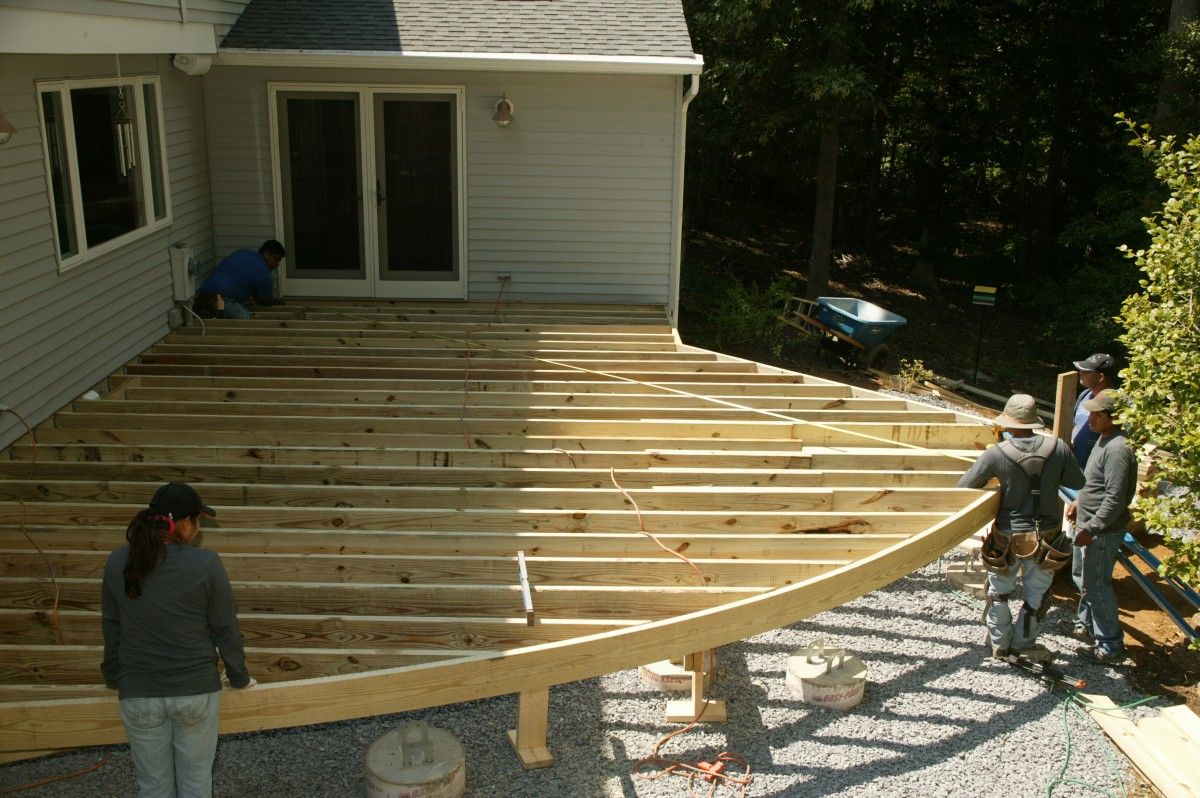
Framing the radius was easier than I thought. They carried the joists out past the line of the radius, then swung a tape from the corner and marked the intersection of the radius and the joist tops. I think the radius was about 24 ft. Once the marks were carried down across the joist faces and the cuts made, they applied the doubled band joists. Clemens’ trick here was to kerf the backs of the band joist stock, 3/4 in. deep, spaced 1 1/2-in. apart. All those kerfs made the 2×10’s as limp as noodles, so it was easy to bend and nail it into place. And the result was a nice, fair curve on the outside of the deck.
-
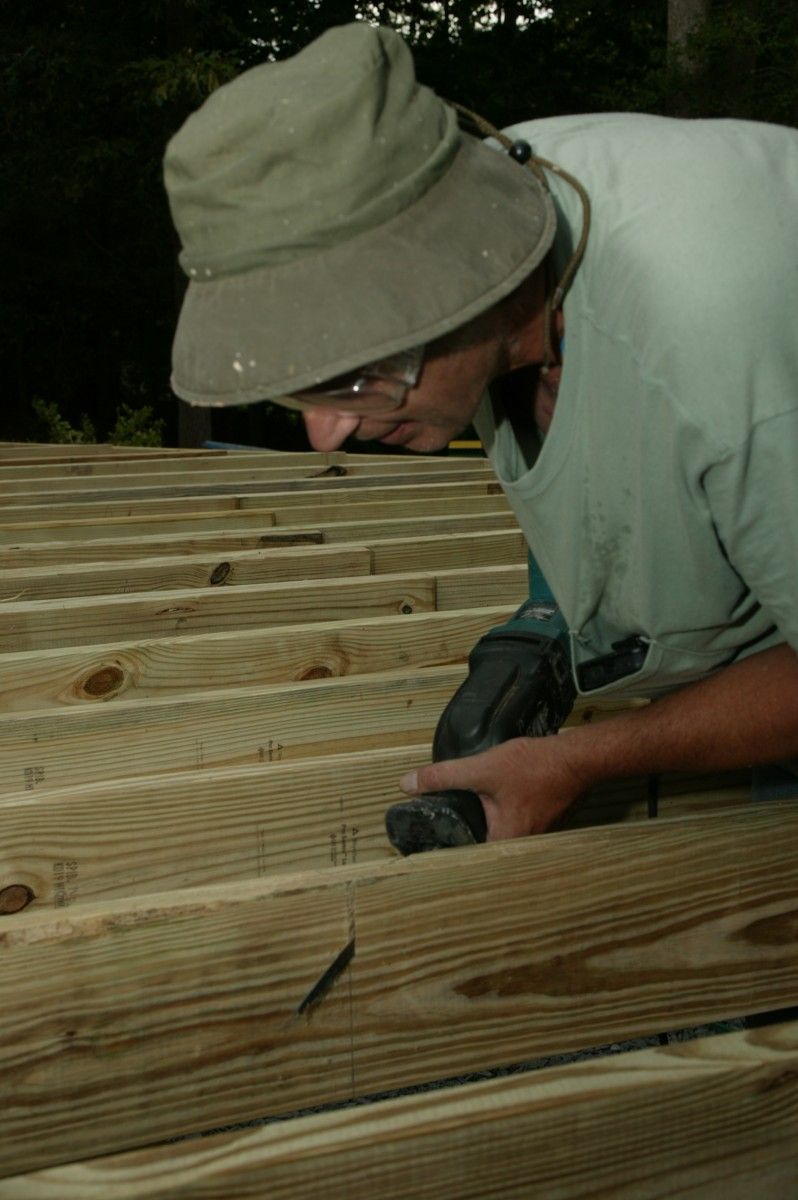
Marking the radius across the tops of the joists.
-
Band joists get kerfed to make them bend.
-
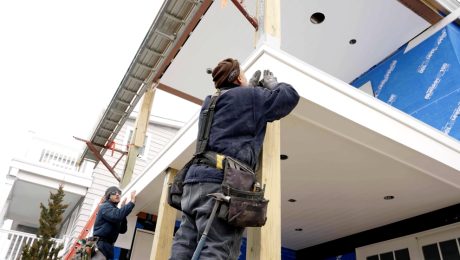
Installs as easy as 1-2-3.
-
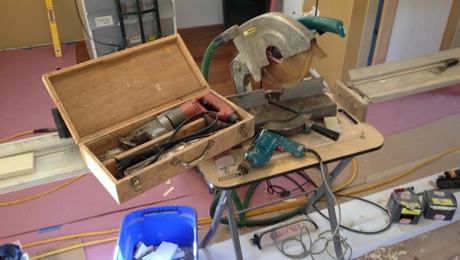
The only way to cut that angle is with a recip saw.


View Comments
Great Article. Thank you for posting this. You might be interested in checking out fine luxury homes by Brejnik Fine Homes(www.brejnik.ca). They build fine luxury houses. Brejnik team consists of qualified and trusted: Architects, Interior Designers, Appraisers / Lenders, Trades & Suppliers, Geo-technical engineers, Structural Engineers, Arborists, Landscape Architects, Pool & Water Feature.