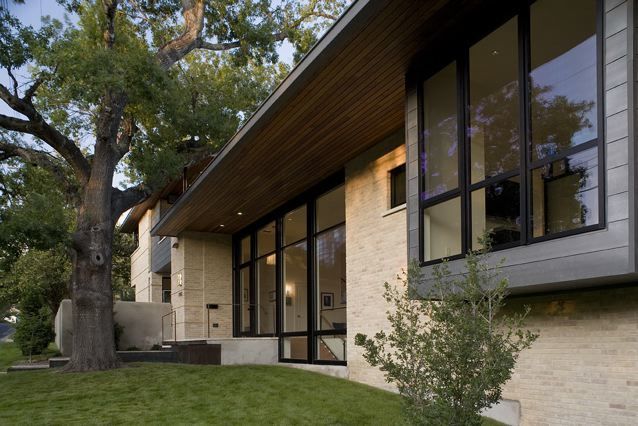
I really like masonry-clad buildings. It’s tough to beat the longevity, durability, and easy maintenance of a rock or brick facade.
From a building science perspective, brick is a terrific building material because it’s got a built-in air cavity between the brick and the house. It’s traditional for masons to leave 1″ of air space between the back of the brick and the framed wall. Brick and mortar are naturally porous and WILL LET WATER pass through, so this 1″ air gap is vital to drain the moisture out of the cavity.
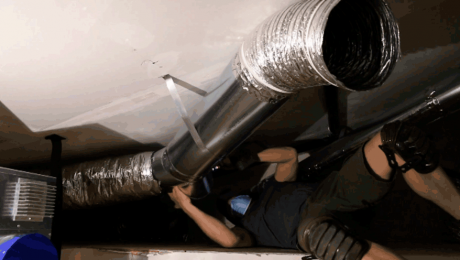
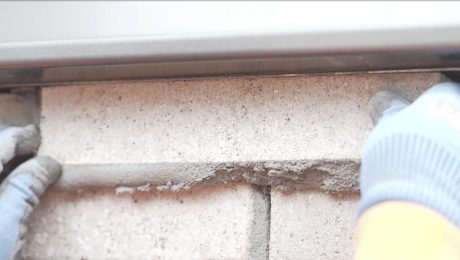
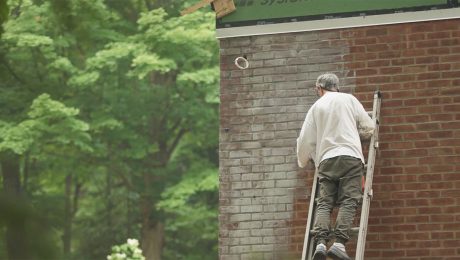
This airspace is hugely important. It allows the brick to absorb water then dry to the front or the back of the brick. Remember that brick is considered a “reservoir cladding,” which means that it can soak up literally tens of gallons of water, then slowly release this moisture over time. The waterproofing behind the brick is of immense importance in our hot/humid Texas climate. Here’s why: Our hot climate means we run the sprinkler system ALOT and our brick exterior walls might be getting soaked 2 to 4x per week year round at 4 AM when a homeowner’s landscape gets watered. Then, when the sun hits that same masonry wall at 10 AM the solar drive effect happens and can destroy a house over the years with the wetting of the walls. See this video I shot to get an idea of the problem with vapor drive and just how porous brick/stone veneer is to water.
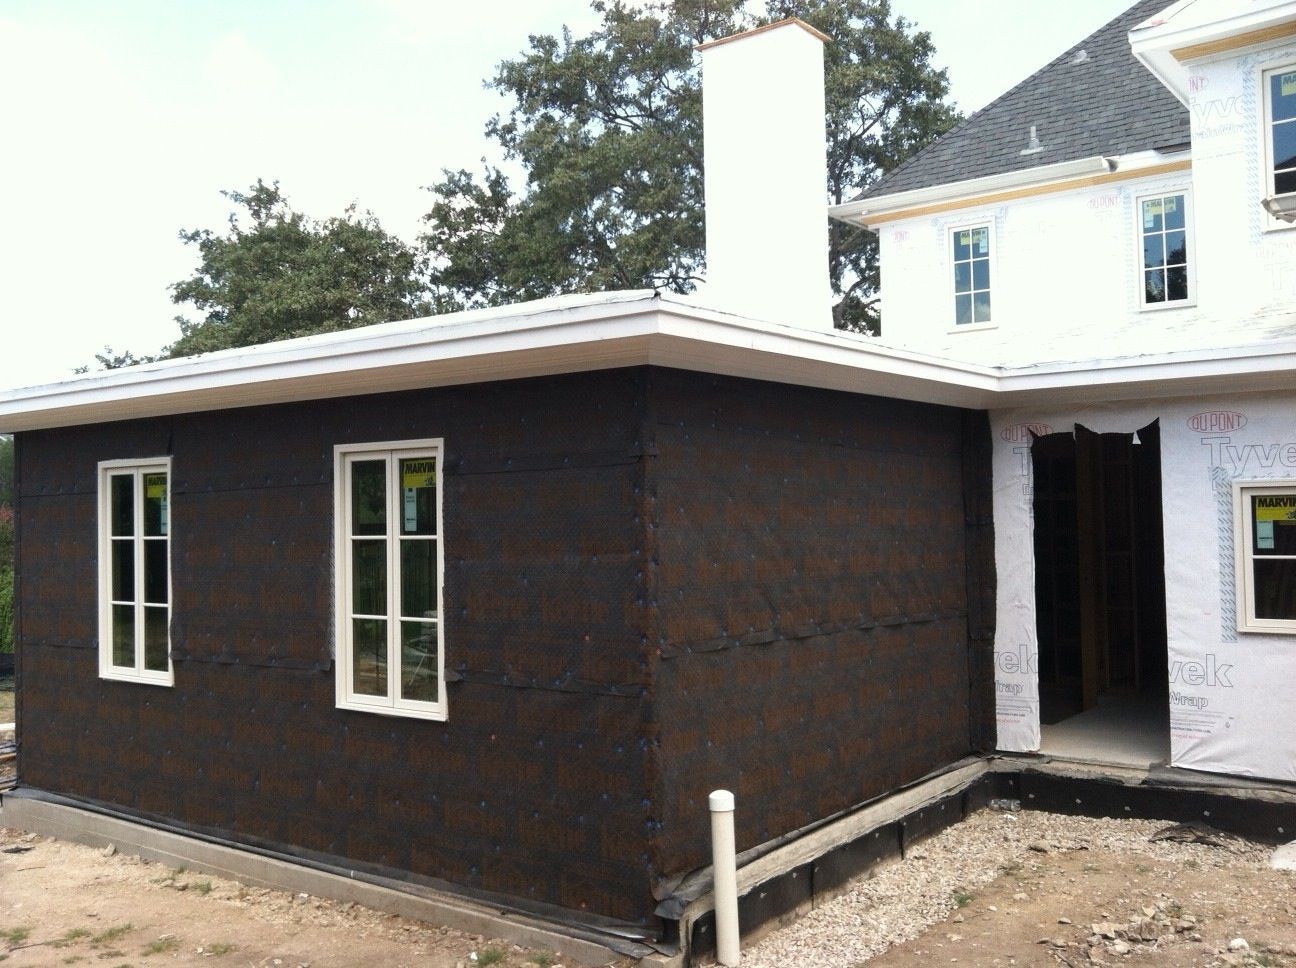
The main point of the video is that we want a very high quality housewrap that’s 100% liquid water impermeable (and low-ish on the perm rating). I use Tyvek Commercial Wrap exclusively for my brick/rock houses (it’s rated at 23 perms).
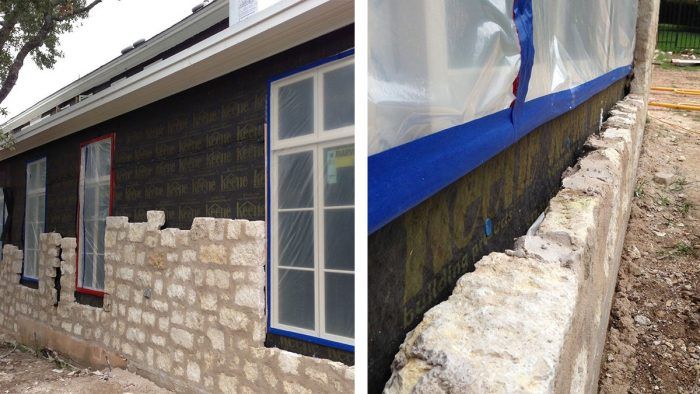
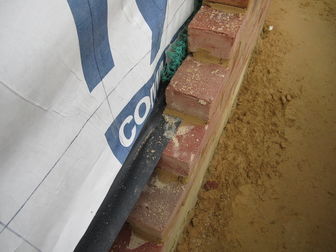
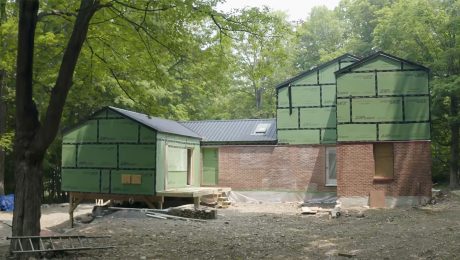
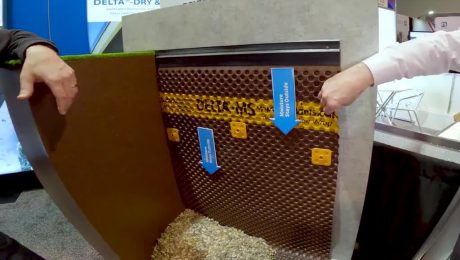
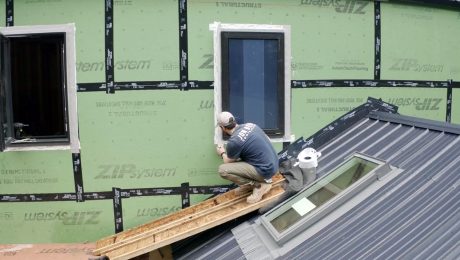
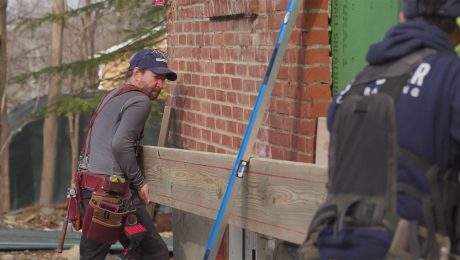
Ok, so brick is relatively straightforward with its 1″ air gap, but not all masonry has that air space. In fact, many rock exteriors here in Texas have zero gap behind the stone, as they are fully mortared to the house. Here’s where a rainscreen product becomes necessary to force the air gap. The photos below are of a house utilizing Keene Driwall Rainscreen for a Limestone Rock install that wasn’t going to have an airgap otherwise. The product on the walls is Driwall 10mm.
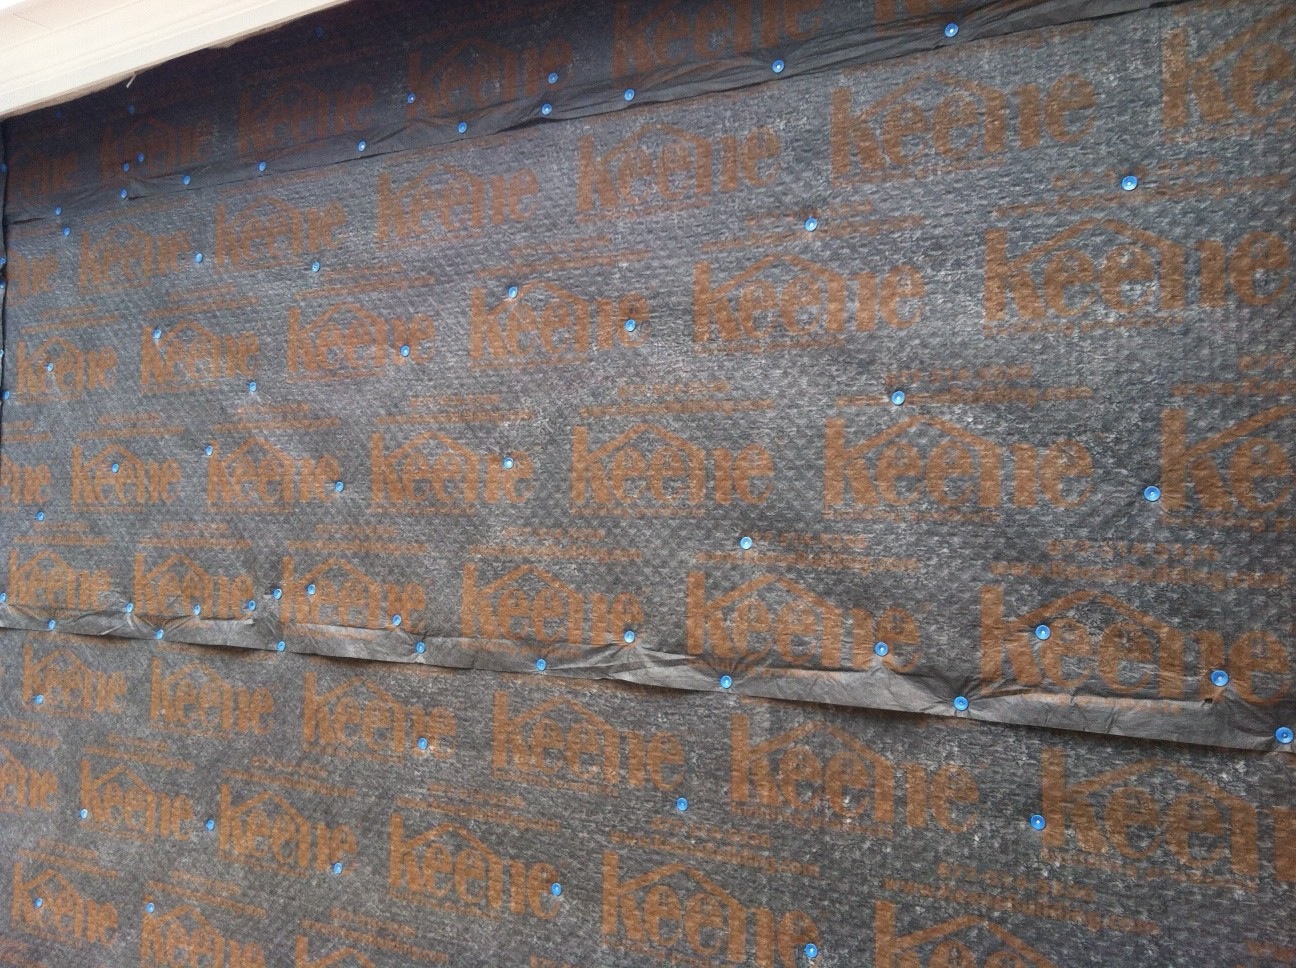
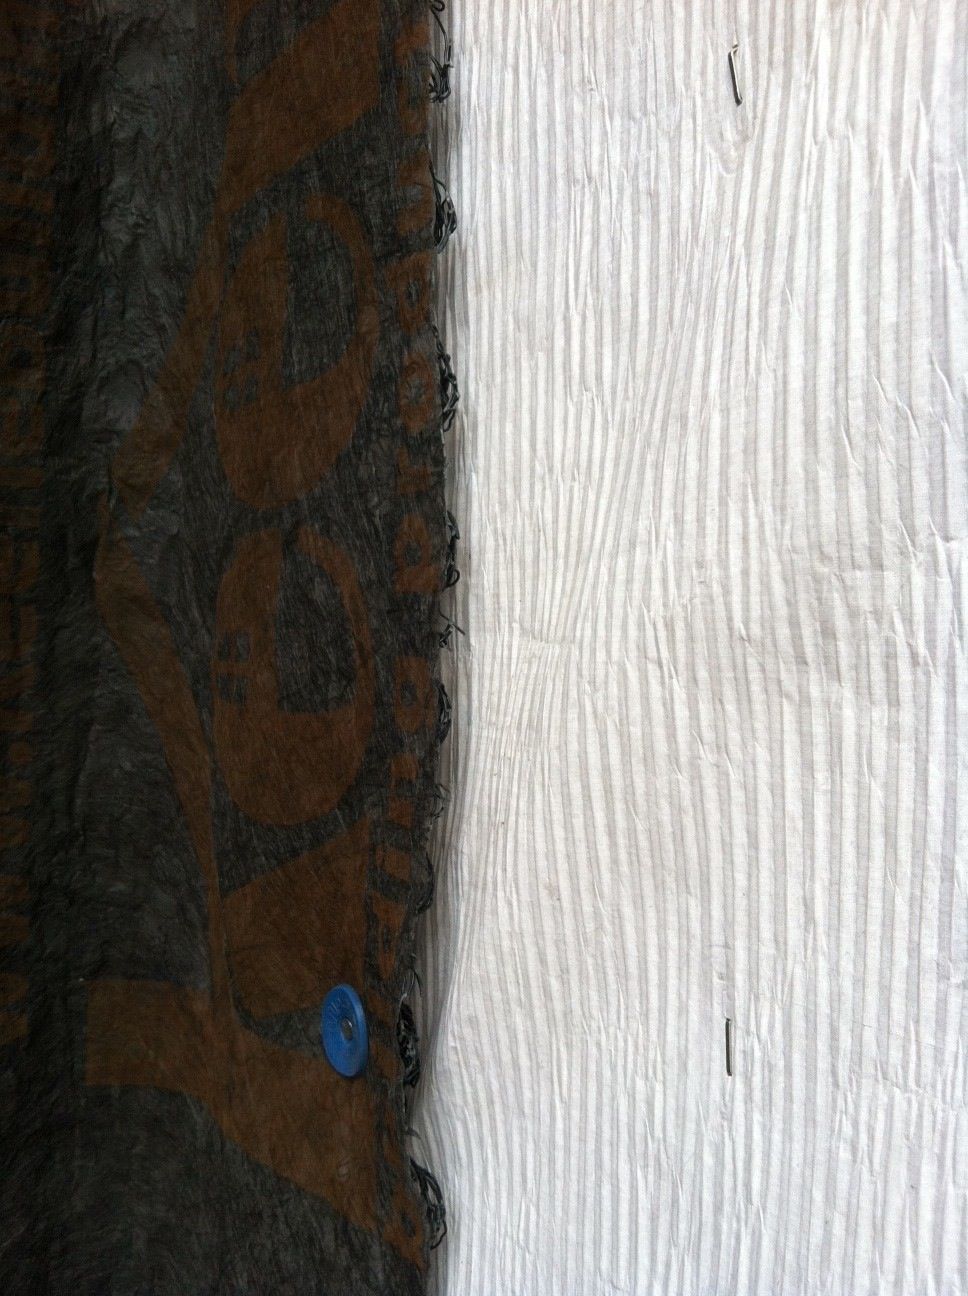

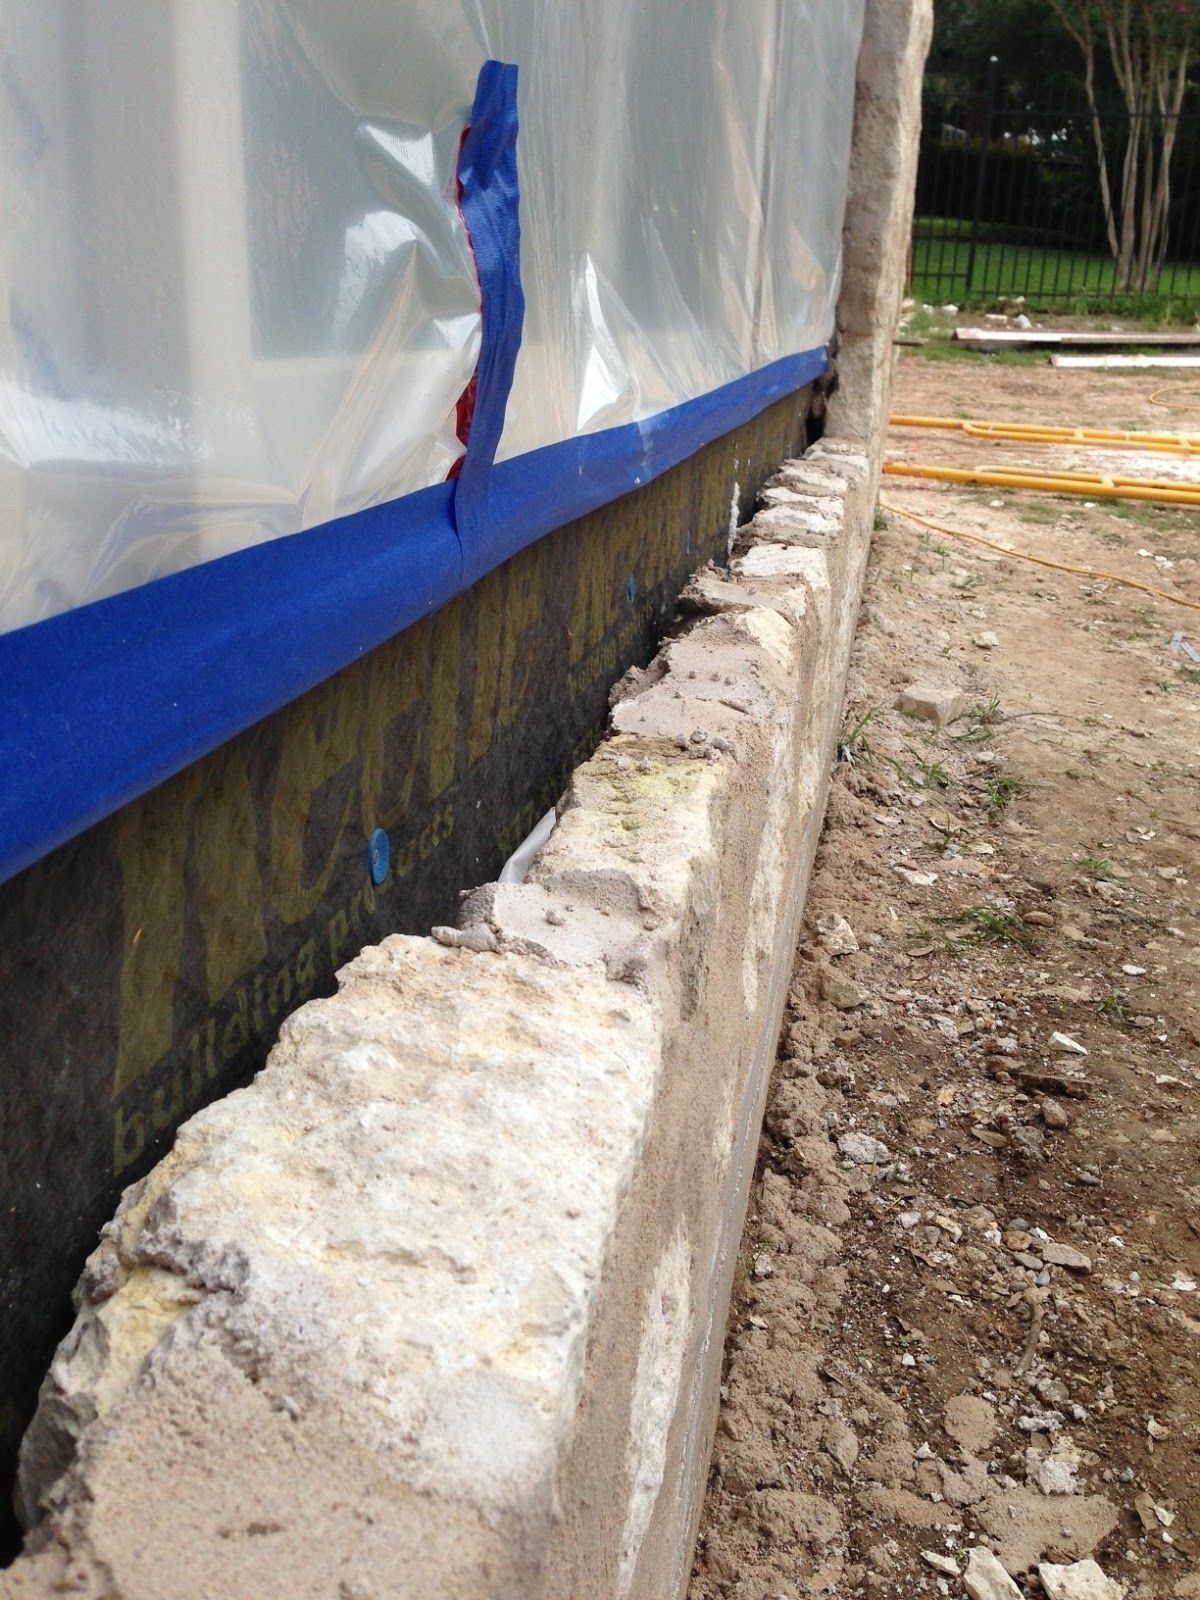
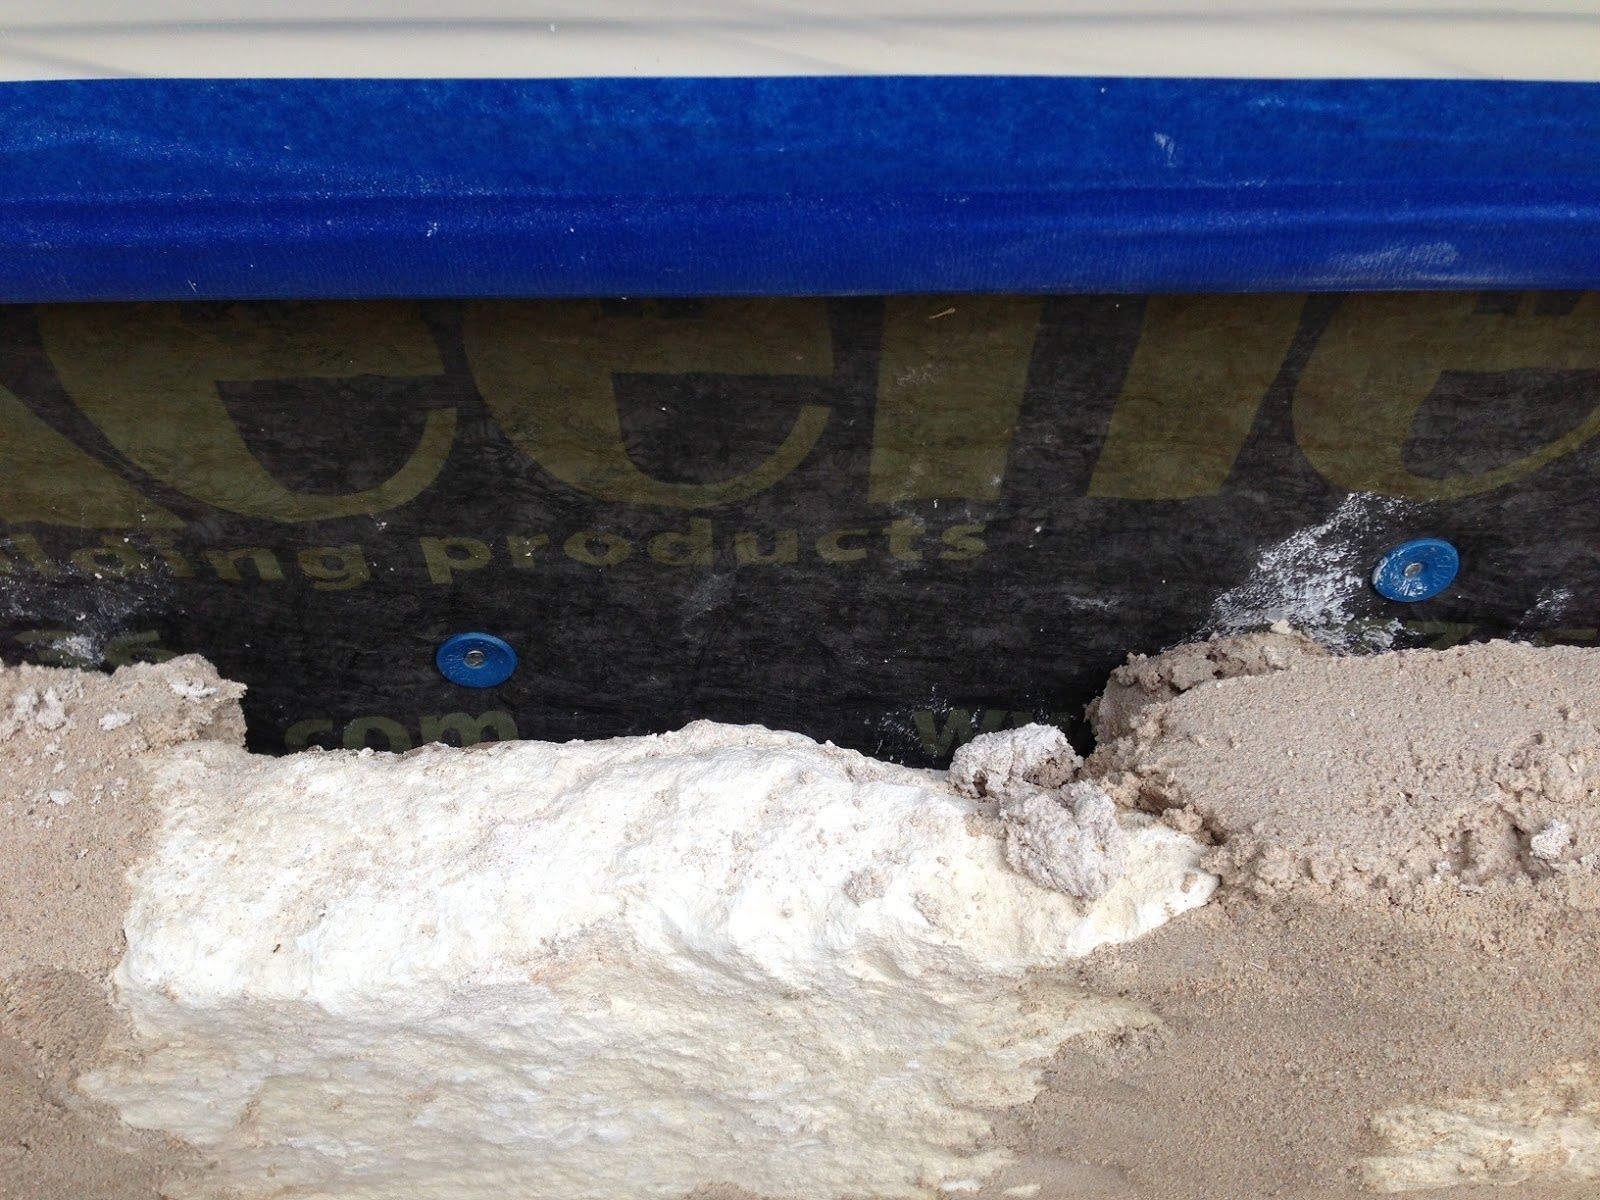
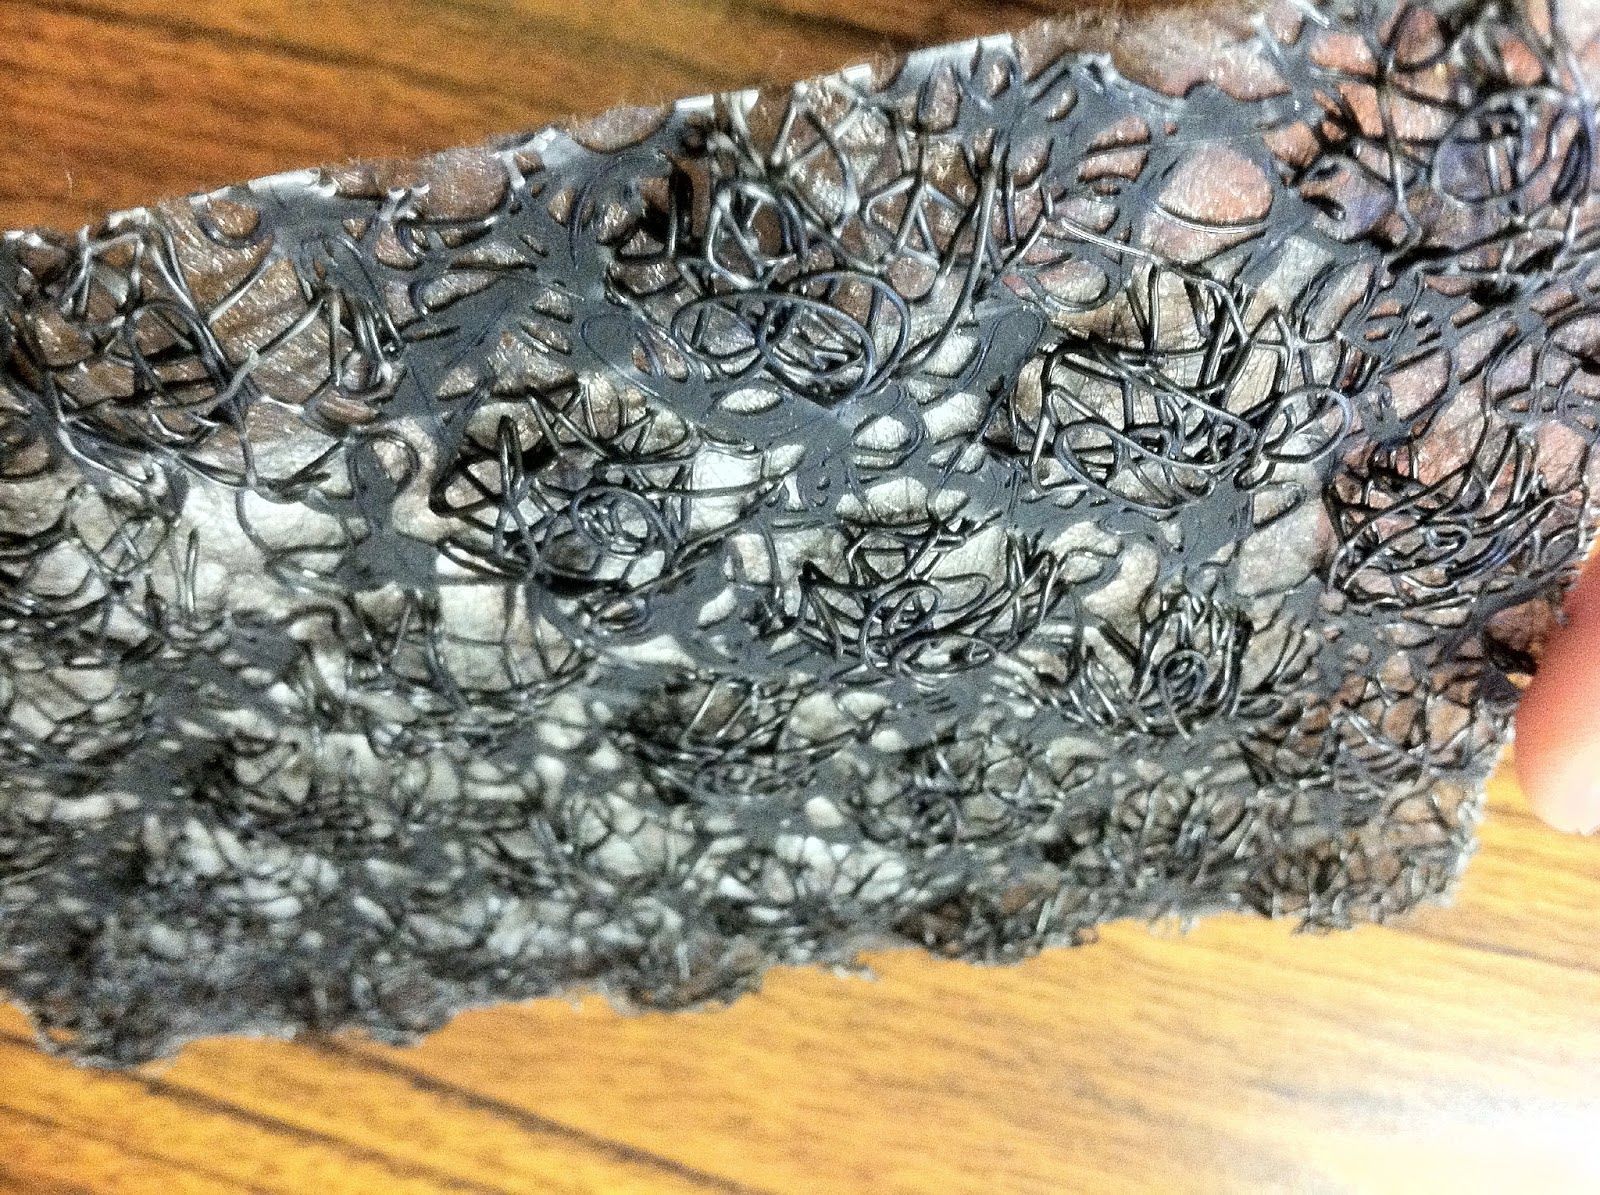
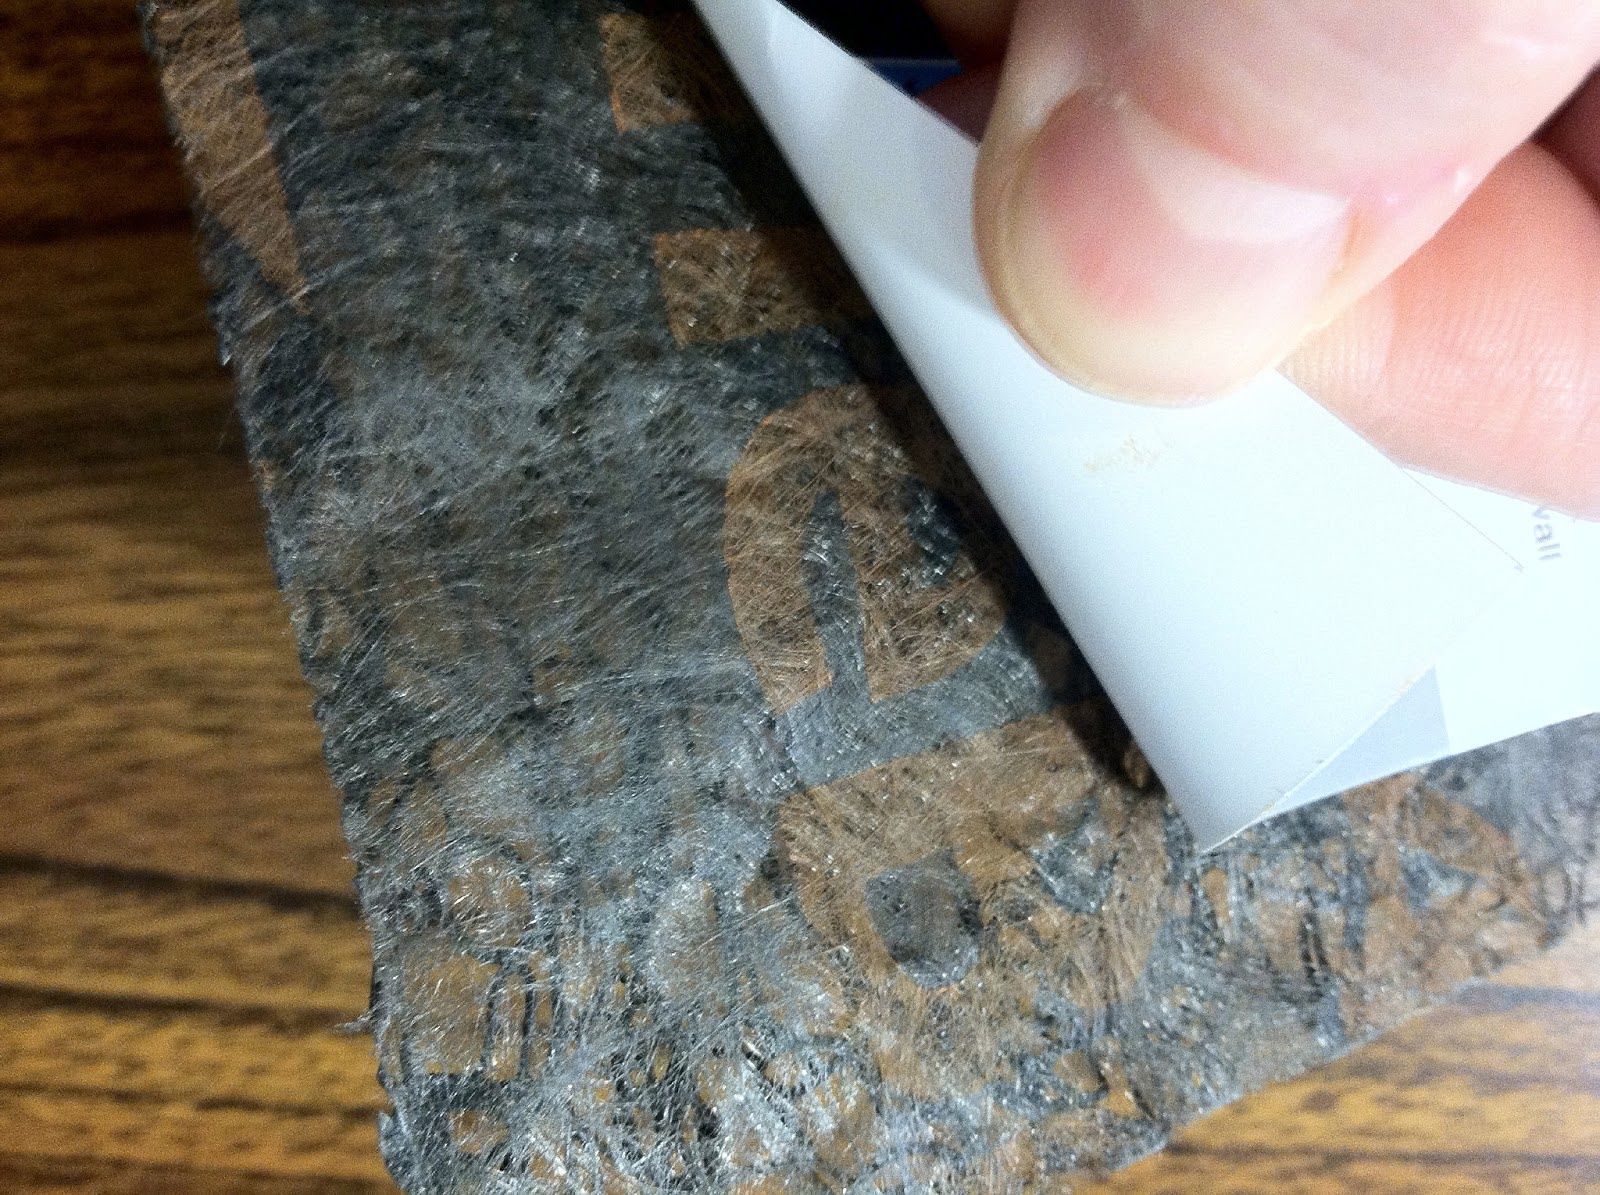
I would consider this a best practice install of a masonry rock exterior. This would also work for stucco, thin stone/brick, manufactured stone, and could even be used to create a rainscreen behind lap siding.
– Matt Risinger
Risinger Homes in Austin TX
Risinger Homes is a custom builder and whole house remodeling contractor that specializes in architect-driven and fine craftsmanship work. We utilize an in-house carpentry staff and the latest building science research to build dramatically more efficient, healthy and durable homes.
Be sure to check out my video blog on YouTube.


View Comments
What's the cost per ft2?
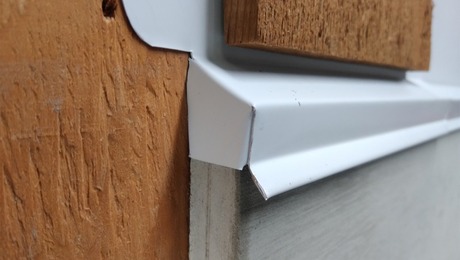
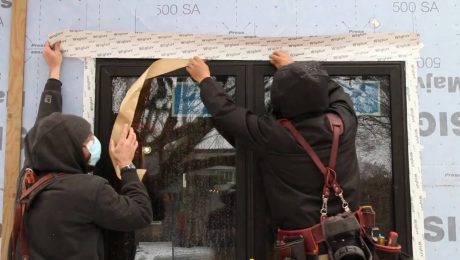
How do you trim/seal around the windows and doors?
@Rozz. You want to detail your drainage layer per the Manufacturer's rec's. In this case it's DuPont Tyvek Drainwrap with Dupont Flexwrap at the window sills and Dupont Straightflash around the head/jambs of the window flanges. Then, when you apply this rainscreen product you simply cut it flush to the windows on all sides. It's not acting as a weather barrier, it's simply creating an air gap to allow water to drain out of the assembly.
@skoeber: Good question. This is running in the $.50-.75 per sq foot range. Pretty affordable considering this might add about 5% to the price of the rock installed.
Nice video on youtube. It ends stating corrective measures are possible with a re-model. I have similar limestone veneer, 2000 build, no tyvek, no 1" gap and no hint of any moisture problems. a)What can be done to check and ensure there is not a moisture problem? b)Any preventative measure to consider for this situation? Thanks.