Finishing Touches:
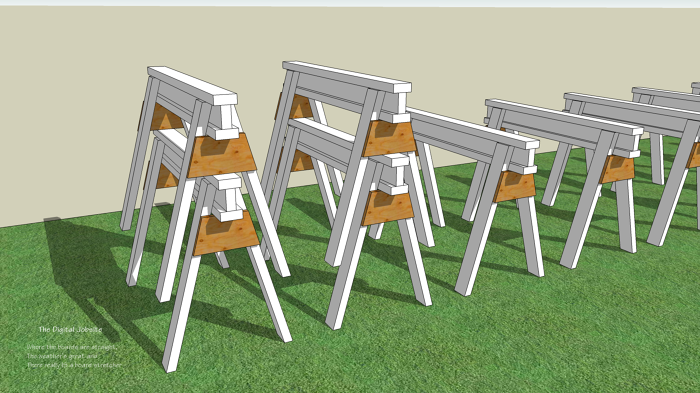
If you went through Day One and Day Two of A Carpenter’s Introduction to 3D Modeling here at The Digital Jobsite you know how to draw the top “beam” and cut legs for a basic, sturdy set of stackable sawhorses. This video goes through steps to create a plywood leg gusset and then use the Materials tool (paint bucket) to make it look like plywood. For bonus points on your apprenticeship degree, watch to the end of the video and learn how to work with the Materials>Textures>Projected features. You’ll learn how to quickly position, edit color and “project” a knotted wood texture to give a more realistic appearance to your projects:
Federal Reserve Boards:
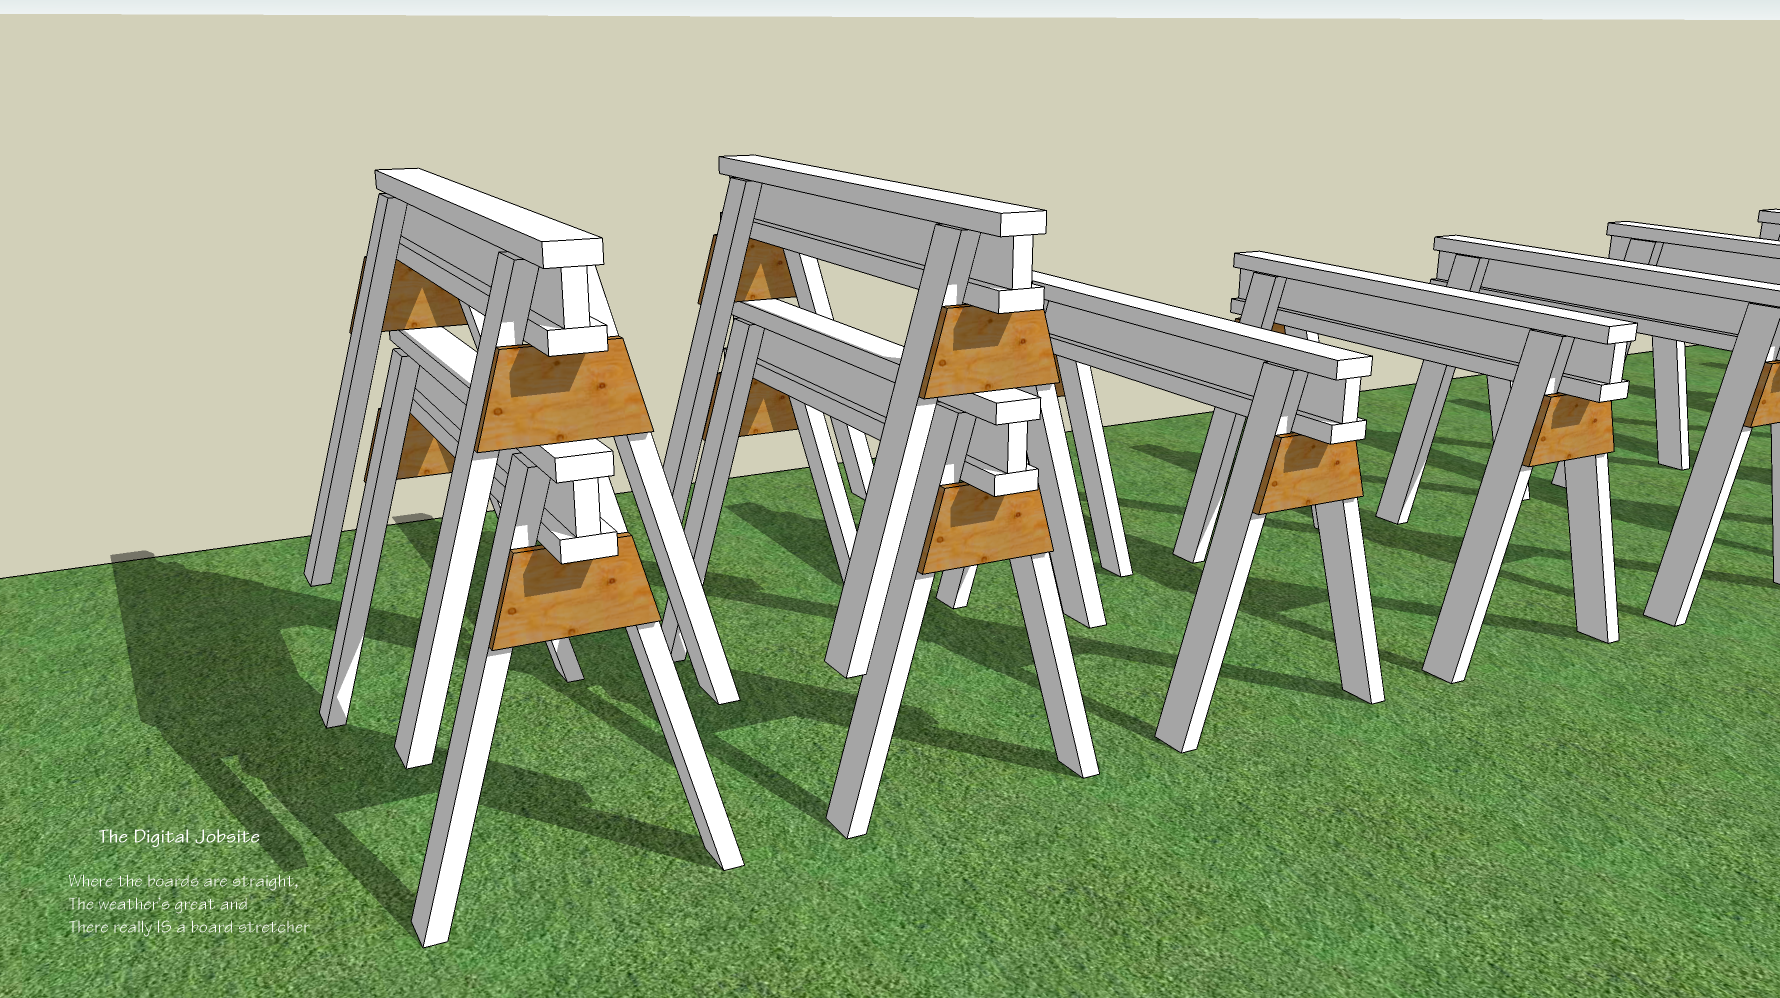
After you build your first stackable sawhorse simply use the Move/Copy tool to build the additional 99 you need to complete your Introduction to 3D Modelling Apprenticeship. Its as easy as the Federal Reserve prints bailout money, but in this case you’ll be printing out Boards.
Ready, Fire, Aim:
Now that you’ve completed an introduction to 3D modeling you’re all set to start modeling your own projects. A real-world apprentice needs to spend years learning before being turned loose to prevent injuries or wasting materials due to lack of experience. At The Digital Jobsite you can just have at it with no more worry than getting a cramped wrist from clicking and dragging your way through any project that suits you, so: Ready? Fire, Aim… and have fun!
BTW You can download the sawhorse model created for this blog post from the SketchUp Component warehouse by clicking here.
Thanks for stopping by The Digital Jobsite Blog. Please comment if you like the blog and kindly keep it to yourself if you don’t 🙂
-
Move/Copy/Click/Enter: Presto... 100 sawhorses!
-
Plywood gussets strengthen horses and make them stackable