Dog Entrance for Winter
Dog Tunnel by WTG
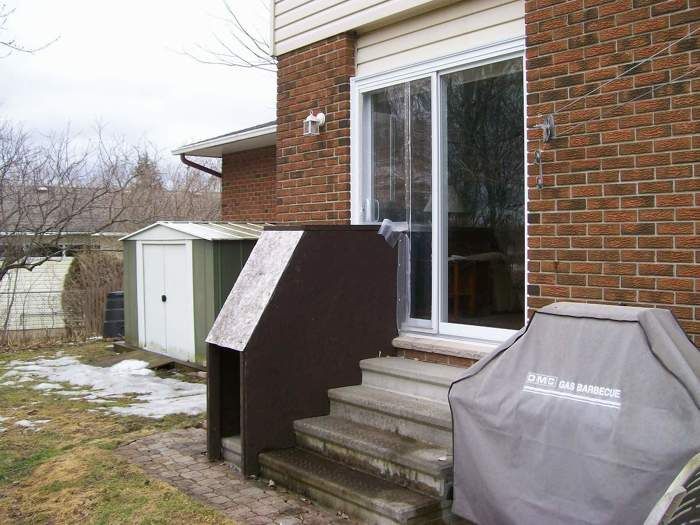
For use in winters in Canada and other snowy places. Keeps ice from building up in a patio door frame and allows a dog to sniff the air before venturing into a storm.
Build the structure in two parts:
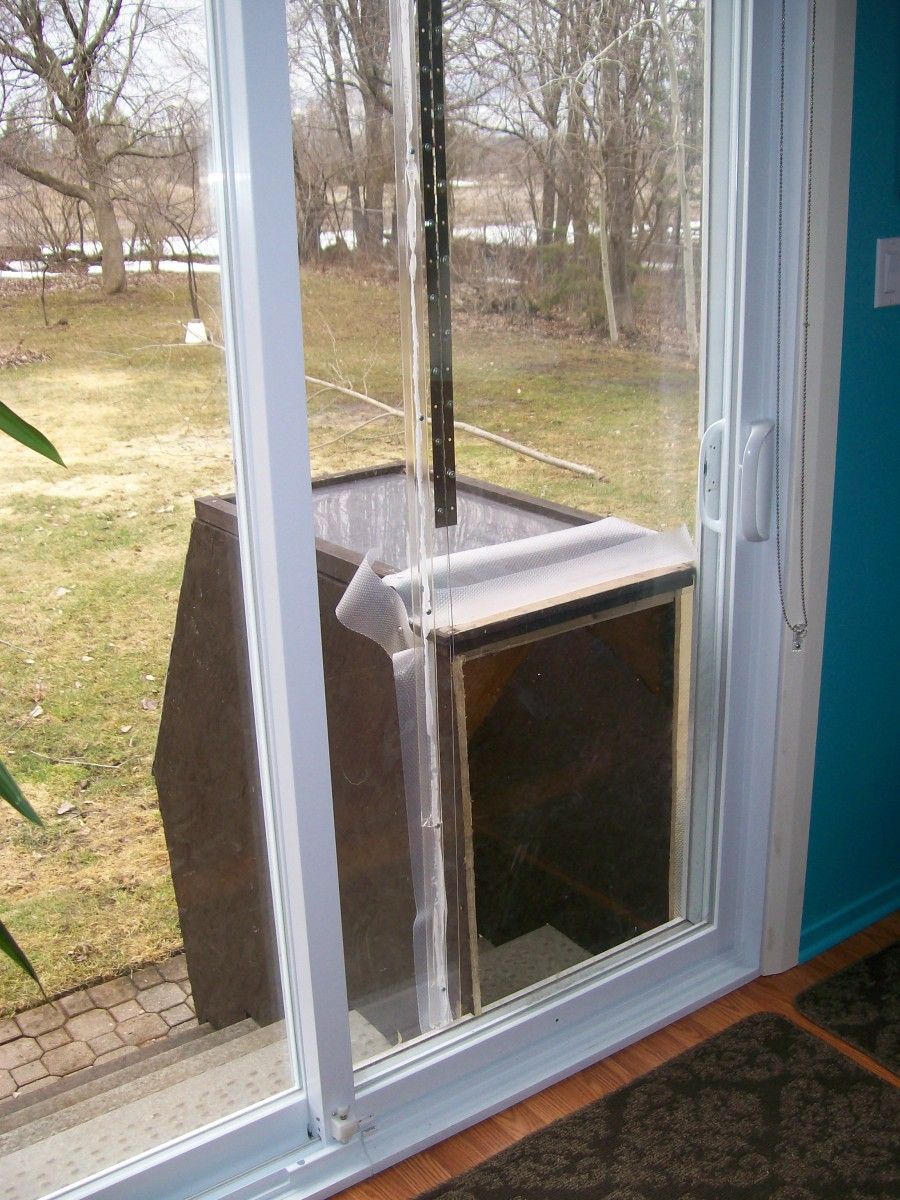
1. a cover for the door that leaves an opening for the tunnel. It will consist of the frame for a sliding screen, two panels of 1/8th inch acetate or polycarbonate, and a support to keep the new “door” rigid and join the plastic panels.
a. Find a sliding screen with metal frame that fits your patio door. (It will not be useable as a screen ever again.) (The Habitat for Humanities “Restores” usually have a few.)
i. If you can’t find a perfect fit then one that is too tall or too wide can be cut down
(1) remove the screen by digging out the rubber spline
(2) remove the recessed bolts in the corners
(3) tap the frame apart at the corner to expose the solid metal reinforcement
(4) cut back the frame with a hack saw blade
(5) tap in the metal reinforcement
(6) drill holes for reinserting the bolts and tighten them
b. Remove the screen by digging out the rubber spline (if you haven’t done this already)
c. Take a good look at the frame for a flat surface that the plastic panels can be glued to.
d. Measure carefully the total width and height of the area where the panels will be placed.
e. Figure on leaving an opening of 15 to 18 inches wide and 24 to 28 inches high.
f. One panel will cover about one half from top to bottom. The other panel will be shorter to cover only the space above the opening.
g. You will butt the two panels and cover the join with a rigid shaft or board made of polycarbonate, wood or whatever you have that will go the full height of the frame, keep the panels from wobbling apart and that will take screws. (I joined the panels with a piano hinge and attached the rigid support separately.)
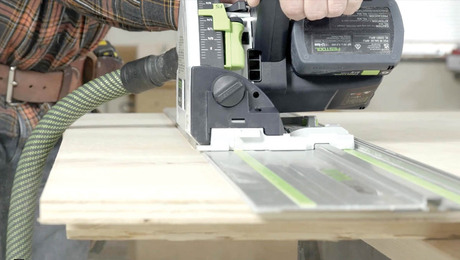
h. Measure again and get your plastic supplier to cut the two panels for you. A table saw will work if you are keen to cut the pieces yourself.
i. Lay the frame on a flat surface. Put support, scraps of wood or whatever where the panels will go so they don’t sag while the glue sets. Glue the panels in place using epoxy all around the edge.
j. Drilling in acetate is trickier than in polycarbonate so keep the holes in ½” from the edge and make sure your rigid support is wide enough. Drill holes in the panels every foot along the join and continue down one panel to the frame.
k. Screw the panels to the joining support using round head screws (about ½”#6 Robertson). Make sure the support is on the outside so it doesn’t interfere with the patio door handle.
l. When the glue is set, you should have a cover for the door that will fit in the grooves for the screen in the patio door frame. Put it in.
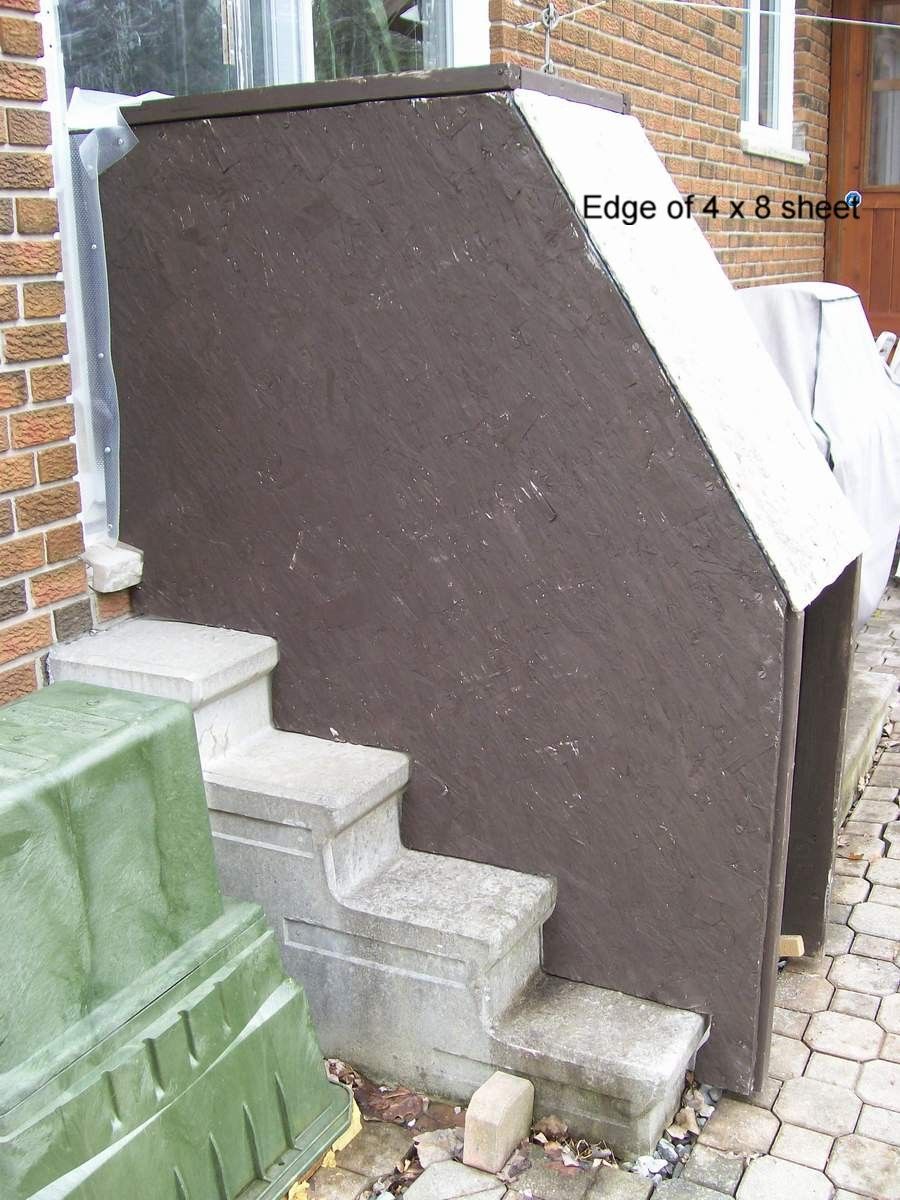
2. the tunnel itself which is made of aspenite (to resist weather and heavy enough to not blow away) and a skeleton of 2″x 2″s.
a. Measure everything. Note the height from your step or sill or deck to the top of the opening in the patio door cover. Allow for the tunnel to be inserted about an inch into the opening. Building a horizontal or vertical reference base might help. Make a detailed scale drawing of one side of the tunnel taking account of each step if appropriate.
b. Sketch out the plan on your wood or 4 x 8 sheet of aspenite. Note that the top edge of the tunnel farthest from the house is sloped. This is in fact an edge of the 4 x 8 sheet so that the ends and most edges of the tunnel side are cut and the distance from sloped edge to the stairs is nowhere more than 48″.
c. Use a saw to cut out one side piece for the tunnel to fit the opening around the steps and to the ground. When it fits very closely, use it as a template to cut out the other side.
d. Cut to length, pre-drill holes and screw (about 1¼” flat head #8 Robertson) 2 x 2 s along the inside top edge and front edge of the tunnel sides. There should be 3 of these skeletal supports on each side and they should be flush with the edges of the side pieces.
e. Cut out a top and a front for the tunnel using left over aspenite or plywood, pre-drill and screw (at least 1¼” #8 or bigger flat head Robertson) them to the 2 x 2 skeleton. The tunnel should now be rigid. These screws will be removed each year to disassemble the dog tunnel by WTG.
f. Slide the tunnel into place so it fits around the steps and into the opening.
g. Weather strips of plastic or rubber can be screwed to the tunnel around the opening in the cover. I have used scraps of floor mat and drawer liner for this and even used duct tape.
Now you are ready for winter. Once built , it takes about 10 minutes with a power screwdriver to assemble or disassemble the tunnel in fall and spring. All pieces store flat and no one piece is very heavy.
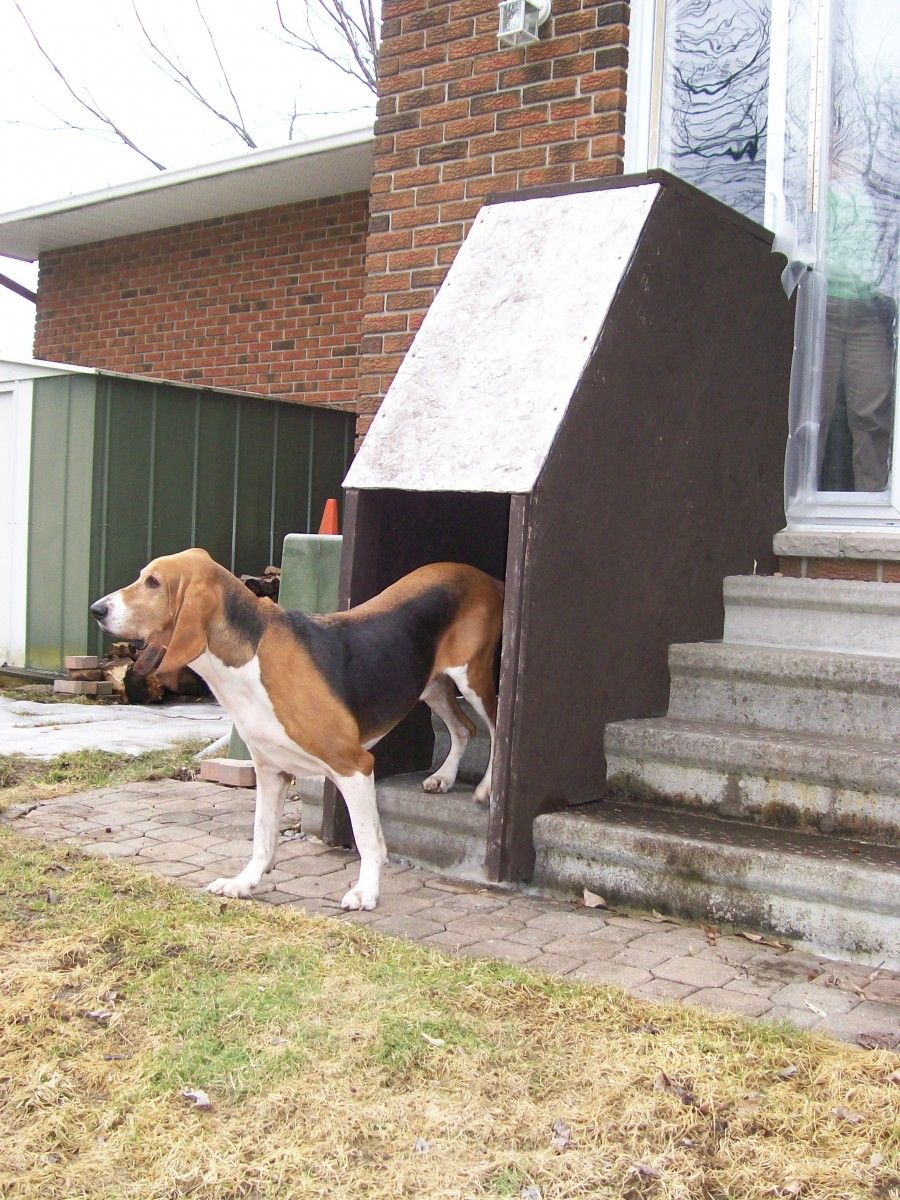
Dogs usually figure out how to go in and out on their first or second trip out. One blind old dog needed to be helped find the entrance to the tunnel four times and then he seemed to really enjoy it.
What I have learned:
3. Plastic film rips in the wind
4. Staples rip out of plastic film
5. A frame of 2 x 4s with plastic film will be blown sideways in heavy wind
6. A little snow will creep in whatever you do but the tunnel keeps it from building up
7. The tunnel does keep the cold wind from blowing into the house
8. The tunnel saves several hundred dollars in heating costs each year
9. Dogs grow to love the tunnel. Please let them in as soon as they come to the door.