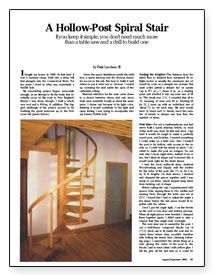
A Hollow-Post Spiral Stair
If you keep it simple, you don't need much more than a table saw and a drill to build one.

Synopsis: A carpenter renovating his small summer camp turned house adds a circular staircase for access to a new second floor. Treads and brackets are bolted to a hollow central post in this simple but appealing design.
I bought my house in 1969. At that time it was a summer camp, built into a steep hill that plunged into the Connecticut River. For ten years I lived in what was essentially a Hobbit hole.
My remodelling project began, innocently enough, as an attempt to fix the leaks that inevitably occur on flat roofs in New England. Before I was done, though, I built a whole new roof and a 900-sq. ft. addition. The biggest challenge of the project proved to be building the spiral staircase up to the bedroom loft.
Given the space limitations inside the addition, a spiral stairway was the obvious choice for access to the loft. But how to build it and where to put it were not so obvious. I ended up centering the stair under the apex of the cathedral ceiling.
Material selection for the stair came down to a choice between cherry and oak, since both were available locally at about the same price. I chose oak because of its light color, thinking it would contribute to the light and open feeling I was trying to incorporate into my former Hobbit hole.
Scaling the heights
The distance from finished floor to finished floor measured 94 in. Eight inches is usually the maximum rise allowed by code on a straight run of stairs. But most codes permit a steeper rise on spirals (up to 9 1/2 in.). I chose 8 in. as a starting point and divided it into my total rise of 94 in. The result was 11 3/4. I rounded that off to 12, meaning 12 rises over 94 in. Dividing 94 by 12, I came up with an individual rise of about 7 7/8 in. for each step. My stair would have 12 risers and 11 treads, since the number of treads is always one less than the number of risers.
Post time
I’m not a mathematician and had never built a spiral stairway before, so most of the work was done by trial and error. I figured it would be tough to make a perfectly round post, and besides, I wanted something I could make on a table saw. Also I wanted the post to be hollow, with access to the inside so I could bolt the treads in place. I decided to make the post an octagon. I’m not sure why I chose eight sides, instead of six or ten, but I liked its shape and it seemed like it would work right for the tread layout.
I had the local millwork shop, Amherst Woodworking and Supply, mill the lumber for the sides of the post into 1 3/4 in. by 3 in. by 12 ft. lengths. On their advice, I stacked and clamped the pieces together until I was ready to cut them, which helped keep them from twisting out of shape.
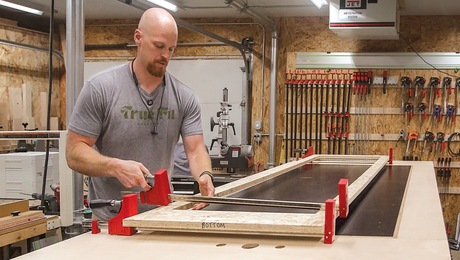
Before cutting the oak, I experimented with spruce 2x4s, ripping them to 3-in. widths and running them through the table saw set at 22 1/2 degrees. I found that I had to adjust the angle a few times before the last piece would fit together with the others.
For more photos, drawings, and details, click the View PDF button below:
Fine Homebuilding Recommended Products
Fine Homebuilding receives a commission for items purchased through links on this site, including Amazon Associates and other affiliate advertising programs.

100-ft. Tape Measure

Smart String Line

Plate Level


