Framing a Bay Window With Irregular Hips
How one carpenter calculates the tough cuts.
Synopsis: An experienced framer explains how he builds the roof over a bay-window bump-out with two irregular hips. The author describes the advantages of adding a second hip so that intersecting roof planes meet crisply, without the awkward contortions of a single-hip design.
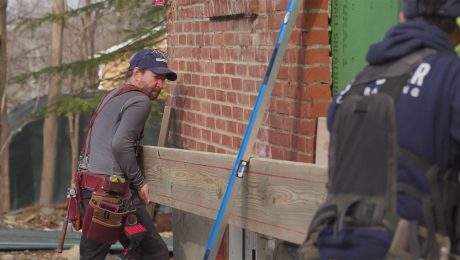
My crew and I frame houses in central California, near Sacramento, where designers compete with one another to see who can create the most complicated roofs. To stay in business, the local carpenters have to be adept at framing every type of roof—hip, gable, octagon, cone—sometimes all in the same building.
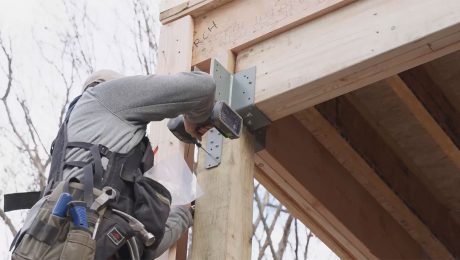
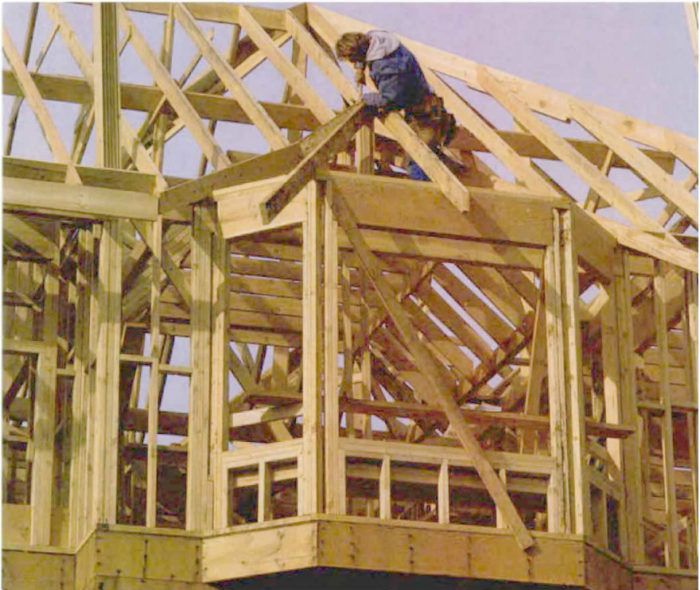
One modest and enduring feature that turns up in many of these homes is the bay window popout. The kind we build most frequently, and the subject of this article, consists of two 45°corners and a projection, or offset, of 2 ft. It is 10 ft. wide at the wall line and 6 ft. wide at the front of the offset. The plate height of the bay and of the adjoining room are 8 ft. 1 in., and the roof pitch is 8-in-12.
A hip roof commonly tops this kind of a bay. But unlike many of the hip-roof bays that get built locally, we frame ours with two irregular hips. More often than not I run across roof plans that leave out a second irregular hip. Without it, the plane of the roof has to be warped to intersect the valley. Once you become aware of this refinement, chances are you’ll spot many an example of incorrectly framed bays on a casual drive down a residential street. Adding the second irregular hip allows the roof planes to meet at crisp angles.
Building a roof with one pair of irregular hips is a challenge—add another pair and it’s a task for a journeyman carpenter. When I first started out as a framing carpenter, I spent a lot of time laying out the rafter locations on the subfloor, then transferred them by way of plumb bobs and stringlines to temporary staging, where another session with stringlines and tape measures would follow as I puzzled out seat cuts and cheek cuts. No more. I’ve incorporated two tools into my roof-cutting procedures that do away with all the plodding.
The first is a Construction Master Dimensional Calculator. This calculator works in decimal numbers and in feet and inches. It also has pitch, rise, run, diagonal and hip/valley functions, which eliminate some of the key strokes required to apply standard calculators to carpentry work. For instance, instead of using a square-root formula to find a diagonal, I enter 11 ft. as rise, 14 ft. as run, punch the diagonal button, and the calculator will read 17.8044. When I punch the convert-to-feet-and-inches button, it tells me 17 ft. in.
The second tool is a book called Roof Framing, by Marshall Gross. Gross uses a technique to lay out roofs that he calls the “height above plate”method (HAP). Simply stated, the HAP system allows me to set the ridges first at their actual height. Then I bring the rafters to meet them. I’ve found this system to be unbeatable for assembling complex roofs. But before we dive into HAP and bay window/roof theory and calcs, let’s look at layout and walls.
For more photos and to continue reading about how to frame a bay window, click the View PDF button below.