Hardwood Edgings for Plastic Laminate
The secret is to glue on oversized pieces, then trim them flush.

Synopsis: Hardwood trim is a good way of dressing up a kitchen countertop made from plastic laminate. This short article describes several options.
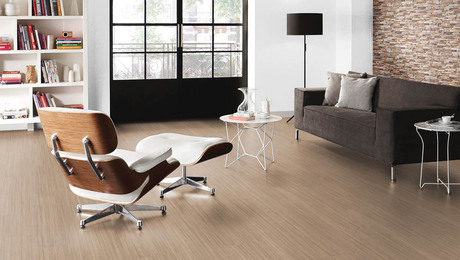
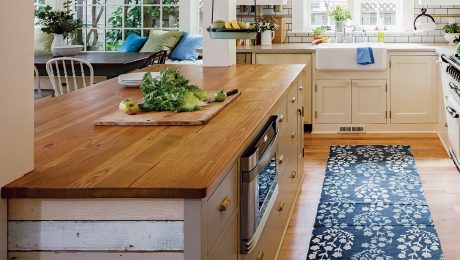
Take a look at a European-style kitchen, and you’ll probably see a lot of plastic panels: plywood or particleboard covered with plastic laminate. So much plastic can give a kitchen an austere, almost clinical look. That’s why I use solid hardwood edgings with plastic laminate. Besides being more durable than edges of plastic laminate or veneer, solid wood is nicer looking, and it’s easy to add attractive design details by subtle shaping.
Cut it on the tablesaw
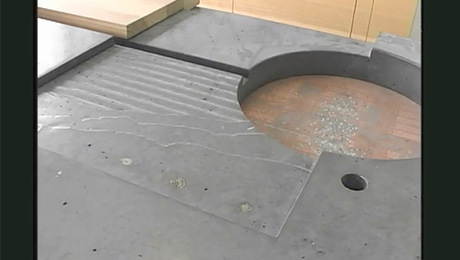
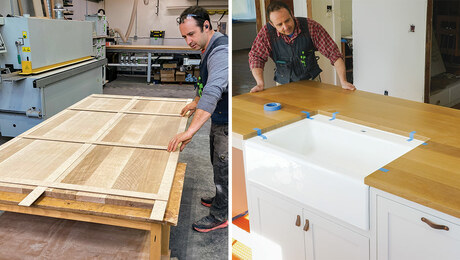
For starters, smooth, square edges mean a crisp fit between the plastic and the hardwood. So when I’m making cabinets and countertops, I glue the laminate to oversized pieces of plywood and then cut each piece to its final size on a tablesaw. This way, the laminate edges are perfectly flush with the plywood edges and much cleaner than those produced with a trimmer bit. For this operation, I use a triple-chip design, 80-tooth, crosscut blade. I also made an auxiliary fence that has a ½-in. by ½-in. wood strip attached 1/8 in. from the table surface. When I cut the pieces, the straight edge of the plywood, not the excess laminate, rides against the wood strip, and I’m guaranteed a straight cut.
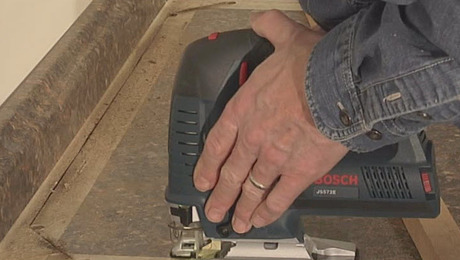
Sometimes prelaminated plywood is too cumbersome to cut on a tablesaw. That’s when I follow the traditional method—cut the substrate to its final dimensions first, then apply the laminate and trim it to size with a laminate trimmer (for more on working with plastic laminate, see “Making Plastic-Laminate Countertops“).
Jointed edges glue better
I like to rip my edging about 1/4 in. wide for door and drawer panels. This dimension is both visually pleasing and wide enough to clamp easily. To provide one clean edge for gluing, I joint the stock before ripping each 1/4-in. strip from it. Edging should be at least 1/16 in. thicker than the panel’s thickness to allow for flush trimming after it has been applied.
Make all your edging at one time to ensure consistent dimensions throughout. If some of the strips emerge wavy or crooked, start afresh with another board with straighter grain. Wavy stock is difficult to glue up, and later, when it’s time to flush up the edging with a hand plane, wavy grain will be more likely to tear out.
Mitered corners
There are two ways to join edging at the corners of a door or a drawer. A mitered joint looks better than a butt joint, but it’s also more difficult to achieve. If you choose to miter the corners of the edging, measure the two long pieces first (most doors and drawers are rectangles), mark the edging, and cut a miter on both ends. I like to cut the edging slightly long first and then trim a hair off, testing the fit between cuts. If I cut too much off, I just use the piece on a shorter side.
For more photos, drawings, and details, click the View PDF button below: