A Built-In Hardwood Hutch
When working with solid wood, joinery techniques must accommodate seasonal movement.

I love an old house. Working on one makes me appreciate the skill of the carpenters who came before me. It’s amazing to see the level of craftsmanship the old-timers attained using only hand tools — especially in their trimwork. I recently renovated an early 1800’s farmhouse in New Hampshire that had some beautiful chestnut trim. I got the chance to match this woodwork when I added a family room with a built-in hutch.
I made the new family room by removing a wall between two small rooms. There was a closet in each room, one on both sides of the wall, and when the wall came down, the closet area was a natural location for the built-in hutch. Built-ins ought to look good and last a long time, so this hutch was built of solid hardwood and designed to accommodate wood movement. But before I started building, I straightened and leveled the closet area.
Roughing in the hutch
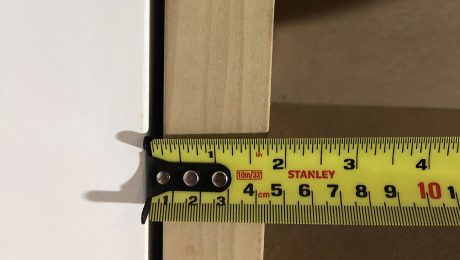
New studs on the left and right made the sidewalls plumb and straight, but there wasn’t room on the back wall for new studs. So I straightened the back wall with shims and 1×3 strapping. At the bottom I tacked a 1×3 across the old wall and into the old studs. Placing a straightedge on the 1×3, I tucked some shims behind the low spots to bring them out to the straightedge. Next I tacked a 1×3 to the top, again shimming it straight. Then I tacked on more horizontal 1x3s 16 in. o. c. Moving from left to right, I held the straightedge vertically, against the top and bottom strapping, and shimmed the intermediate strapping out to the straightedge. The wall was straight when all the pieces of strapping were even with each other.
The hutch rests on a 2×4 base; I installed it level by shimming the low end and nailing it to the new 2×4 walls on each side. With the new level base, I didn’t have to scribe the cabinet sides and back to the floor, which had a big hump in it.
Chestnut substitute
Chestnut was once used for almost everything in a house, from sheathing to door and window frames to trim. But during the first part of this century, a blight wiped out almost every American chestnut tree. Today, you can get salvaged chestnut from old buildings or get it resawn from beams or sheathing, but it’s expensive. I chose white ash instead, which has about the same grain pattern and texture as the chestnut woodwork on this job. But ash is hard, so it’s more difficult to work than chestnut.
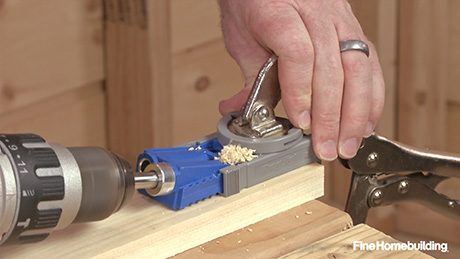
Gluing up wide boards
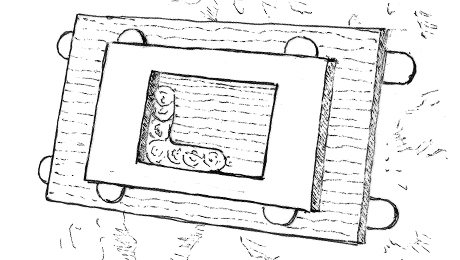
The cabinet floor and the counter were glued up out of several boards, as were the wide shelves for the bottom cabinet. To joint and join the boards in one step, I used a glue-joint cutter in the shaper. (Jointing is the process of straightening a board’s edge or face and is typically done with a jointing plane or with an electronic jointer. Joining is the process of connecting two boards.) The glue-joint cutter makes edges that look something like shallow finger joints. These edges align the boards and provide a larger gluing surface than simple square edges do. Glue-joint bits are also available for use in router tables.
For more photos, drawings, and details, click the View PDF button below: