A Bathroom of Green Slate
Meticulous layout, a cantilevered stone countertop and a parade of bears form an elegant master bath.
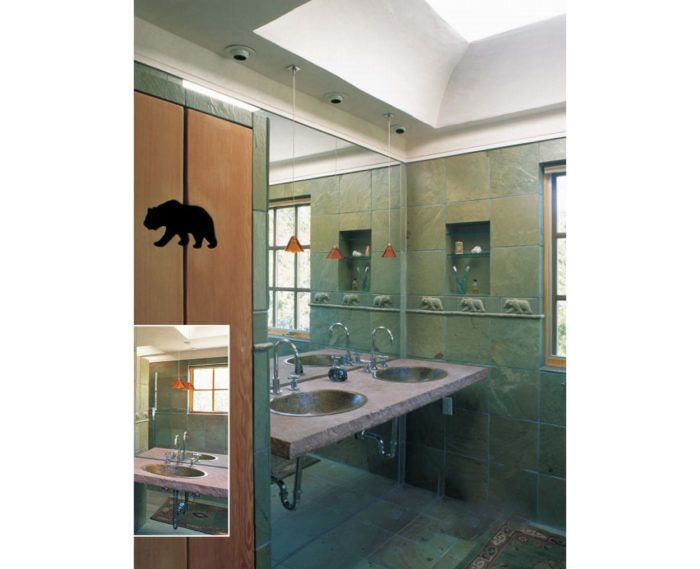
Synopsis: A designer discusses the materials and techniques he used to build a comfortable master bathroom that features a floating sandstone countertop, a curved plaster cornice framing a large skylight, a nearly invisible glass shower enclosure, and floors and walls of Chinese slate.
The Chinese slate used in this bathroom was formed when a person could walk from Santa Fe to Beijing. No one ever did because this period was about 500 million years before humans appeared on the planet and about 200 million years before the continents broke apart.
The characteristics of slate — its color and hardness — vary depending on where it was quarried. For the bathroom featured here, we used a green slate called China Aqua Rose (supplied by Milestone Inc., Santa Fe, NM). The rose in the name comes from the color running through the veins in some of the slates. It’s a beautiful material, but when I heard that the owner wanted to use slate on the floors and the walls, I had my doubts.
Softening the effect of slate
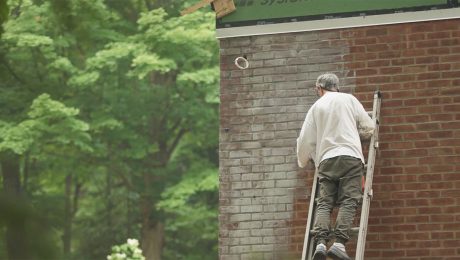
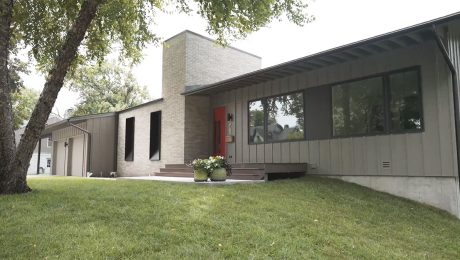
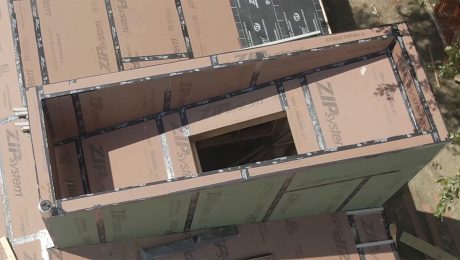
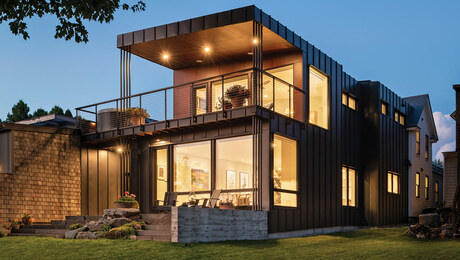
Contractor Steve Bone and designer Noel Norskog had been hired to add a second floor master-bedroom suite to a house in the hills east of Santa Fe. They invited me to tile the master bathroom.
We were all worried that too much slate tile might be overwhelming or make the room feel cold and harsh. After talking it over, however, we decided that having slate on the walls and floors would be okay if steps were taken to soften the room.
First, we would lay out the room and the tile on the same grid. In other words, doors, windows, counters and niches would be designed to align with grout lines in the 12×12 tiles. Second, rather than setting tiles randomly, we would use their natural texture and color to create subtle patterns on the walls and floors. Third, we would create soft curves at the ceiling using a custom plaster cornice and curved skylight wells. Fourth, we would create a break 4 ft. above the floor with a feature strip of three-dimensional tile bears.
Making the room work on the grid
By having the room and the tile layout work together, a subtle fusion happens that allows each element to inhabit its space naturally with a sense that it belongs there. Although keeping the layout on the grid was difficult and required some shimming, the results are worth it. We framed things slightly back from the grid of grout lines so that if minor adjustments were necessary, we could adjust by shimming the framing.
We started by placing two large windows on the tile grid at a height that allowed privacy without curtains. The sink area, the toilet alcove, the linen closet, the tub platform and the shower partitions were also laid out on the exact tile grid.
Not every dimension has to work on the grid. It’s more important to achieve the appearance and feel of an exact tile layout. For example, in this bathroom, the length and width of the tub platform work on the grid, but the height does not. If we had taken the platform height to two full tiles, it would have been uncomfortably high.
For more photos, drawings, and details, click the View PDF button below: