
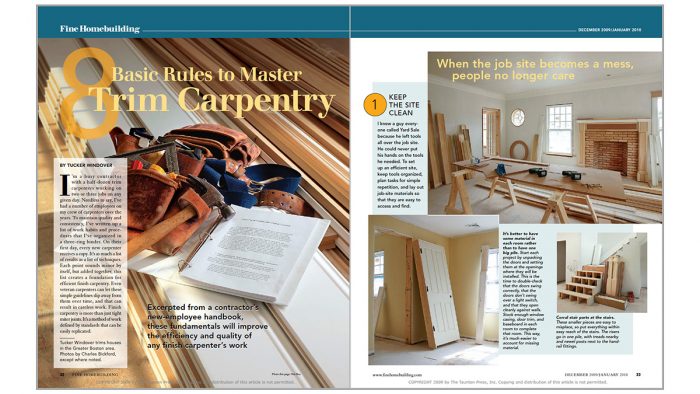
8 Basic Rules to Master Trim Carpentry
Excerpted from a contractor’s new-employee handbook, these fundamentals will improve the efficiency and quality of any finish carpenter’s work.

Synopsis: Trim carpenters put the finishing touches on a home’s interior, making sure that everything looks perfect. The best finish carpentry doesn’t happen accidentally. Veteran carpenter Tucker Windover presents his new crew members with a guidebook to mastering trim carpentry, and FHB presents these eight basic rules from Windover’s playbook. Windover’s rules include keeping the job site clean, being neat about nailing, thinking and seeing straight and parallel, improving surfaces before the finish goes on, making miters flush, knowing when to make precise cuts, using a reveal on standing trim, and knowing when it’s necessary to use a measuring tape.
I’m a busy contractor with a half-dozen trim carpenters working on two or three jobs on any given day. Needless to say, I’ve had a number of employees on my crew of carpenters over the years. To maintain quality and consistency, I’ve written up a list of work habits and procedures that I’ve organized in a three-ring binder. On their first day, every new carpenter receives a copy. It’s as much a list of results as a list of techniques. Each point sounds minor by itself, but added together, this list creates a foundation for efficient finish carpentry. Even veteran carpenters can let these simple guidelines slip away from them over time, and that can result in careless work. Finish carpentry is more than just tight miter joints. It’s a method of work defined by standards that can be easily replicated.
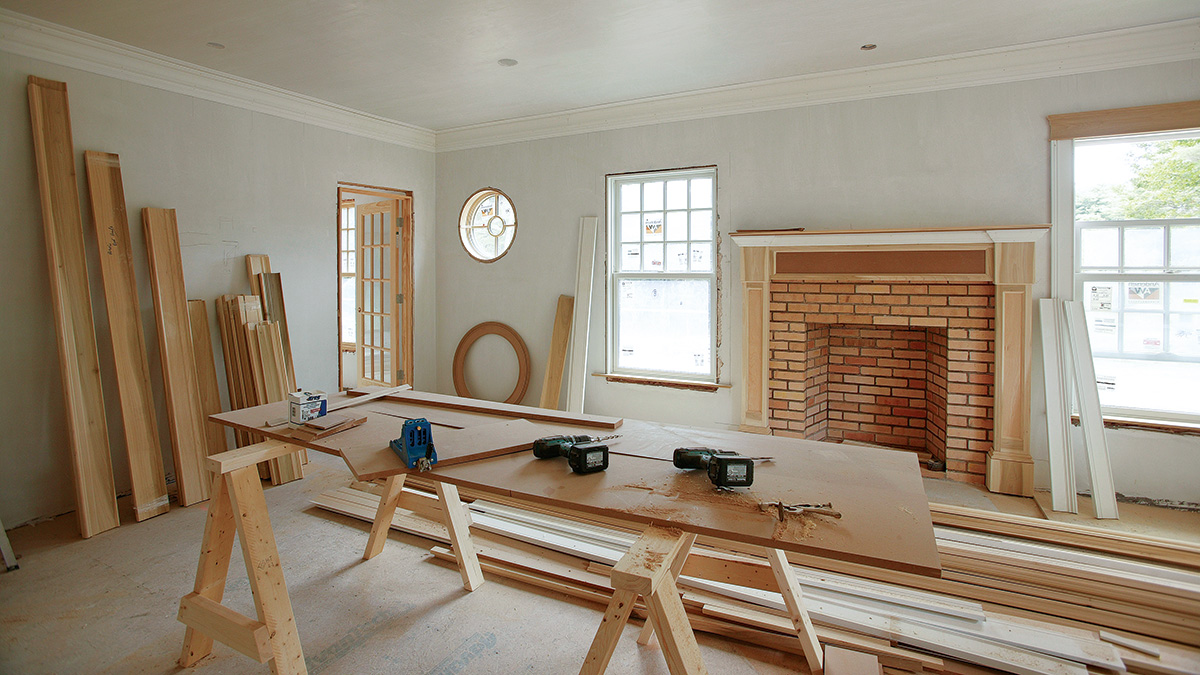
1) Keep the site clean
I knew a guy everyone called Yard Sale because he left tools all over the job site. He could never put his hands on the tools he needed. To set up an efficient site, keep tools organized, plan tasks for simple repetition, and lay out job-site materials so that they are easy to access and find.

Don’t expect the painter to make your work look good
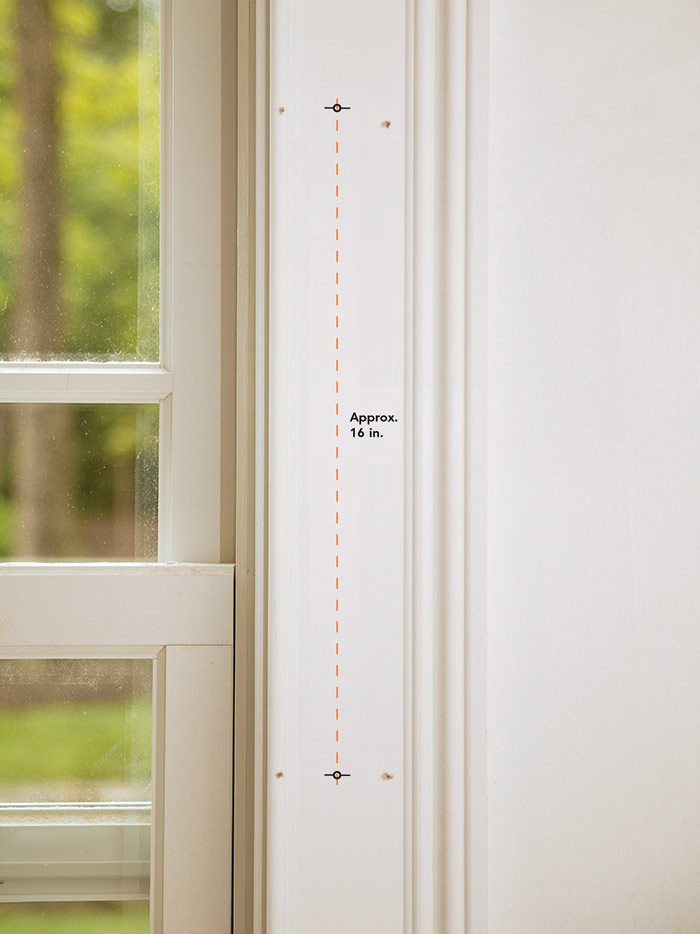
2) Be neat about nailing
One good work habit to develop is establishing a pattern to your nailing. On standing and running trim, place nails regularly in pairs every 16 in., or until the material is tight. This keeps the work neat and orderly. Avoid nails inside molding profiles; it’s hard for a painter to fill and sand these holes. Use 2-in. nails for baseboard because 2 1 ⁄ 2-in. nails will eventually hit a wire in a 2×4 wall. Use 18-ga. nails for wood-to-wood connections and 15-ga. nails for applying molding over drywall and for setting doors.
|
|
|
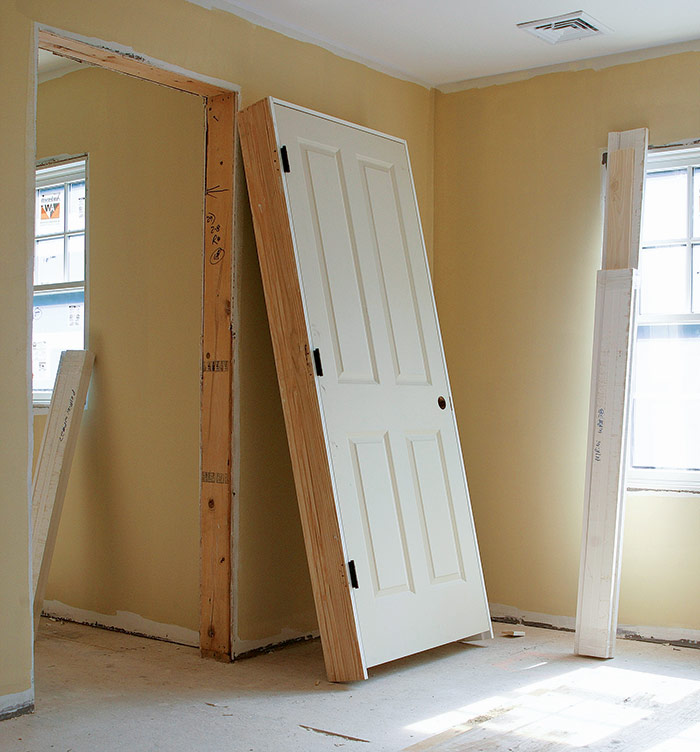
3) Think and see straight and parallel
Installing most trim is the discipline of connecting two points with a straight line. At this stage in the building process, the work sometimes becomes more a game of appearances than of perfection. The trick is to make bows, bends, and out-of-plumb conditions appear straight and true.
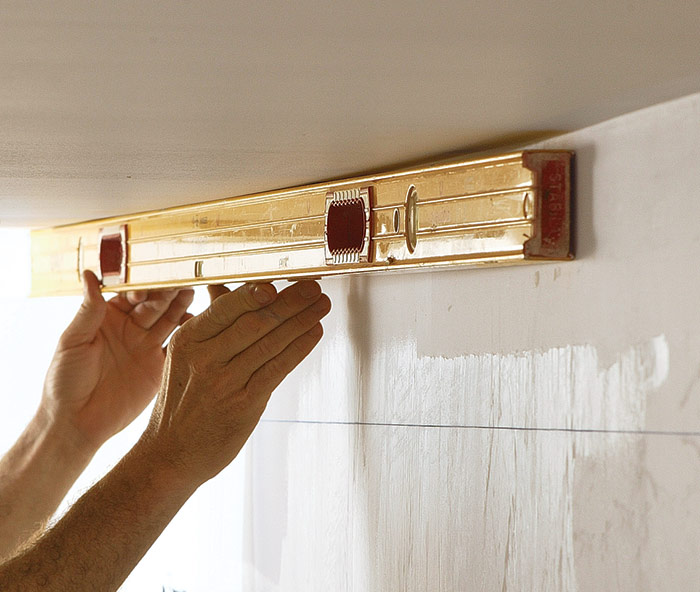
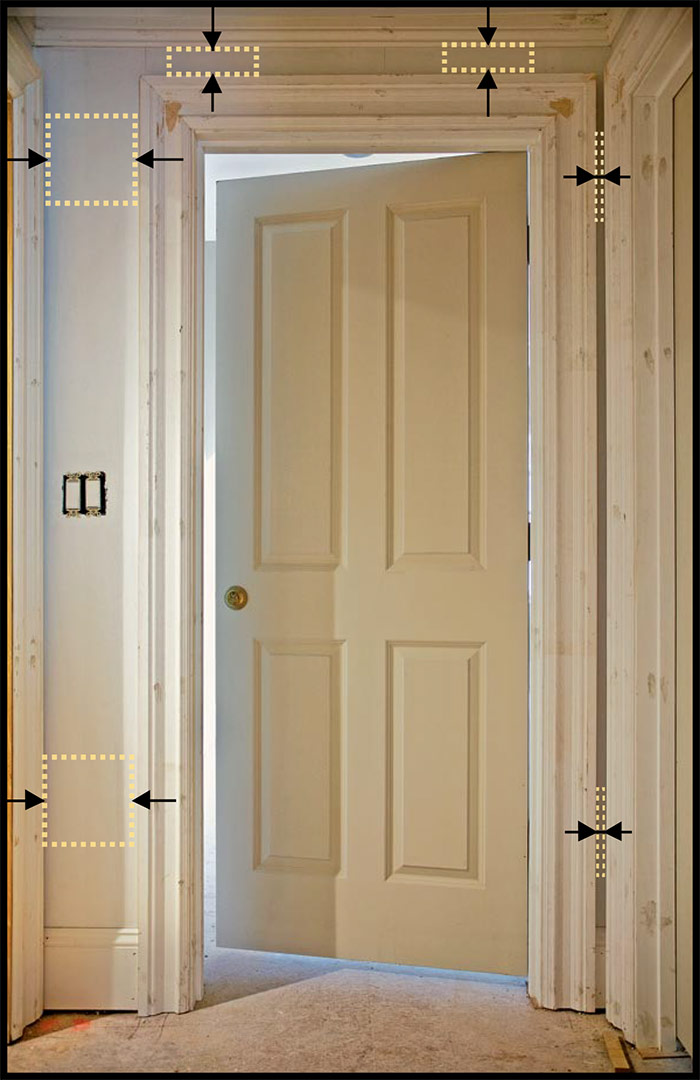
Parallel trumps plumb installations, usually
|
|
|

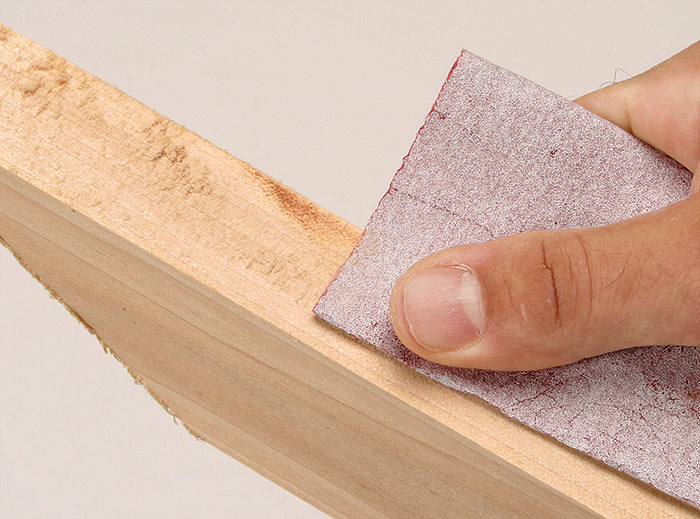
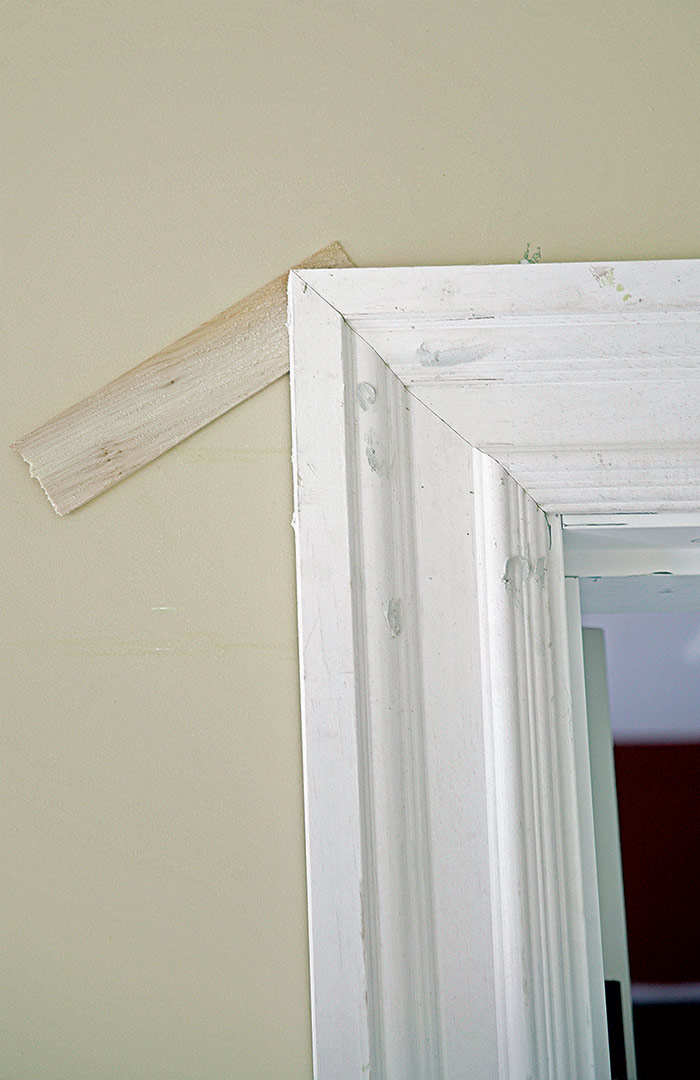
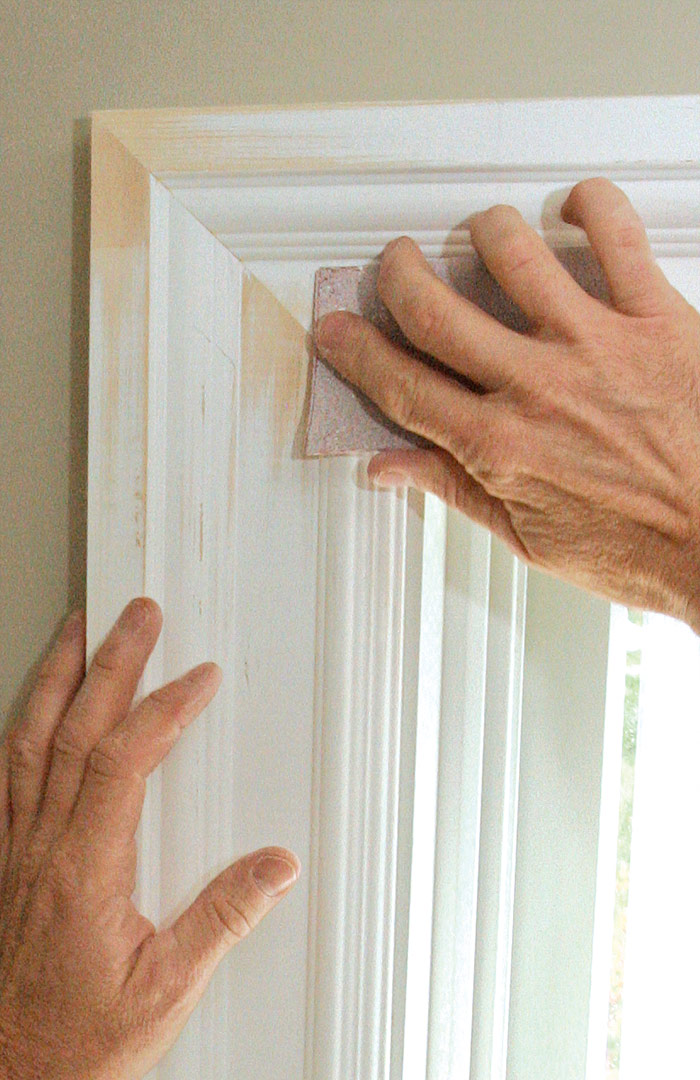
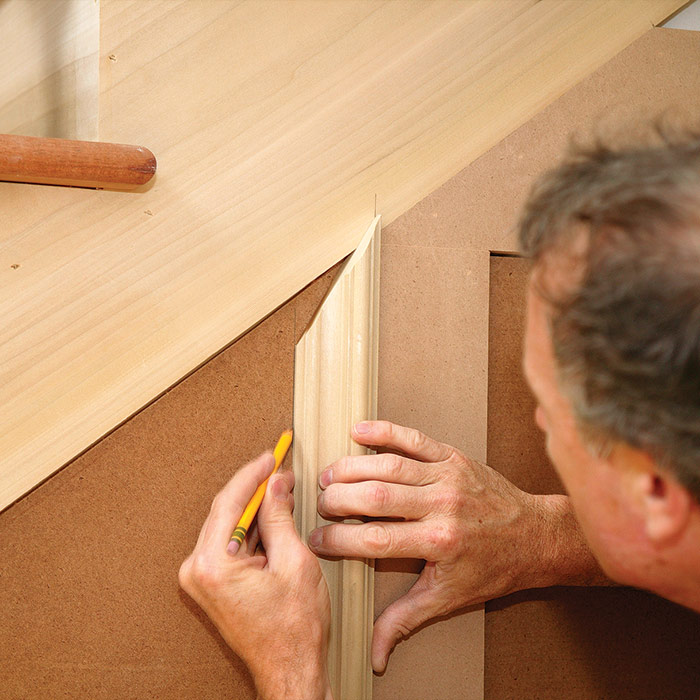
4) Improve the surfaces before the finish goes on
It may not be noticeable now, but after semi-gloss paint hits the trim, any sawblade marks, tear out, or imperfections will stand out like a sore thumb. Carry a piece of 150-grit sandpaper in your tool belt. On wood that gets a clear finish, erase or lightly sand out pencil marks. Sand field joints so that they become flush. When you walk away from the work, the stock should be ready for paint or stain.
 |
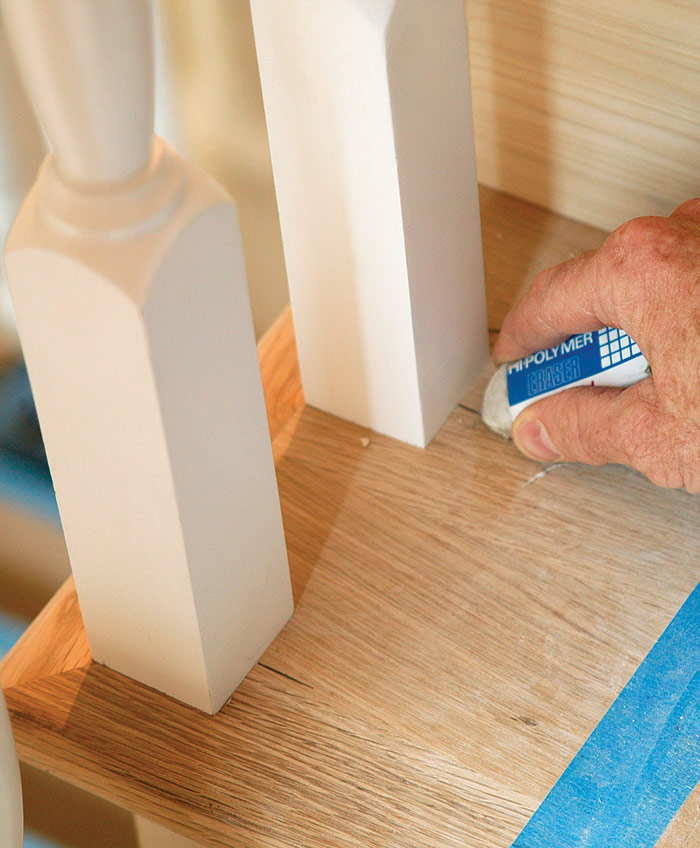 |

TIP: A rag dipped in denatured alcohol can erase many pencil marks and doesn’t affect the surface of the wood.
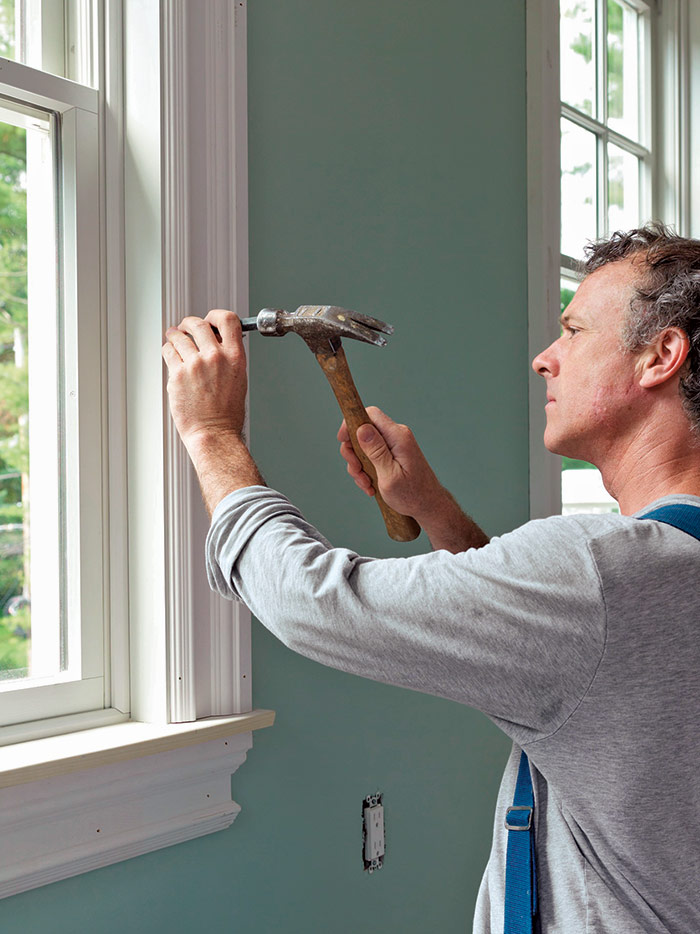
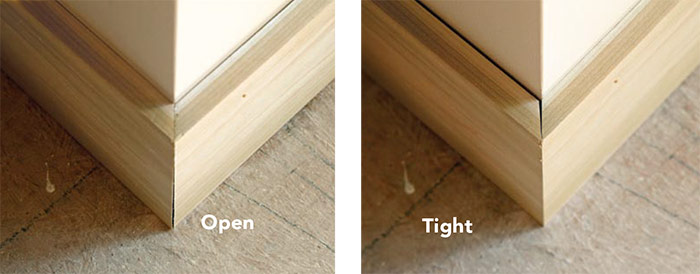
5) Make miters flush
After door and window casings are painted, mating surfaces that aren’t flush will stand out. A miter should be tight and flush, but a thin gap in the miter can be filled with caulk and will disappear. Uneven surfaces will stand out and should be leveled. A shim placed under one side of the miter can help to line up the joint. Tack it in place, and trim the excess. A little sanding can blend discrepancies between the two sides.
 |
 |
6) Know when to make precise cuts
Not every joint shows, so don’t waste valuable time on cuts that don’t matter.
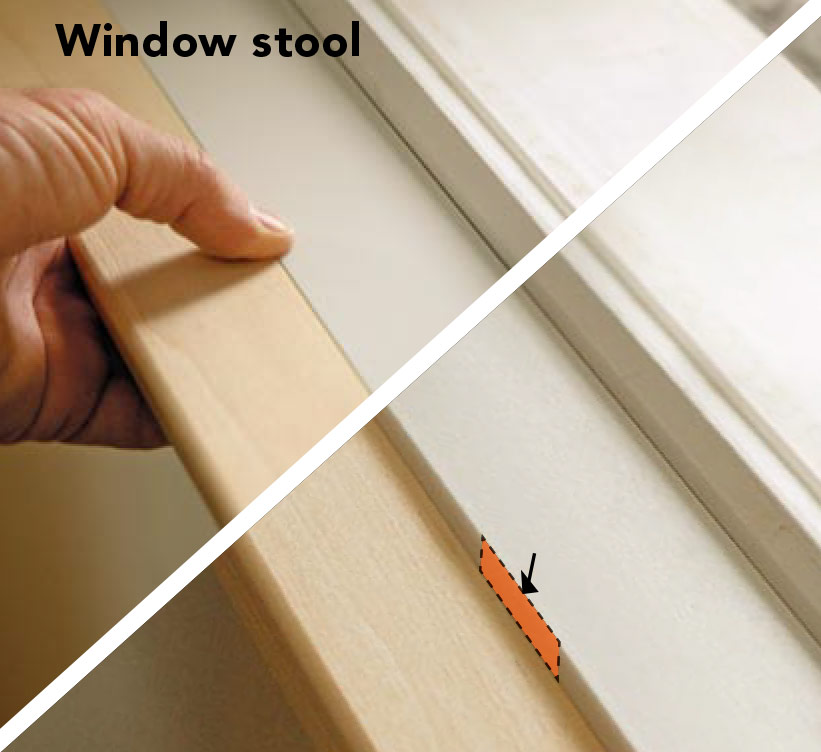
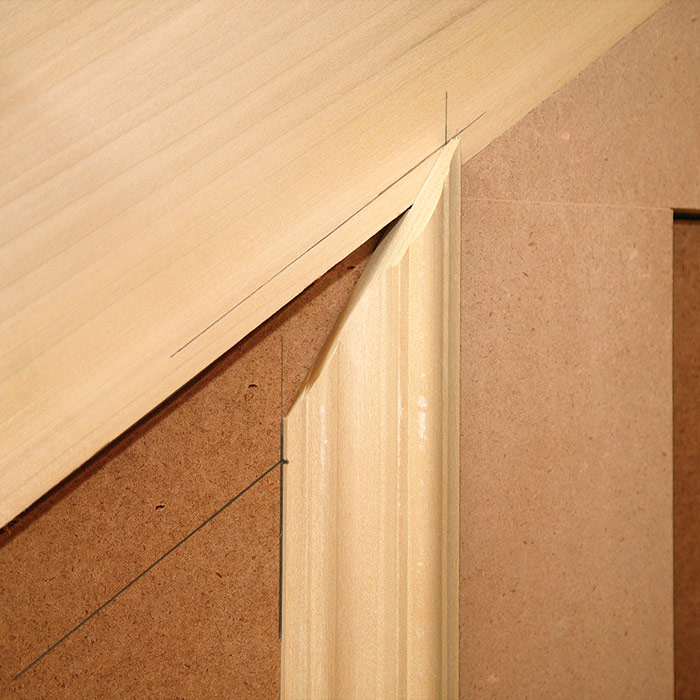
7) Always use a reveal on standing trim
Avoid a flush joint on layers of standing trim, such as applied window stool or door casings. Typically, any additional layer of trim on a door or window jamb should have a reveal, or it will leave a distracting seam. The size of the reveal depends on the proportions of the trim, but a 3⁄16-in. reveal is a good rule of thumb.
 |
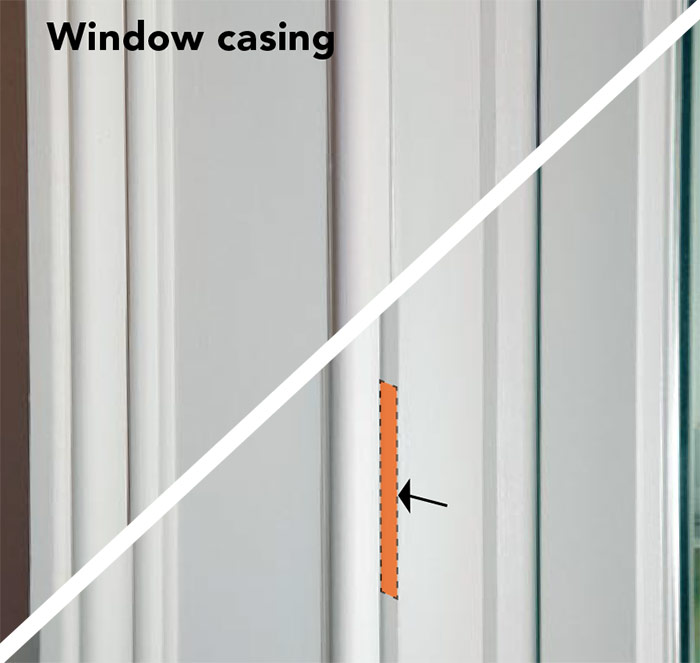 |
TIP: Use a small combination square to mark a consistent reveal on standing trim.

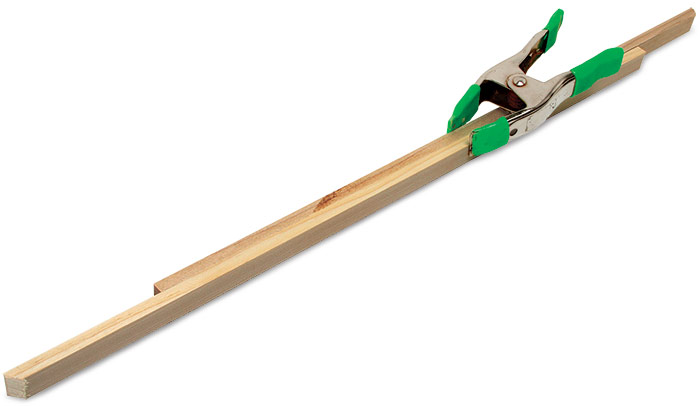
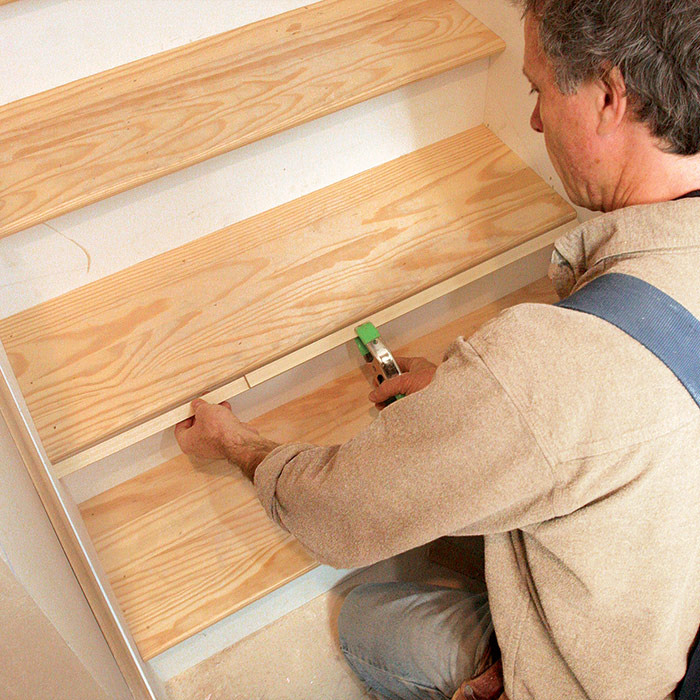
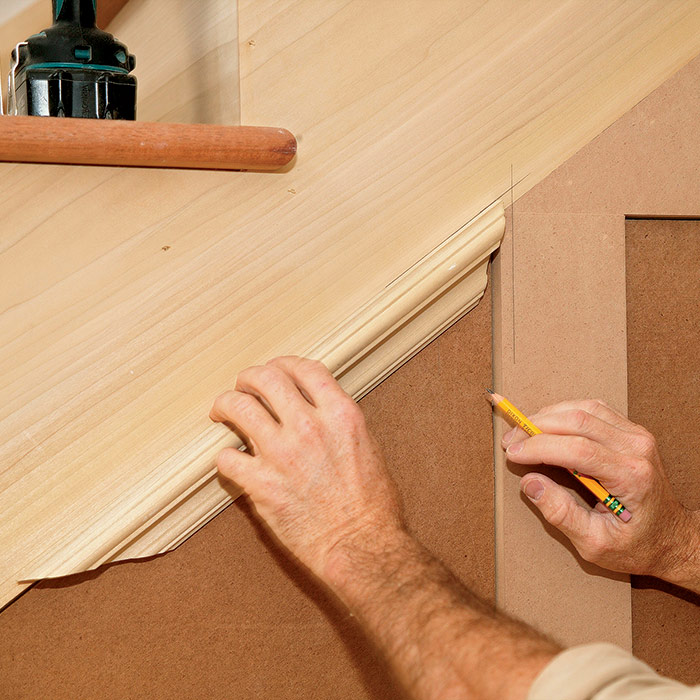
8) You don’t have to pull out your tape every time you mark and measure
Most trim measurements can be made faster and more accurately with a more appropriate technique. choose the most appropriate method for the task at hand.
|
|
|
|
|
|


TIP:
|
|
|
|
If you can’t see the joint, don’t waste time on it
From Fine Homebuilding #208
For more photos and details, click the View PDF button below:

View Comments
Great tips that many carpenters slack on. I'd like to see the whole handbook!
Tips that should be part of the solid foundation for a good finish carpenter. I also would like to see the whole handbook!