Broom-Finished Concrete Flat Work
Get tips for forming, pouring, and finishing a concrete slab, patio, or walkway with a textured, non-slip broom finish.

Good concrete starts with a sturdy base, and that applies to a concrete walkway as much as it does a concrete foundation. On level ground, pouring a new walkway is straightforward, but on sloping ground it may take a slightly different technique.
Once I’ve removed the topsoil and confirmed the remaining soil is free-draining and well compacted, I mark the location of the walk on the house and use these marks to place 18-in. stakes that support the 2×4 formboards. At the opposite end of the walk, I spread the forms to the correct width and attach a formboard for the end of the walk. Then I pull diagonal measurements to square the corners and use a level to slope the walk away from the house 1⁄4 in. per ft. Once everything is square, I drive in the rest of the form stakes and attach the formboards with 2-in. screws.
As I’m pouring the walk, I lift the reinforcing mesh and rebar into the middle of the concrete and screed the concrete flush with the top of the forms. Then I use a bull float to smooth the surface and force the aggregate down into the concrete. Bull-floating brings up bleed water that must evaporate before finishing can continue. When the bleed water is gone and a footprint leaves a 1⁄4-in. impression in the surface, it’s time to start finishing with a magnesium float. The mag float brings up a layer of water and cement particles known as cream. Once there’s a nice layer of cream, the edges can be rounded with an edge tool, and the control joints can be made with a groover.
After a pass or two with a steel finishing trowel, the walk can be finished with a stiff bristle broom pulled across its width. Rinse off the bristles with every pass for distinct ridges that provide maximum traction.
If you mix the concrete by hand, keep a close eye on the amount of water you use. Less water means greater strength and fewer cracks.
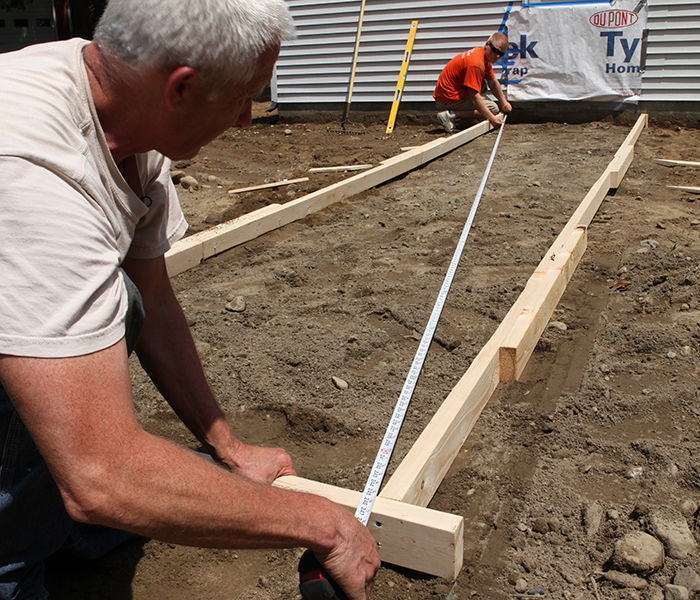
1. Square the forms
With a formboard on the end of the side forms (opposite the house) establishing the width of the walk, shift the formwork left or right until measurements from opposite corners are equal, which means the forms are square. Drive in stakes on both sides to keep the forms from shifting, but don’t attach the screws just yet.
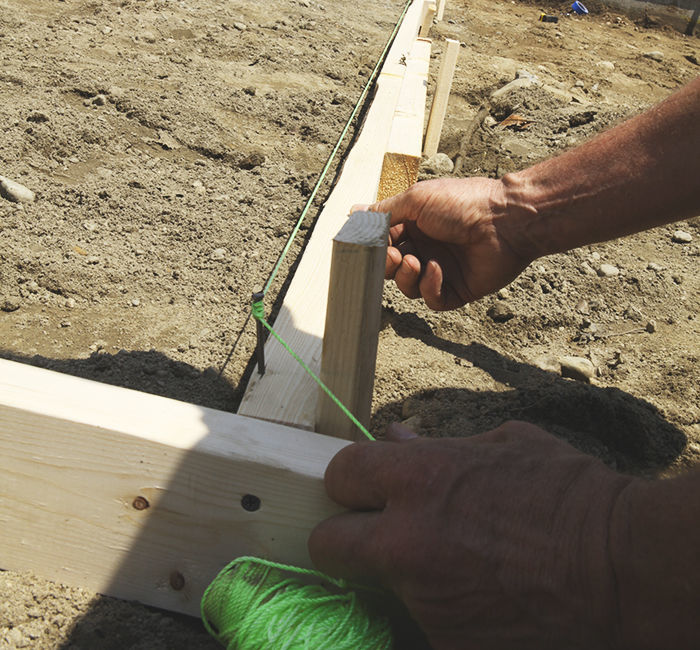
2. Straighten the sides
Use a taut string to straighten the sides of the formwork. Drive in stakes every 2 ft., and screw through them into the sides of the form. Backfill against the forms with soil or gravel to prevent bulging.
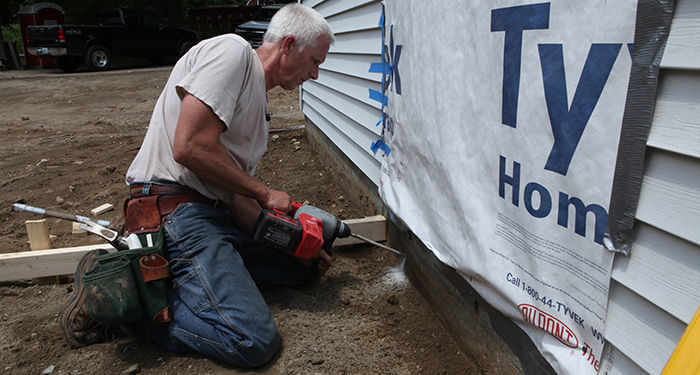
3. Add steel for strength
Three rows of 3/8-in. rebar and a grid of 4-in. reinforcing mesh add strength and help to control shrinkage. Rebar dowels inserted into the foundation prevent the walk from sinking near the house. Make the holes with a rotary hammer.
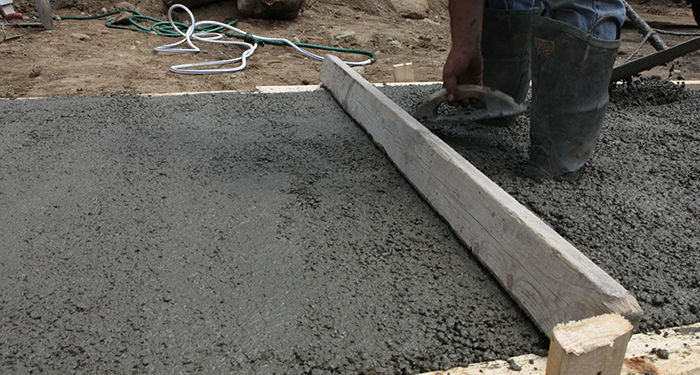
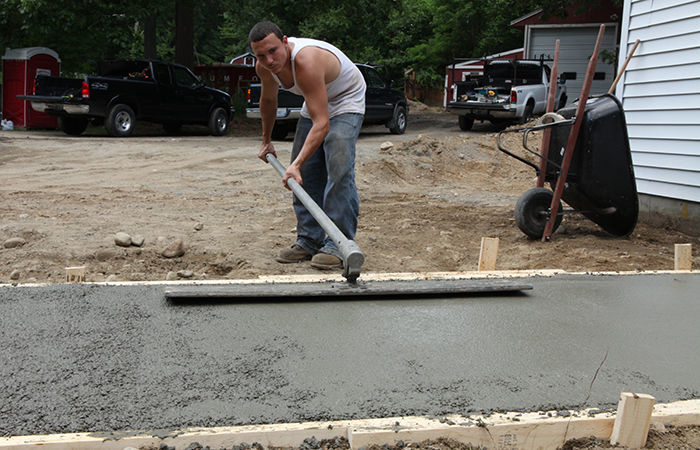
4. Fill and screed
Fill the forms so that the wet concrete is just over the tops of the forms, then screed off the excess, using the forms as a guide. A helper or two moving concrete ahead of the screed makes this process easier.
5. Break out the bull float
Level the surface, and force the aggregate into the mix with a bull float. Keep the leading edge raised as you push or pull to avoid digging into the surface. Two or three passes is enough.
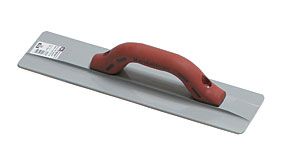
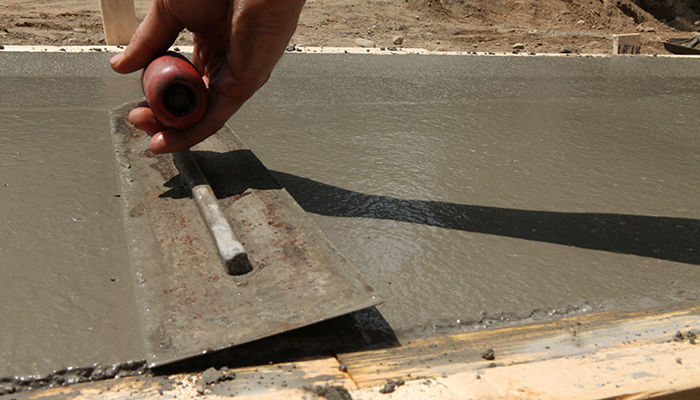
6. Make cream with a mag float
After the bleed water has evaporated, use a magnesium float to bring up the layer of water and cement particles called cream. Then, round the corners with an edging tool. Cut control joints into the surface every 5 ft. with a 2×4 straightedge and a groover.

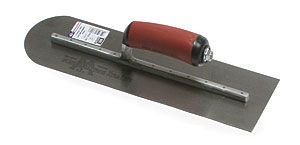
7. Use a steel trowel for a smooth finish
With the grooves cut and the corners rounded, use overlapping arcs with a steel finish trowel to tighten up the surface before brooming.
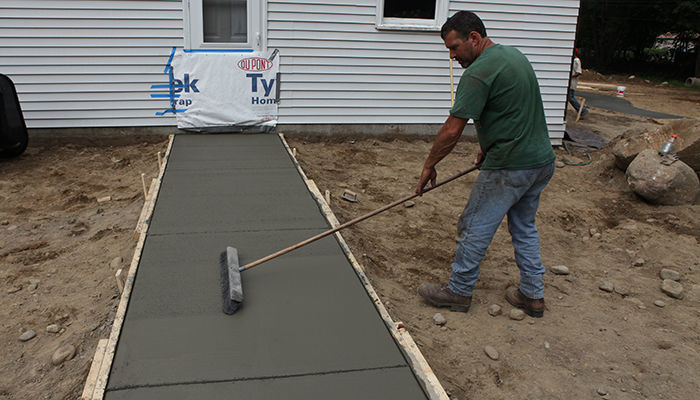
8. Broom finish for traction
Although you can buy a special concrete broom, a regular push broom with stiff bristles works fine, too. Keep the texture perpendicular to the direction of traffic direction. Once you’ve finished brooming, go over the corners and control joints again.
A kit for concrete
Concrete work requires some special gear, but you can outfit yourself with all the good-quality tools you need for less than $300. The biggest-ticket item is a bull float ($175), but you can rent one for about $16 a day.
Magnesium 48-in. bull-float kit, Marshalltown 11793, $175
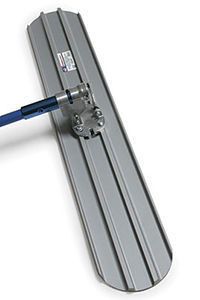
A better bull float
Marshalltown’s bull float with RotaLeveler makes it easy to keep the float’s leading edge raised when both pulling and pushing. Conventional bull floats have a fixed connection that’s harder to control, especially on large slabs
Photos: John Ross & Dan Thornton
More on concrete work:
Hand Mixing Concrete – The most important factor is adding the right amount of water, but there are several other tricks that will make the job a little easier.
Forming a Small Concrete Slab – Get the base right and the rest should be easy.
Choosing the Right Hand Float for Your Next Concrete Project – Wood, resin, magnesium, and aluminum versions of this essential masonry tool all have their pros and cons.
-
16-in. by 33⁄4-in. magnesium float, Marshalltown 738D, $24
-
Round/square-end steel trowel, Marshalltown MXS64RED, $40
-
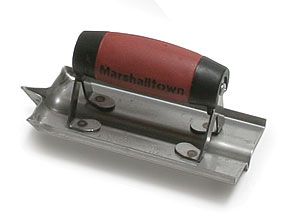
Hand-held grooving tool, Marshalltown 180D, $12
-
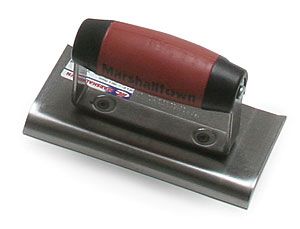
Steel edging tool, Marshalltown 136D, $7