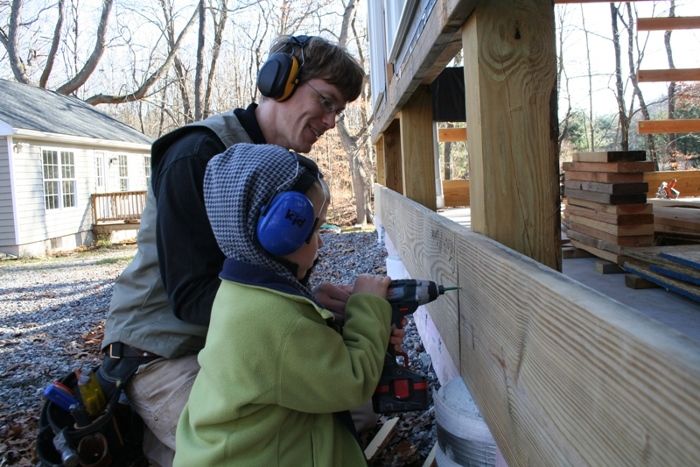
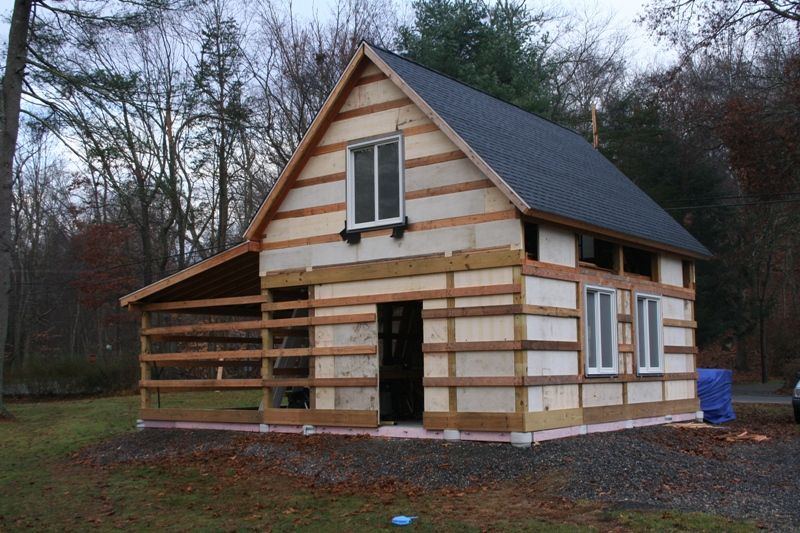
It was about twilight on Sunday when I was standing near the road that accesses our small subdivision and looking at the recent progress on our barn. A small car pulled up, and the driver put down her window. “It’s really starting to look like something,” she said. “Thanks,” I replied. “I’ve been watching you guys since this started. You’ve been doing all the work yourselves, right?” she asked. “Yeah, pretty much–just me and my wife, with help from some good friends on occasion,” I replied.
When you’re in the middle of a large project like this, progress can seem almost imperceptible, but this long weekend restored a sense of accomplishment, and the neighbor’s kind words further reinforced the point. I started work early on Thanksgiving Day by installing pressure-treated plates where the framing meets the slab. I always imagined that this work would be easy with a powder-actuated tool, but the nails just bent when they hit the concrete.
I regretted waiting so long, because it wouldn’t have been a problem if I had done this when the concrete was green. I then turned to a rotary hammer and used Tapcons to secure the plates to the slab. My wife watched our boy and cooked Thanksgiving dinner while I worked on the barn. This work, along with framing a carriage-door opening on the shed-roofed part of the barn, took until the end of the day on Friday.
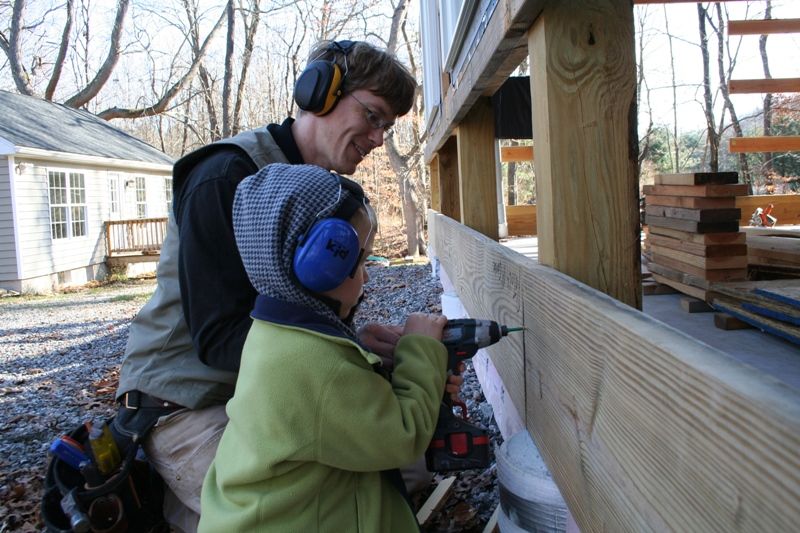
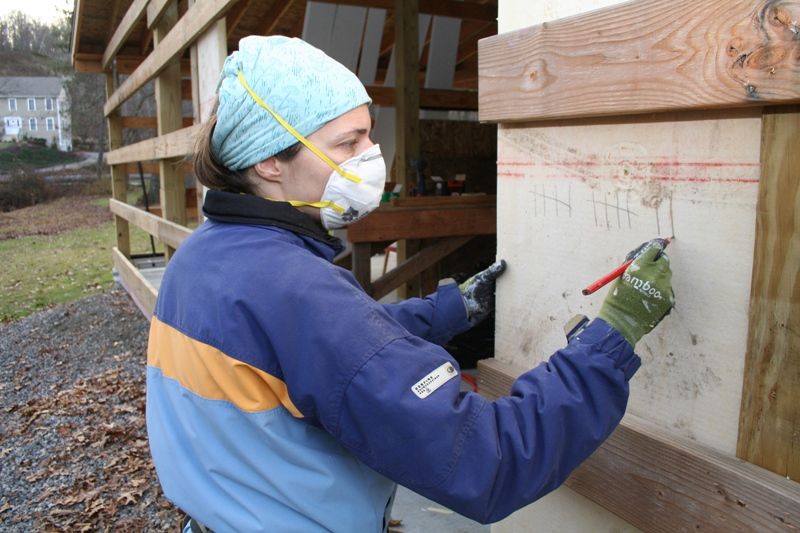
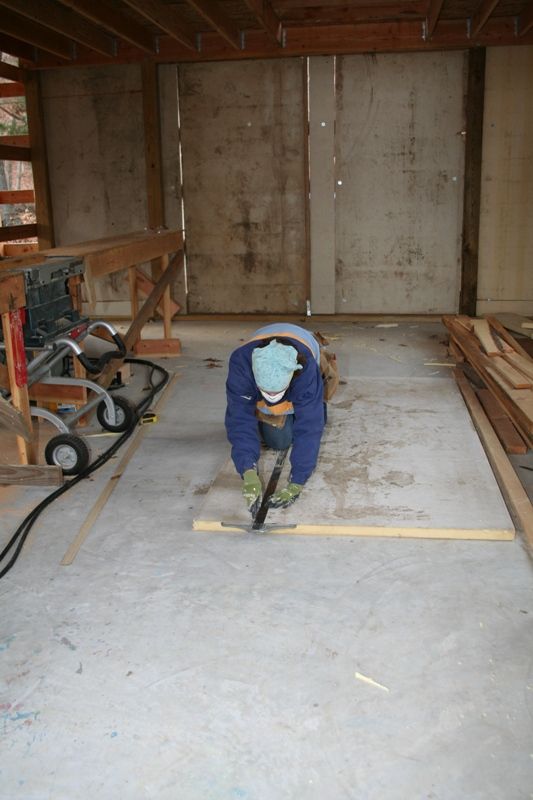
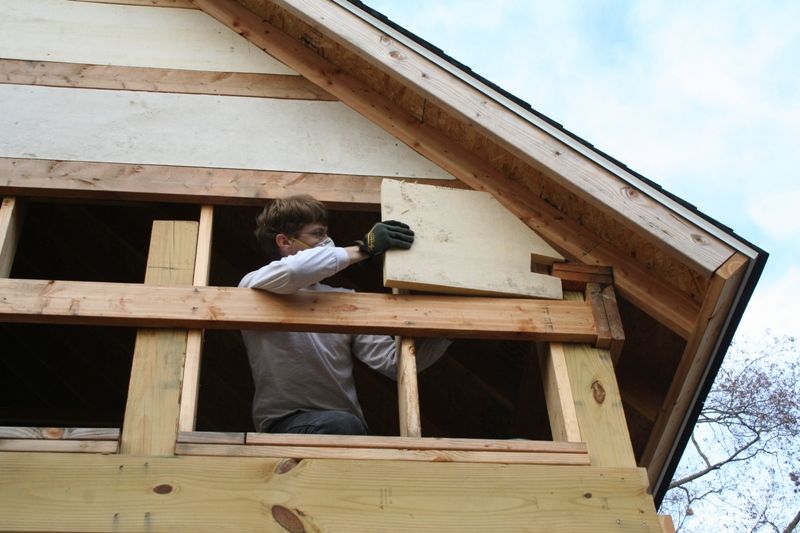
Saturday was Carol’s turn to work on the barn. She spent the day installing the first layer of foam insulation on the first floor of the main barn. She made great progress, despite the fussy nature of the work, which included cutting the foam to fit around the various framing members and the electrical panel and conduit. The following day, I turned my attention to putting the first layer of foam on the gable ends of the main barn. This was fussy too, but it sure looked like major progress when it was done. And it was especially satisfying to not be the only person who noticed.
You can read more about my barn here.
Fine Homebuilding Recommended Products
Fine Homebuilding receives a commission for items purchased through links on this site, including Amazon Associates and other affiliate advertising programs.

8067 All-Weather Flashing Tape

Reliable Crimp Connectors

Handy Heat Gun


View Comments
Patrick,
Well done on the barn, it's really taking shape.
I may be too late for this, but here are some tips for working with polyisocyanurate:
*The Festool foam cutting jig saw blade cuts it like butter
*The Milwaukee 12V HackZall makes a very handy one handed tool for cutting the Iso.
*From the looks of your photos, it is currently exposed to the elements. Please paper it in ASAP. Nothing good can come from the Iso geting wet.
*For cutting the Iso by hand, use a barret knife. It's got a 3"ish long, non-serrated blade. We do all our Iso cutting with them, almost exclusively.
From the photo, I'm not sure. Are you installing a single layer between the poles, or are you also doubling it up between the horizontal girts?
Thanks very much! I realy appreciate your tips and comments. You're not too late at all, as there's plenty of additional polyiso to install. At this point, I'm planning a layer between the girts and a second layer on the inside of the girts. We'll air seal on the interior layer with spray foam.
We have a ton of insulation, so there may even be a third layer on the walls, but my first priority will be to fill the rafter cavities after the walls are done.
Wow, you were busy over Thanksgiving. Thanks for sharing! -gina