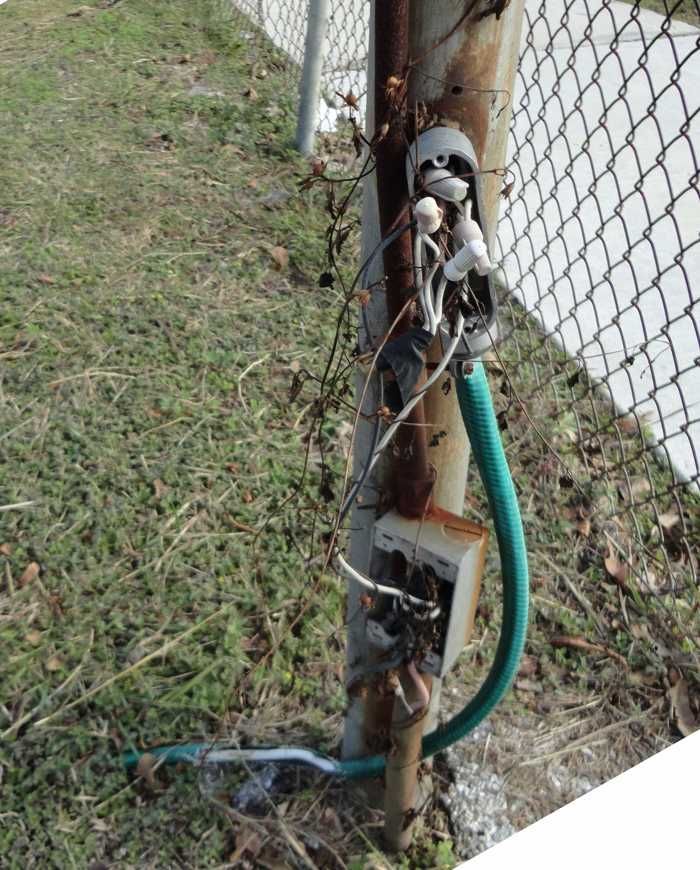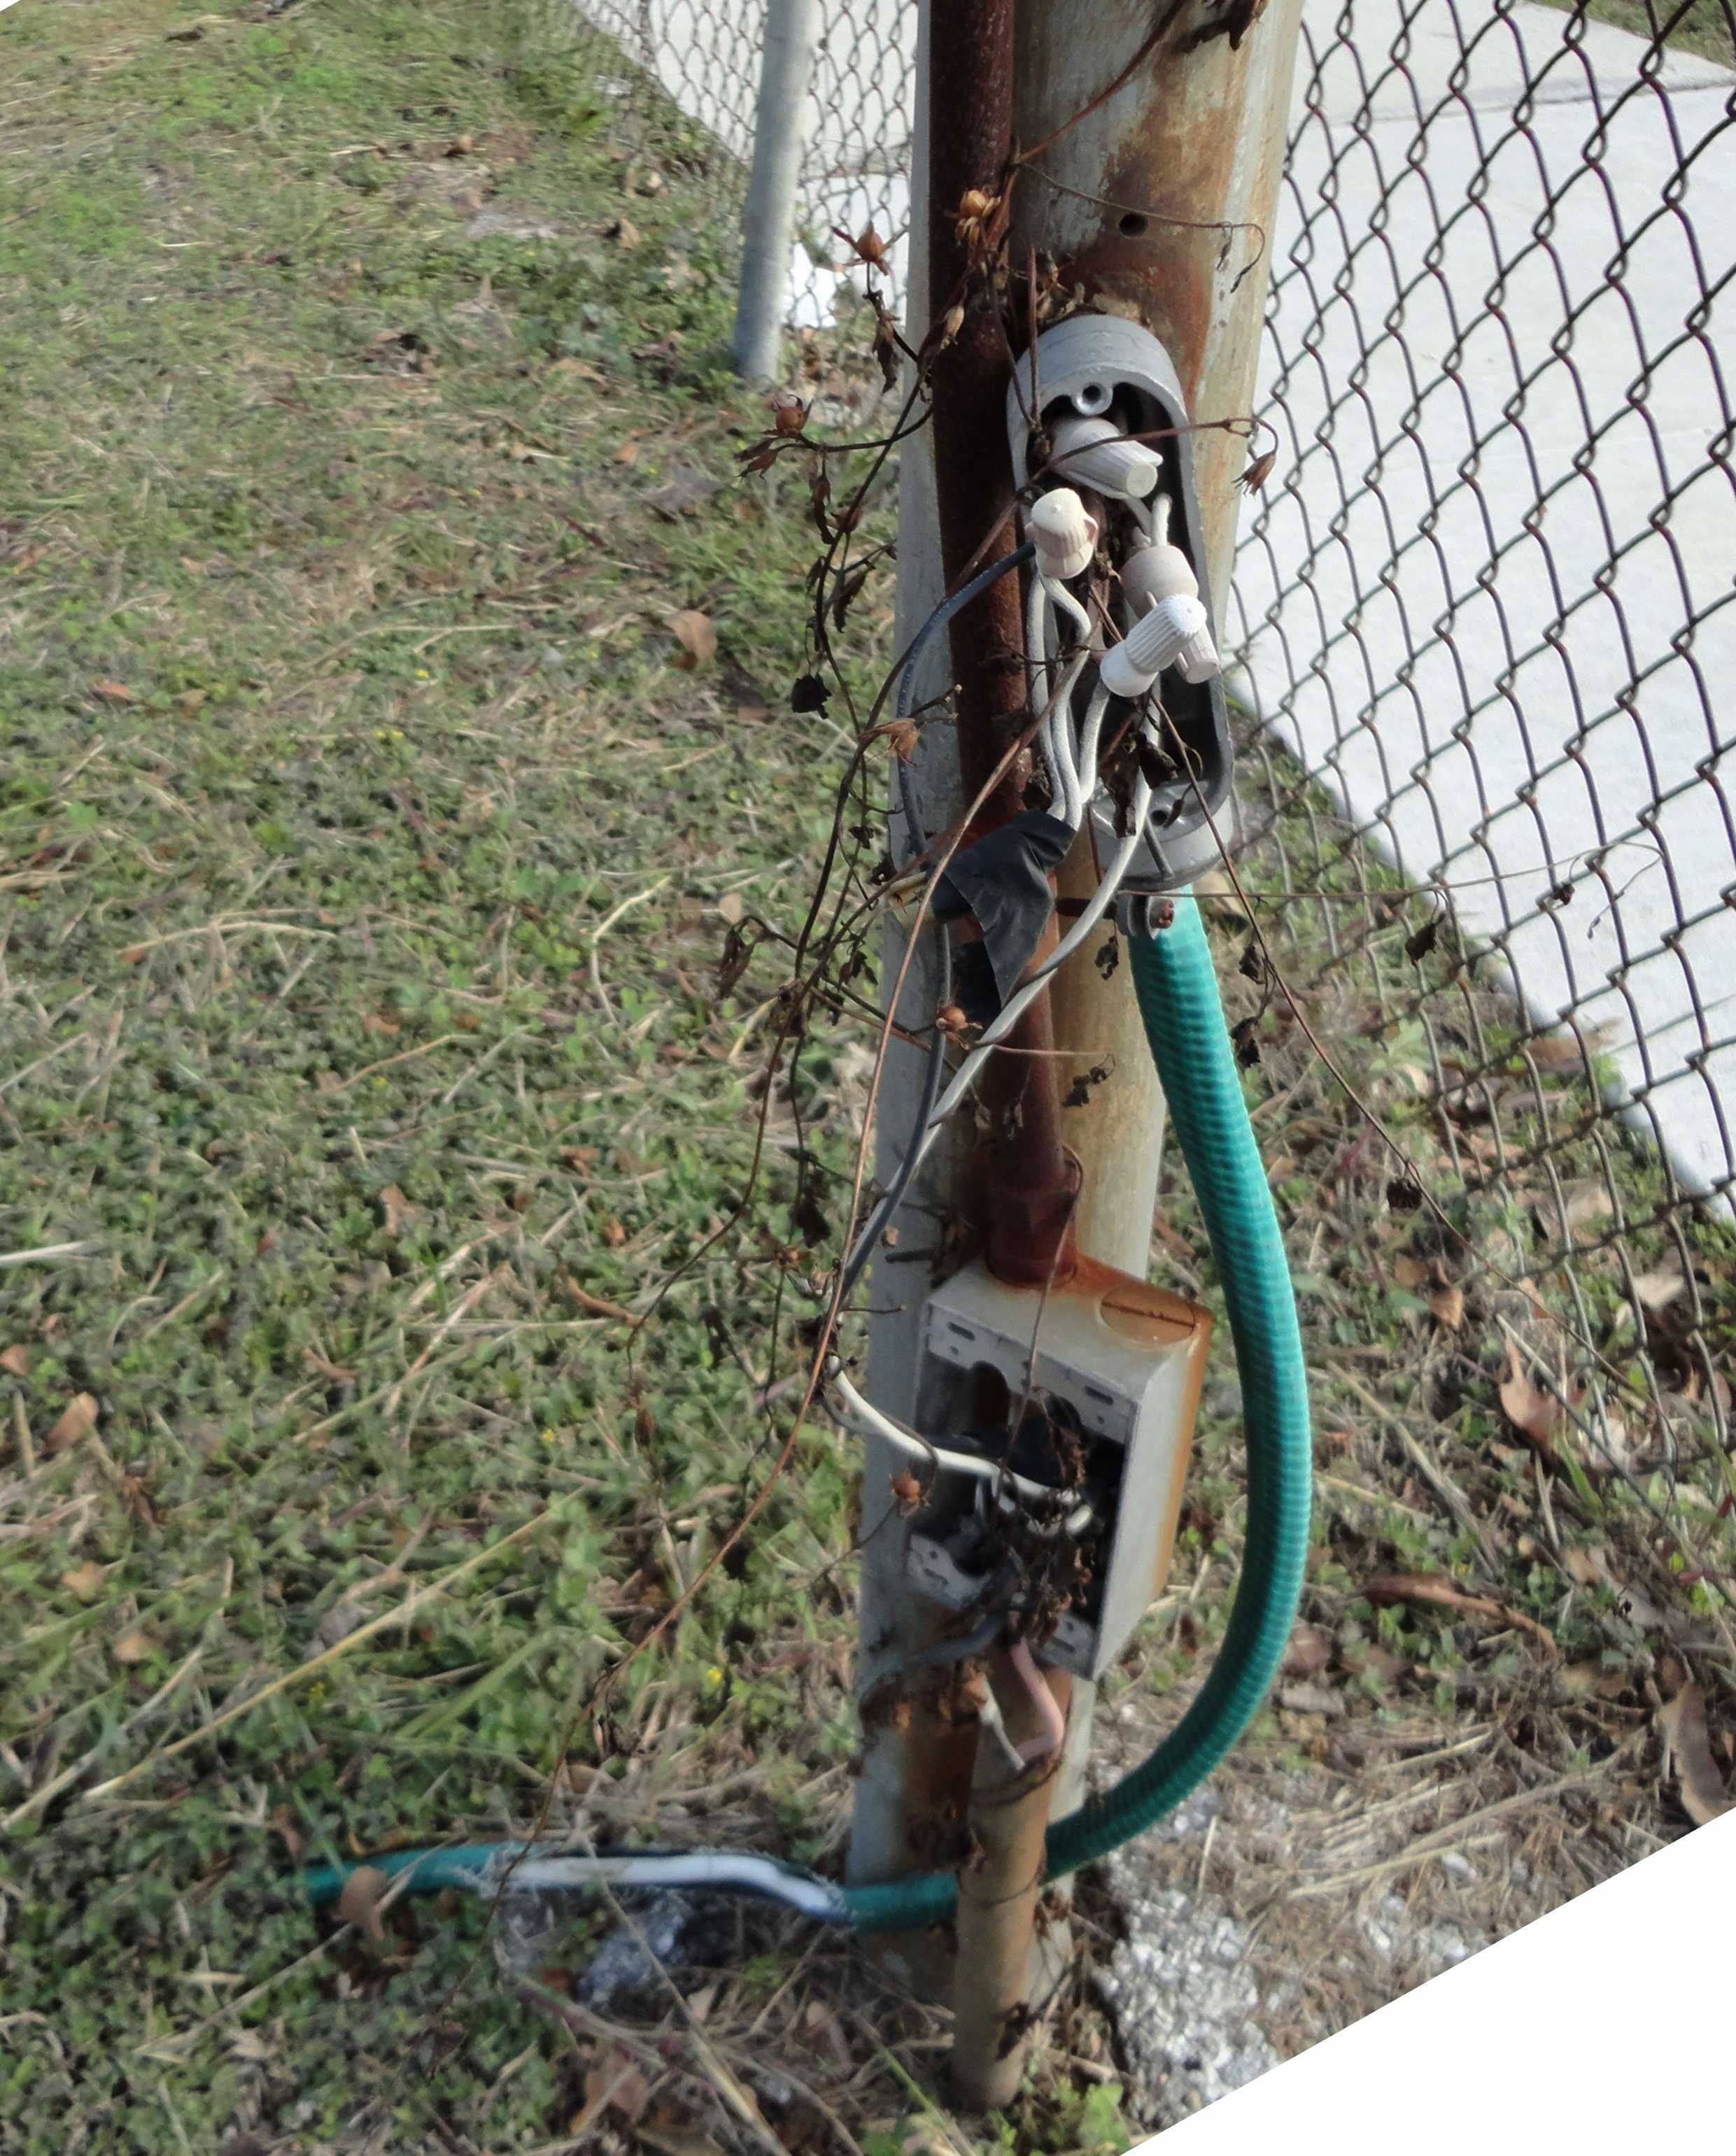
We recently got a letter from longtime reader John May of Houston Texas. John recently discovered some alarming landscape lighting on a nearby property. You don’t need to be a licensed electrician to be horrified by the wiring in the image he sent us (above). John wrote, “Rather than use a conduit to bring power out to a light post, they used a garden hose to encase NM cable which they then buried. There are several additional sins visible, of course.”
Fortunately, the light is no longer in service. While I don’t expect anyone to be so reckless in their landscape electrical plan, I realize there are legitimate questions about how to do it right. Here are some important considerations that need to be made according to frequent contributor and licensed electrician, Cliff Popejoy.
Choose between line and low voltage
When installing a landscape lighting system, you’ll have to choose between line voltage (120v) or a low-voltage system. Cliff ops for a 12v low-voltage systems because it’s easier to install. It’s also safer and more flexible to adjust and maintain.
Buy lighting components separately not in kit form
Low-voltage light kits are widely available and typically include a transformer, cable and several fixtures. However, light kits can’t typically be altered or added onto if necessary, so it’s usually better to assemble your own kits by purchasing high quality components. One such source for quality outdoor lighting products is Vista Professional Outdoor Lighting.
Create a weatherproof installation
Beyond the basics of mounting fixtures and running cable safely-low-voltage cable can either be laid on top of the ground or buried in 6-in deep trenches-you need to make sure the electrical connections are weathertight. Cliff uses twist-on connectors that are filled with siliconized latex caulk, special twist-on connectors made to be buried directly, and tubes filled with waterproof gel into which splices made with regular wire nuts are inserted.
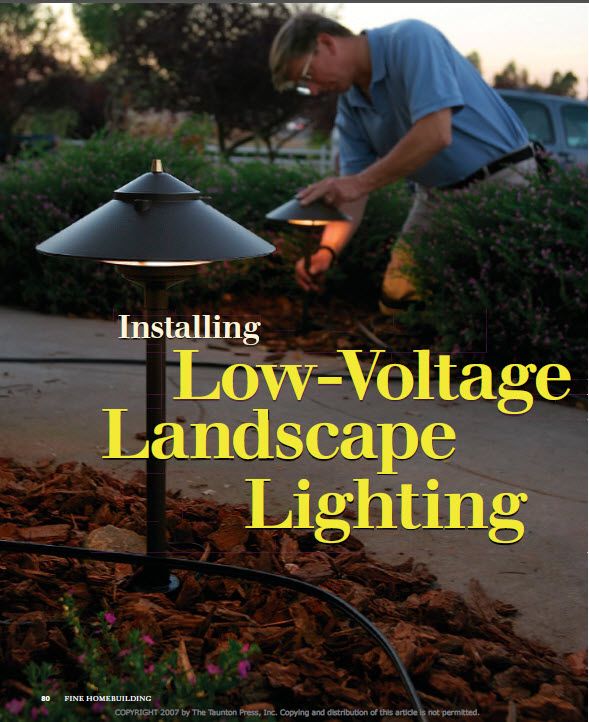
For anyone attempting to install landscape lighting, Cliff Popejoy’s article, “Installing Low-Voltage Landscape Lighting” is an absolute must read. He thoroughly addresses all of the issues above, plus he provides lighting layout tips and insights into dealing with voltage drop. If you’ve already installed a system and are having problems with it, Cliff offers several trouble shooting tips as well.
Fine Homebuilding Recommended Products
Fine Homebuilding receives a commission for items purchased through links on this site, including Amazon Associates and other affiliate advertising programs.

Reliable Crimp Connectors

Handy Heat Gun

8067 All-Weather Flashing Tape


View Comments
Very nice ... but, please, do we really need any help here?
Electrical horrors. I have thousands of pictures of such kludge. I've come to the conclusion that most of this stuff is the result of an "ethic" that prides itself on it's ignorance.
Take the pictured example above. Romex? Garden hose? Really? Those materials cost easily 3x what the proper cable would have cost, and been impossible to connect properly to the fixtures. Some savings! What genius!
Now ... what details do I hope the article explains?
First, how most electrical cables (and cords) quickly degrade when in contact with soil. We don't usually think of dirt as 'corrosive,' but it's fatal to rubber and many plastics. The proper cables don't have that problem.
Line or low voltage? Do you love digging? Line voltage wires need to be buried at least a shovel-blade deep, maybe even be in pipe; Low voltage can be laid on the ground and covered with mulch.
Power supply sizing, and how to "count" the lights.
Finer points? Properly laying out multiple runs; preventing runs from connecting to each other; placing controls where they are both accessible AND out of the weather; protecting it all from the lawn mower.
Might be nice to also show a proper in-ground junction box. Most folks have never seen one. These "handholes" are about the size of a 5-gallon bucket, and have an open bottom.