Simple Shade Structure Tames the Sun
Create a handsome pergola with rough-sawn cedar and readily available hardware.
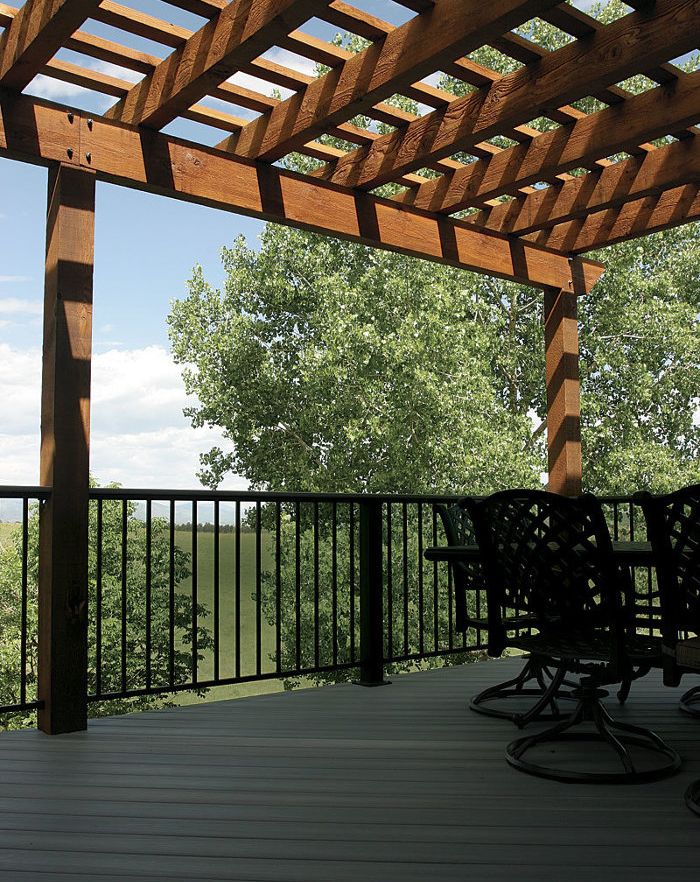
Synopsis: This article describes the construction of a simple pergola from rough-sawn western red-cedar timbers on a deck in Colorado with mountain views. Photo: Andy Engel
As a contractor who lives at the foot of the Rockies, I spend my days outside building decks and shade structures to help my customers enjoy our great climate. In spring, summer, and fall, the weather and the views call us to be outdoors. Even when it’s hot, our low humidity makes being outside a good proposition — if you can find some shade.
This home has a great view of the Front Range, but along with that view comes the western sun. Until it would lower behind a stand of cottonwoods, the mid-afternoon sun used to beat down on the deck and the kitchen just inside, making the spaces too hot to use. When the owners hired me to build a new deck, adding shade was a key part of the project.
Whenever I design a pergola, a lot of factors come into consideration. The more shade desired, for example, the more purlins (the uppermost members) are needed. I don’t have a strict formula for determining their size and spacing, but this deck’s 2×4 purlins are spaced on 12-in. centers, which is a typical layout I use. If there’s any doubt, I place the purlins without fastening them and see how my customer likes the layout.
By spacing the purlins this close together, snow and wind loads become a concern. This is Colorado, and we get a lot of snow, plus the winds coming down from the Rockies can be fierce. Because of these concerns, my engineer designed the pergola for the same loads as a roof. Made from rough-sawn western red-cedar timbers, this pergola fit together attractively in a simple, budget-friendly design that blocks a considerable portion of the sun, making the deck and the kitchen more comfortable by lowering the afternoon temperature in each space.
Notch the posts
A trio of cedar 6×6 posts supports the deck, the railing, and the pergola. The posts require careful notching where they will support the deck framing and the 4×10 pergola beam. If the pergola were being added to an existing deck, the floor joists would have been doubled or tripled below the post locations, and a manufactured post base would secure the post to the framing. the posts were finished with deck stain before installation.
Cut and install the beam
Two 4x10s meet over the center post, forming a beam that runs the width of the pergola. The ends of the beam cantilever 1 ft. beyond the outer posts for looks. All the prep work of cutting, beveling, laying out the rafter locations, and staining is done on the ground. The bolt holes were drilled after the beam was placed.
For more photos, drawings, and details, click the View PDF button below:
Fine Homebuilding Recommended Products
Fine Homebuilding receives a commission for items purchased through links on this site, including Amazon Associates and other affiliate advertising programs.

Standard Marking Chalk

Metal Connector Nailer
FastenMaster Screw Bolt Fastening System
