
Hiding a Wavy Ceiling in Crown Molding
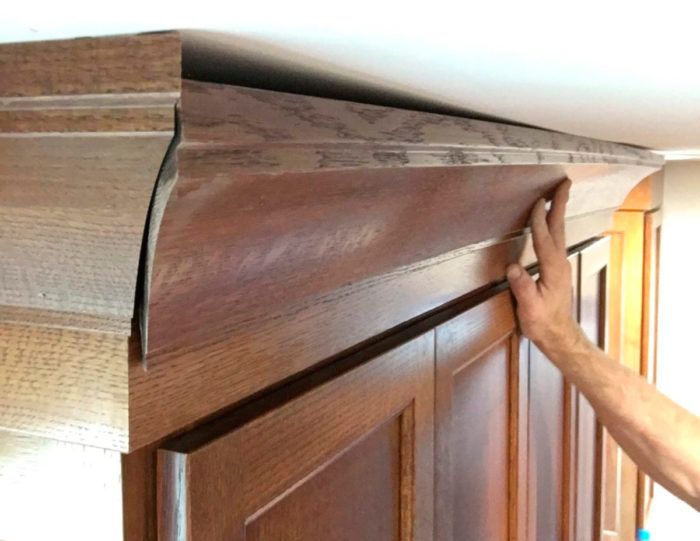
Scribe the top edge of the crown to accommodate a pronounced dip in the ceiling.
There are a number of different ways to install crown molding over a wavy ceiling. Bend the molding, feather the ceiling, split the difference, caulk it (if it’s paint grade), or “let the painter deal with it.”
I recently ran into this issue on a kitchen renovation. I had a fairly large dip over a short distance where feathering the ceiling just didn’t make sense, so I decided to scribe the top of the crown. The profile had enough meat on the top edge to allow this to be done without being too noticeable, and it was also in a narrow hallway of the room so it would never be a direct focal point.
Marking the Scribe
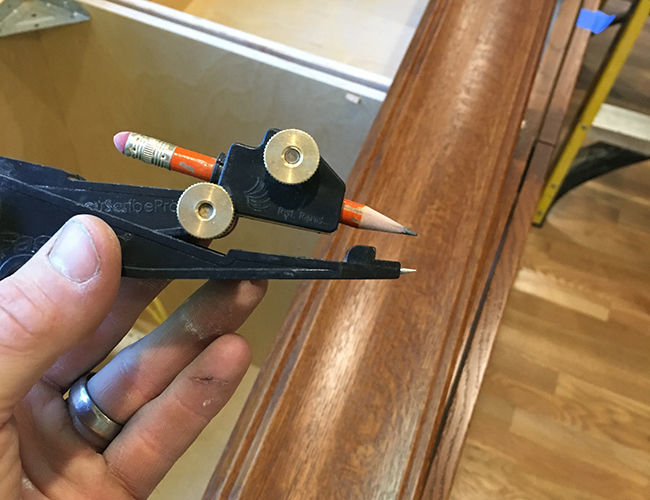
Similar to scribing baseboard you’re going to want to hold the crown molding level, keeping the reveal consistent between the bottom of the crown and top of the cabinetry. Push the molding up till you hit the lowest point of the ceiling. You’ll see in the picture here that the dip is centered on the molding. Take your scribe tool of choice (I’m using FastCaps AccuScribe) and set it at the same distance between the ceiling and the top edge of the crown molding where it is farthest from the ceiling. Run the scribe tool along the entire piece of crown, creating a cut line.
Cutting the Scribe
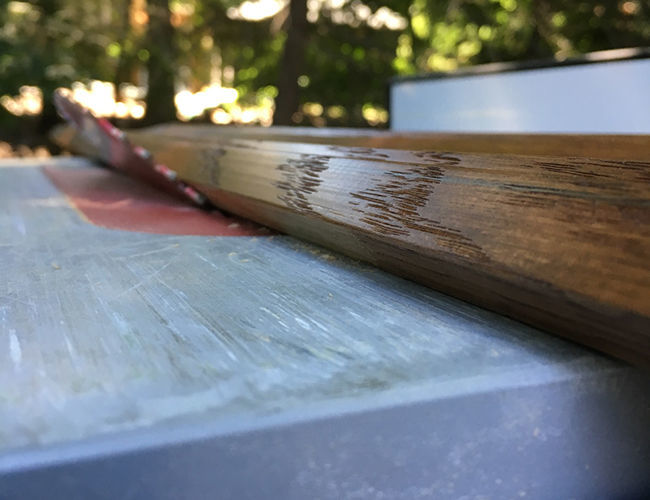
I typically will run my molding through the table saw, but a coping or jig saw will work just fine. The key here is to make sure you are cutting at the same angle (or more) as the crown spring angle which is 45-degrees in my case. I set my table saw at 45-degrees and cut right up to the line, finishing off with a palm-sander.
Install the Crown
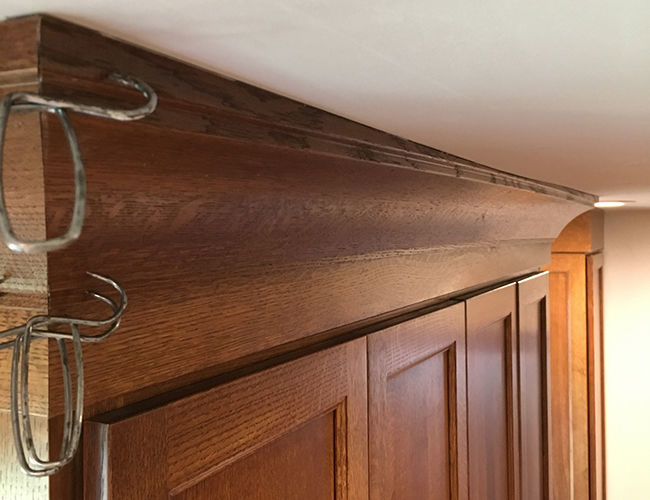
Now that the “ceiling relief cut” has been completed your install is standard practice. I use 18ga. brads to attach the crown molding to the cabinet soffit as well as into the ceiling blocking. Titebond II at the corners and PL Power Grab for extra insurance along the back edge at the ceiling.
If I were to deal with this issue again, adding the difficulty of smaller molding AND located in a direct focal point, I would split the difference; scribing the molding, as well as feathering out the dip as much as possible with joint compound. The goal is to make the dip less noticeable, don’t draw attention to it by creating something funky.
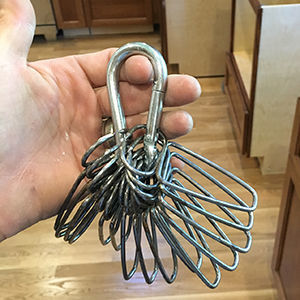
TIP: If you haven’t invested in Collins Tools Miter Clamps, do your self a favor and pick a set up. While you’re at it, grab a carabiner to store them neatly.
IG @nsbuilders

View Comments
The miter clamps look great but I wonder: how much of a mark or indent do they leave on the wood?
It looks like you made a straight cut to hide a wave? I think I missed something? Did you use the palm sander to sand down just the portion that needed to be cut out to match the wave in the ceiling or did you use the table saw to cut the wave portion? You scribed a straight line down the entire length? I understand how you got the distance required by measuring the gap originally, but got lost after that. More pictures maybe?
The way I read it, they followed their line roughly with the circular saw and then used the sander just to smooth and neaten the edge. A carbide blade has teeth (and kerf) wider than the body of the blade, so you can cut gentle curves without binding or kickback. This is very commonly done in wooden boat construction and repair. I doubt that it would work well on a non-carbide blade. (It's been so long since I used one that I can't even remember what the old filed-tooth blades are called!)
This is one of the tricks of the trade I've used for decades,and also one of the reasons why a good low angle block plane has a permanent place in my tool belt. It is particularly handy working on very high ceilings when you're up on a scaffolding and your souls where the heck down there. I have also used the Collins clamps extensively on all types of paint grade and staying grade trim they leave a mark about the size of a 23 gauge pin nails.
Another trick I have used on truly wavy ceilings like the kind you find in a 100 year old house with a textured plaster finish, is to just incorporate a shadow line as part of the design. on some kitchen cabinets in this case we would hold the crown off of the ceiling and inch and a half or so and just let the ceiling do whatever it wants, and run the crown straight and level.
Agree with user above: how does cutting a straight line in the molding do anything at all? I didn't see a thing explaining how it was made to fit the ceiling.
He was cutting the edge of the crown molding to make it almost knife-like. Then he could easily use the palm sander (instead of a block plane) to shape the crown molding to the scribe line.
You don't cut a straight line, you need to follow the scribe line the whole length of the board. In the case of the moulding in the photo you would be taking most of the wood out of the middle of the length of trim. In a case like this example I would probably clamp the moulding to the table and just use the belt sander to take out the small section in the middle. You can feather it out and back bevel it quite easily with the belt sander.
You're all joking right ? Scribing is difficult +
a. the resulting varying thickness of the flat border
b. or even worse , a disappearing / reappearing beading border
of the crown's profile .. "highlights" the problem
JMO - crooked moldings look worse than wavy ceilings- which many actually like
Caulking done by an experienced caulker (= experienced painter) will "disguise"
the gaps and keeps moldings perfectly straight -
Large gaps will require
1 circular flexible polyurethane "backer-rod" ( commonly used for filling
air gaps at doors and windows)
2 and/or more than one layer of caulking
I absolutely agree. This installation looks terrible and using a compass to scribe is a lot easier said than done. (There are easier tools with which to scribe.)
For small variations in the ceiling, a stainable caulk could be used. ..and I mean very small variations. The eye will easily see the variation between 1/8 and 3/8 but not between 1 1/8 and 1 3/8 even though the variation is still only 1/4 inch. The edge on that crown is not large and anything but a small variation will be easily seen.
For such a severe wave in the ceiling such as this, I'd have used a built-up crown profile, incorporating a molding that would conform (bend) to the wave of the ceiling. With proper forethought/planning in the design, the wave would be hidden in the built-up layers.