Finish a Pergola with Strapping
Jeremy Kassel installs straps over pergola beams for added visual appeal.
Sponsored by Simpson Strong-Tie

To finish this pergola build, Jeremy Kassel installs 2×2 strapping on 8-in. centers on top of the rafters. He explains how to predrill the strap ends to minimize the risk of splitting and how to ensure that each strap is cut to precision after installation. Kassel has chosen not to treat the 2×2 hemlock strapping, allowing it to weather naturally instead.

Here’s the Transcript:
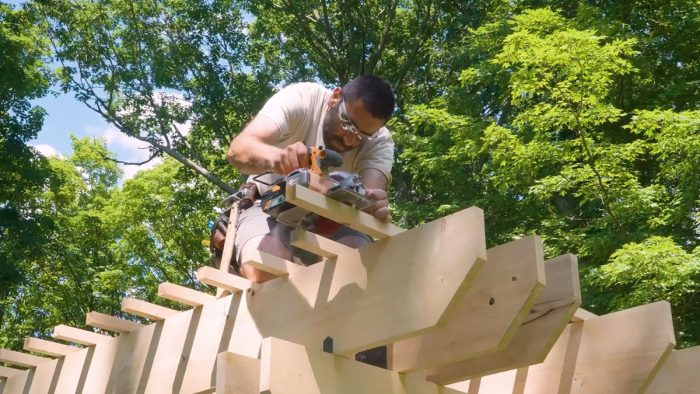
The 2×2 strapping is laid out on 8-in. centers, marked on the tops of the rafters. We’re simply going to screw down through the tops of them into the top of our rafter. We’re fastening our 2×2 strapping with a 3-in. Simpson Strong-Tie framing screw.

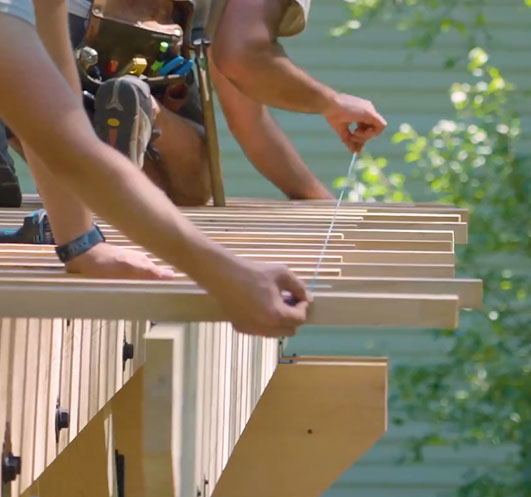
Although these Simpson screws are self-driving, we do want to make sure that the ends of our straps don’t split, so we will at least predrill the ends. We’re going to let the ends of our strapping run a little bit wild. We’re going to come back through, make marks, snap a nice straight chalk line, and then cut the tails evenly.
We don’t plan on putting any type of finish on this locally sourced hemlock. We are just going to let it gray out and get a natural patina. Some checking, some cracking, maybe even a little bit of twisting. We don’t really want to get into the maintenance cycle of putting paint or stain on it.
We’re just going to let it naturally weather, and it’ll have a nice rustic look to it. Overall, I was really happy using the entire Simpson system, from the online pergola planning software to actually having the hardware and fasteners for connecting all of our timbers together. It was a really positive experience. I would definitely use this entire system again with a client. I’m just really overall happy with it.
RELATED STORIES


