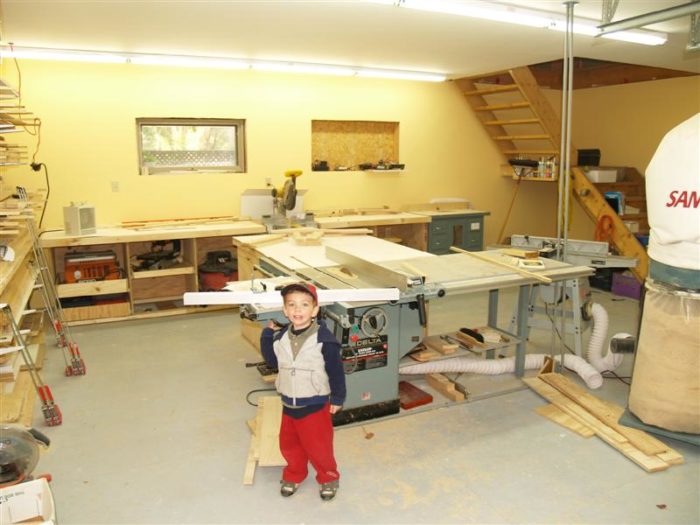
The house I bought last year came with an uninsulated 2 car, 2 storey garage out back that I get to use as my workshop. Last year before winter I insulated the lower half, and now as it gets colder I need to get the top half insulated.
The garage will be sporadically heated through the winter, depending on what projects I am working on. I currently am using an electric heater but may upgrade to gas at some later date.
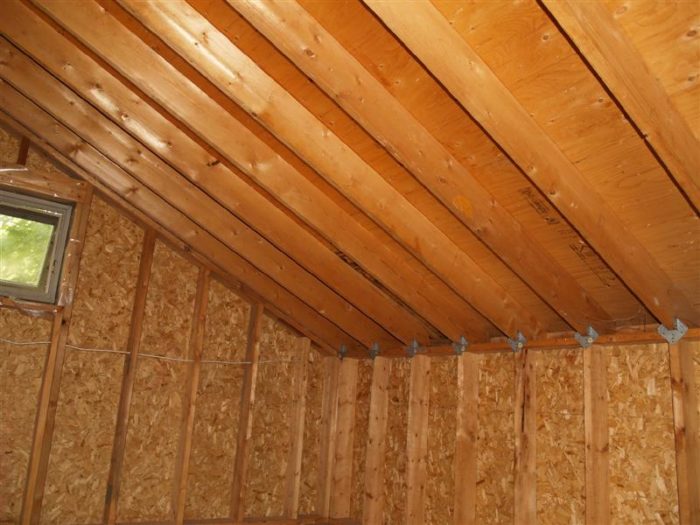
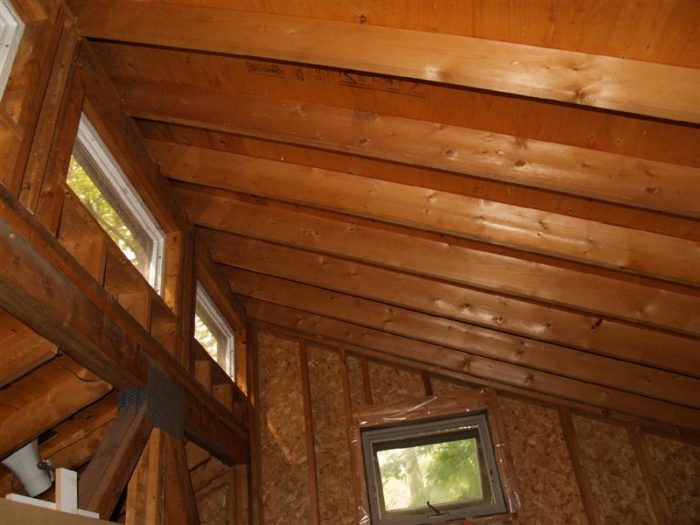
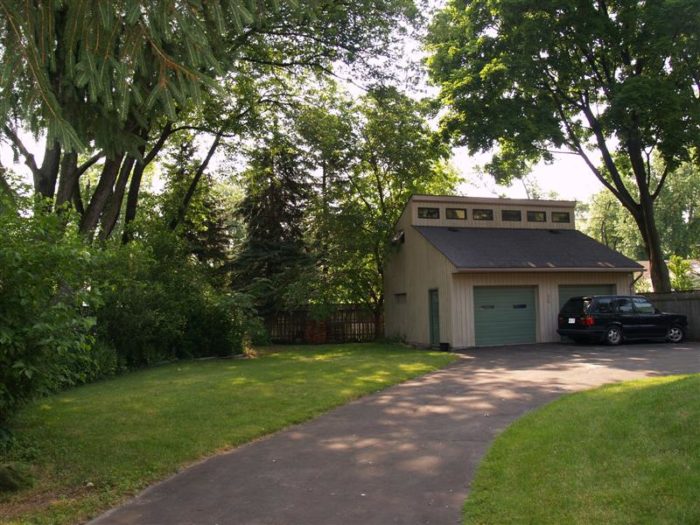
I plan on using Roxul mineral wool insulation, that’s what I used in the downstairs and it worked out well for me. I am finishing up the electrical and then need to start on the insulation. On the outside of the walls is 1.5 inches of styrofoam. The walls are 2×6 and half the rafters are 2×8, the other half 2×6. The roof has only two vents on half the roof (see “workshop outside.jpg”).
My plan is :
1 – install new roof vents on back roof
2 – cut holes in roof joists to connect them for air flow
3 – install rafter vents
4 – install insulation
5 – install vapor barrier
Next I’m not sure. I don’t know what I’m putting on the walls and ceiling, but probably some sort of 1/4″ plywood or maybe even OSB. This loft is only for storage but stuff will be bouncing off the walls so I want it to be relatively durable. I’m not doing drywall because I dislike it.
Questions :
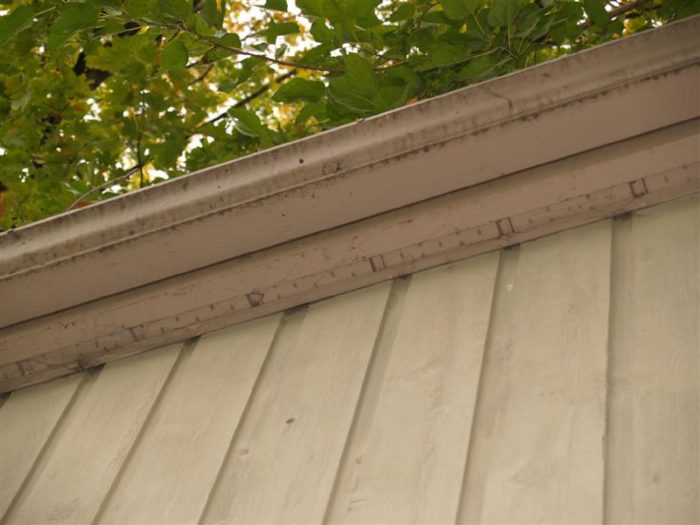
1 – is the soffit (~2″ width) in the picture big enough for venting the roof? If not what can I do? (That is the back roof, the front roof has a ‘regular’ large overhang and perforated soffit.
2 – do I need to install strapping over the VB on the ceiling before putting up a 1/4″ plywood ceiling? On the walls?
thanks – mark


Replies
If it were me I would get a crew in and have the whole place insulated with cellulose. I would not add any venting. They would be done in a day with a fine mesh stapled over the studs and filled bays.
I would then line the inside with 7/16 OSB. Followed by white primer. you will find the electric heat will work best if you spread it around. I use oil filled 1500 watt heaters with the thermostat set at 2 (max 6) and they stay "off" most of the time. Insulation is where its at.
I use the grey mats from Pepboys to "soften" the floor, gives a thermal break to.
Thanks. I stopped by the local yard and I will be going with OSB for the ceiling and walls.How about a DIY spray poly foam such as the kit from Tiger Foam (http://www.tigerfoam.com/)? I haven't called for a cellulose quote yet, but I'm assuming it will run me more than if I DIY.I already have the insulation for the walls (leftover from previous project) so I only need the ceiling(s) done. They'll end up being a little under 600 sq ft.A 600 sq ft kit here in Canada will cost me about $925 after taxes. $1.54/ft cost.thanks - mark
I dont think blown cellulose in walls with the mesh is approved in Ontario.. thats the story I got when calling around for it.. nooone seems to know how to do it. Any body know any different?
The cost is a balance between how much heating will happen because if there is no heat then there is no point in the insulation.
Check with your local Lowes or HD to see if you can rent a machine to install the cells. Here in NJ 20 packs and machine rent is free.
You could install the OSB and leave a small opening at the hight point and fill from there, save using the mesh.
I think the foam would have a longer learning curve than the cells.
Code in Ontario is a 2" air space on a vaulted cieling. Strap down the rafters and install a continuose ridge vent. Also use vapour barrier on the outside walls and cieling.
"I haven't called for a cellulose quote yet, but I'm assuming it will run me more than if I DIY."
Installing cellulos is one of those things like doing concrete -- hiring someone who does if for a living hardly costs any more than doing it yourself, and the minimal extra expense is worth it. In the case of cellulose, their fans are way better than the ones you can rent.
If you want to save a few bucks, you may be able to get the contractor to let you install the scrim and he'll just blow the cells in. That way, it'll only take him a couple of hours to do the whole job.
It'll also be about 10X cheaper than Tiger Foam.
BTW, do NOT drill holes in the framing to allow for venting. (Are you a plumber by any chance? ;-) )
Mike HennessyPittsburgh, PA
Thanks for the plumber joke :) This is the first roof insulating I've done. The reason I thought that I needed venting between the joists is that I found this in the Ontario Building Code :"9.19.1.2
(4) Except where each roof joist space referred to in Sentence (2) is separately vented, roof joist spaces shall be interconnected by installing purlins not less than 38mm by 38 mm (2 in by 2 in) on top of the roof joists."A quick google search shows me that purlins are probably 2xs laid horizontally over rafters to which the roof decking is applied. Since I am retrofitting this insulation, that is not possible for me. I figured if I drilled holes at the top of the joists to allow some air movement I could get a similar effect. I've installed regular vents, but never a ridge vent. With my roof the way it is I didn't think a regular ridge vent would work, though I can probably ask my local roofing supplier for help there.In any case, I'm leaning towards cellulose or foam to avoid the venting altogether. I'll call for some quotes today.cheers - mark
Ridge vents are pretty easy to install, provided you have access to the roof ridge. They only work if you also have soffit vents as well, tho'.
If you do have soffit and ridge vents, you can vent the underside of the roof by installing vent pans prior to the insulation -- basically rigid foam or cardboard spacers to keep air flowing and the insulation off the underside of the deck.
Any holes you drill that would be sufficient for venting would seriously compromise the integrity of the joists.
Mike HennessyPittsburgh, PA
Plug the vents.
No more vents.
Dense pack with cells as suggested & OSB walls.
Vapor barrier? You do a lot of cooking in there? Shower?
No moisture source, why a vapor barrier?
Joe H