Custom-built planter boxes are easy to make from leftover materials. Our boxes were designed to sit on each end of the bench seats, but they could be placed anywhere. Rather than build them into the structure, we built them freestanding so they could be moved off the deck for periodic cleaning and filling. Lined with a waterproof membrane, the planters feature a drain that prevents root rot.
A solid framework. As a smaller version of the half-wall construction, the first stage of the planters is built with panels made from 2x2s and plywood that are screwed to corner posts. After assembling the box, add a second layer of plywood to the outside of the frame.
First layer of trim. Clad the exterior of each panel with trim boards backed with strips of joist tape at gap locations. Fasten the boards with trim-head screws.
Box the panel. Apply horizontal trim boards across the top and bottom of each panel. The horizontals and the post sides are in the same plane and complete the frame.
It’s a one-piece liner. Made from rubber roofing material (EPDM), the liner is folded into the planter’s interior. Measure and mark the membrane carefully so that there’s coverage top to bottom.
Rubber origami. Fold the membrane in half, then push it down into the planter.
Fold the corners. With the membrane covering the bottom, fold the corners so that the membrane forms a bucket shape.
Attach the corners. While holding each corner fold, tack it to the top of the panel’s interior with staples or cap staples.
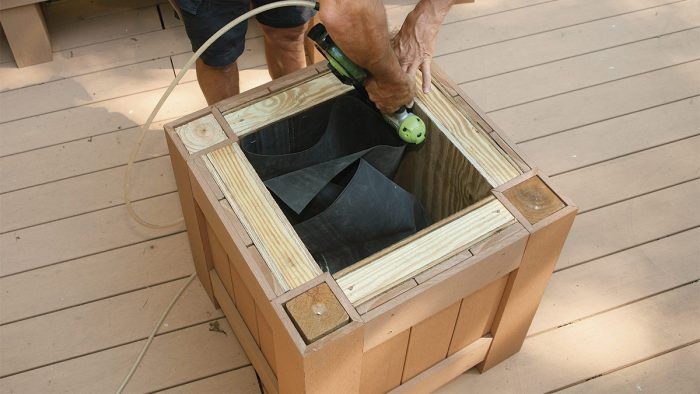
Trim the top. When all four corners are fixed in place, use a sharp knife to cut away excess material along the top edge.
Install the drain. Drill a hole into the plywood bottom just enough to mark the membrane. From the inside, cut a small hole in the membrane and push a length of vinyl tubing through it. From the other side, pull it out so that a 1⁄4-in. stub remains exposed inside on the planter floor.
Photos by Charles Bickford; drawing by Toby Welles, WowHouse.
Fine Homebuilding Recommended Products
Fine Homebuilding receives a commission for items purchased through links on this site, including Amazon Associates and other affiliate advertising programs.
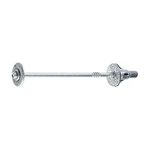
FastenMaster Screw Bolt Fastening System
These solid, time-saving bolts don't require pre-drilling and come in very handy when it comes to guard rail posts.
This is a dialog window which overlays the main content of the page. The modal window is a 'site map' of the most critical areas of the site. Pressing the Escape (ESC) button will close the modal and bring you back to where you were on the page.