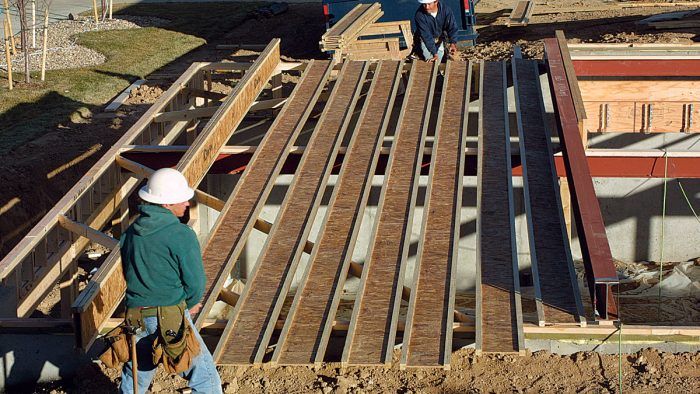
The Well-Framed Floor
Whether it's the floor of a big house or a small addition, an accurate layout promotes smooth installation.

Synopsis: A Colorado framing contractor describes his techniques for framing a floor with wood I-joists. The focus is on speed and accuracy. A sidebar offers the authors views on I-joists vs. solid wood.
Walking across a newly framed floor for the first time is a milestone in any framing project. Finally, there’s something to stand on that doesn’t squish beneath your boots. It’s flat and strong, and because there’s a floor to stand on, the rest of the project will move ahead much more quickly. But whether you’re using common lumber or I-joists, it takes a well-coordinated effort to get any floor to the point where you can walk on it.
Before you start driving nails, it’s important to collect as much information as possible about the locations of the joists, posts, beams, point loads, cantilevers, plumbing vents, drains, and HVAC ducts on the floor-framing plan. Whether those details come from the architect, you, or somewhere else, the floor-framing plan needs to reflect the house as it’s going to be built.
Having all this information in one place allows you to overlay — in pencil — the big immovable parts of the house on top of each other. This step will catch most if not all the big mistakes that can be made early on. It’s a lot easier to erase than it is to remove and replace.
Transfer the details from the plans to the mudsills
First, I check the joist spacing on the floor-framing plan, usually 16 in. or 19.2 in. on center (o.c.) and transfer that to the mudsills. Measuring from the end of the house (usually beginning with the longest uninterrupted run), I mark the edge of the first joist 15 1⁄8 in. from the end for 1 3⁄4-in. I-joists (16 in. minus half the joist thickness). This places the center of the first joist at 16 in.
Then I mark 16 in. o.c. (or whatever the proper spacing is) from the first mark to the other end of the house. I do this on the front and back walls; then I check the layout marks on both ends to make sure that they are the same. If they are within 1⁄4 in., I leave it; if not, I double-check the layout and make adjustments. I also mark the location of stairs, load-bearing members, and cantilevers on the mudsill.
Leave room for pipes and ductwork
If the layout mark for the last joist is within a foot of the endwall, I move it to allow room for plumbing, electrical, or HVAC in what is often an important joist bay. I usually just measure and mark 16 in. from the edge of the mudsill back toward the center of the house.
From Fine Homebuilding #

For more photos, illustrations, and details, click the View PDF button below:
Fine Homebuilding Recommended Products
Fine Homebuilding receives a commission for items purchased through links on this site, including Amazon Associates and other affiliate advertising programs.

Sledge Hammer

Stabila Classic Level Set

Short Blade Chisel


