Quick Tips for Better Stair Building
A master stairbuilder shares five simple techniques that greatly improve staircase construction
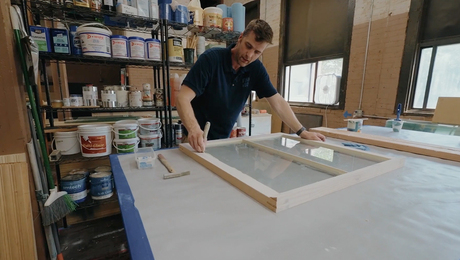
Glue the final fitting connections starting at the top of the stairs. The amount of glue to use is an age-old question. To get the perfect amount, I use my finger to push glue into the end grain of the wood (this works really well for oak). When I’ve pushed enough in, glue starts to ooze back out after I remove my finger. This way, there isn’t any excess glue on the surface when the joint is assembled but there is plenty of glue to make a permanent connection.
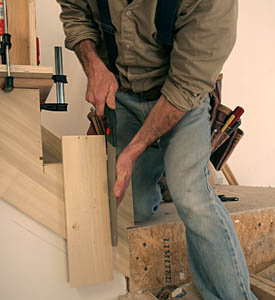
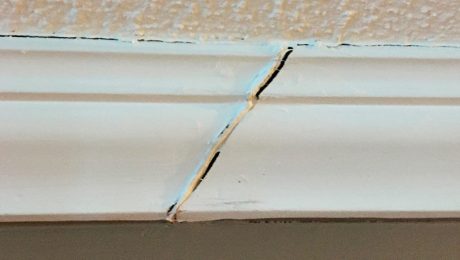
Use a block to cut the skirting. When building a staircase, I sometimes need to cut back the skirting to allow a newel post to attach directly to the framing. With finish nails, I tack a straightedge guide block to the layout line. The guide block keeps my Japanese pull saw tracking straight. The pull saw has a thin, sharp blade that makes a neat cut. Afterward, I carefully pry off the guide block and fill the nail holes.
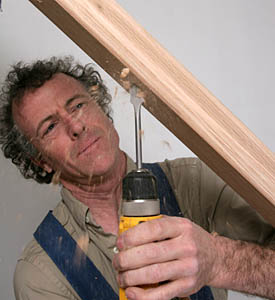
Drill the baluster holes in the underside of the handrail. Start the spade-bit point perpendicular to the handrail. As the point bites, swing the bit vertical, and plunge the rest of the depth. I drill a hole and test-fit one baluster. Then I make a mark on the bit so that I know how deep to plunge it.
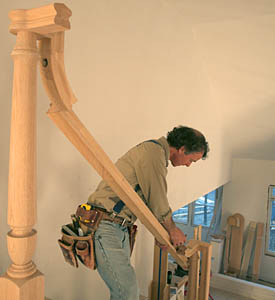
Mark instead of measure. For speed and for accuracy, I find that it’s better to mark when I can. I hold the piece that I need to cut in place and then make my mark. Using a tape is like using math. It’s important to know how to do it well, but I avoid it whenever I can.
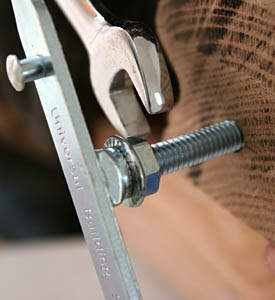
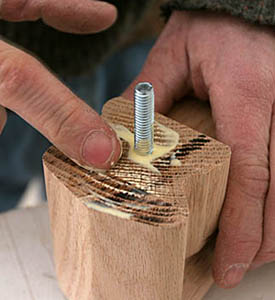
Back out a rail-bolt with an extra nut. I sometimes inadvertently drive a rail bolt too deep into a pilot hole and need to back it out. To do this, I put on a machine-thread nut and cinch it tight against the rail-bolt wrench. Then I use a open-ended wrench on the machine nut to back out the rail bolt.
To learn more about stairbuilding which follows these techniques, read Tucker Windover’s article A Sweeping Handrail for a Centerpiece Stair from the October/November 2007 issue of Fine Homebuilding.
Photos: John Ross