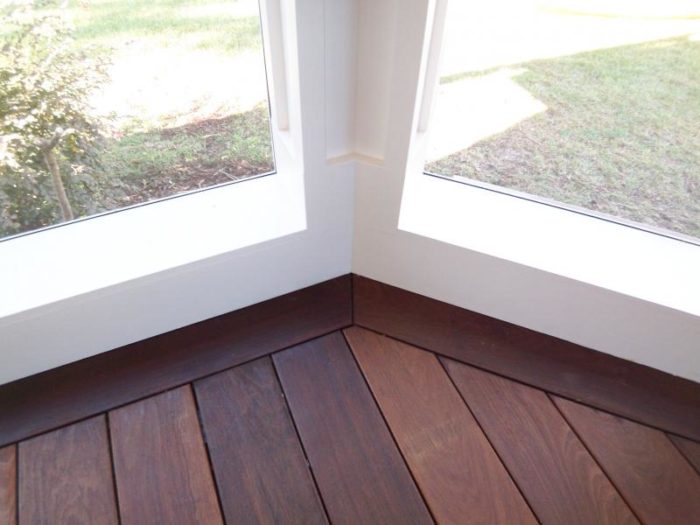
Screen porch with ipe decking and exposed beams
holy hammer
| Posted in Photo Gallery on
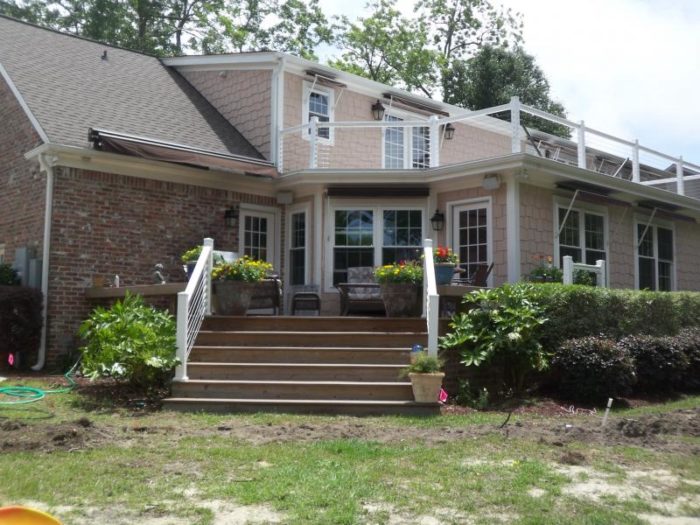
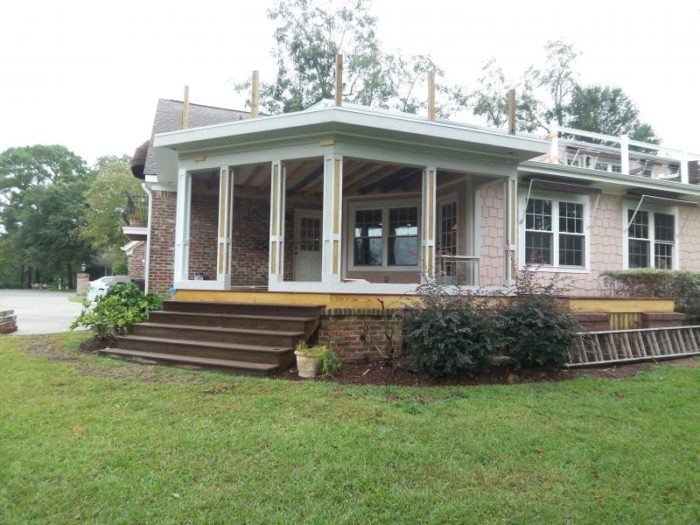
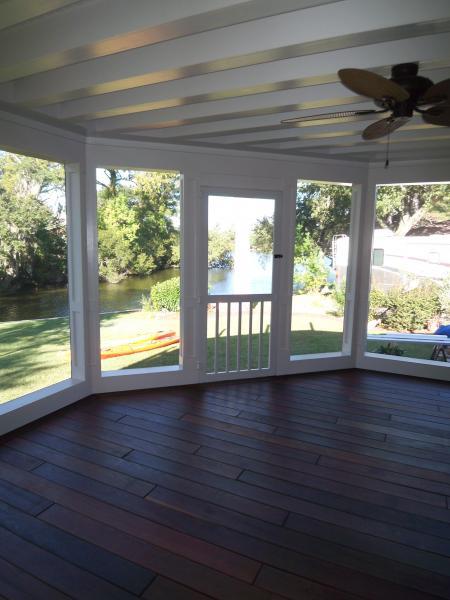
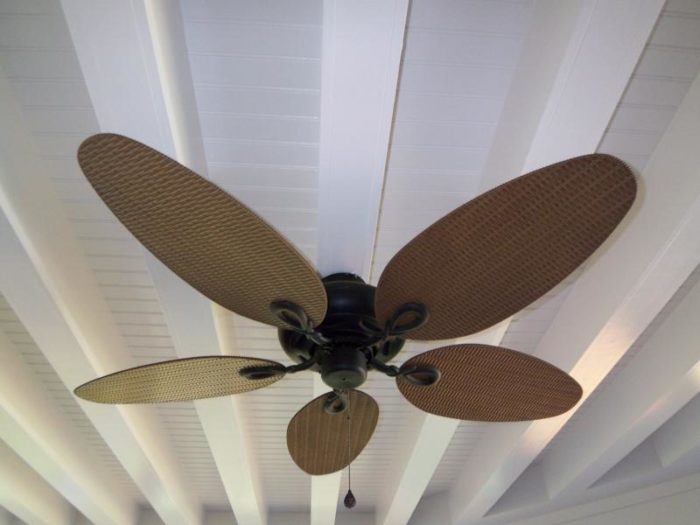
Just finishing up a screen porch. Ipe deck, wrought iron circular stair, exposed beams with beaded t&g ceiling, stainless cable rail.
First time using ipe, thanks for all the advice.
Constructing in metric…
every inch of the way.


Replies
Now then, would you like some advice about photo attachment sizing?
Welcome to the
Taunton University of Knowledge FHB Campus at Breaktime.
where ...
Excellence is its own reward!
Oops... I guess most of the BTer's don't have 60" diag. computer monitors. Is there an easy way to downsize on a Mac?Constructing in metric...
every inch of the way.
from what I'm told, there is an easy way to do everything from frying bacon to conceiving babies on a Mac, but I don't know a thing about them. Tried one and found it hard for me.But somebody will be along to tell you.Hint - if you have a camera capable of taking pictures that large, it certainly came with photo editing software that will do the job if you learn to use it.
Welcome to the Taunton University of Knowledge FHB Campus at Breaktime. where ... Excellence is its own reward!
I am on a mac as well.Open your pics in iPhoto. When you export them you can resize. I like 600x450 but the web standard is 640x480.Chuck Slive, work, build, ...better with wood
Here ya go. Resized in honor of Rez:
View ImageMike HennessyPittsburgh, PAEverything fits, until you put glue on it.
Mike, Thanks. From now on doing a "good deed" should be referred to as doing a "Rez". I was just sitting down to figger out how to re-size the photos and checked my email first. I still need to learn it though. Next will be how to embed photos on the page.Thanks a million.PhilConstructing in metric...
every inch of the way.
I see the cable rail on the roof but cannot make out any rail behind the screens. or is that not the plan?
The owners did not want to obscure the site lines to the lake in the backyard so they wanted no rail. The elevation from the deck surface to the ground is less than 30 inches so no rail is required. I lobbied for something to break up the space, but the homeowner wanted it open. We originally planned wider columns, but that was shot down too.Constructing in metric...
every inch of the way.
Mike,
Very nice work. I have a fully framed screened porch that I'm about to trim out. Is that Azek all around or did you wrap the columns in something else? If you could not use Azek, what type of wood/material would you have used for this project?
Thanks Mike.
FR
Mike, Thanks for the comment. We used Miratec on all the exposed surfaces. It was a pain and I probably would not use it again. Very very dusty when cutting and we had to prime every exposed end cut or ripped edge. My sales rep at my local lumberyard suggested we try it. It was glorified MDF with a primer coat.
Rep said Miratec has a warranty that includes labor IF installed correctly.If I did it again I would probably use Azek or just use #1 treated pine. It's just the purist in me. Never been a fan of composites except at door jambs and brick mould at grade.Thanks,PhilConstructing in metric...
every inch of the way.
Phil, beautiful work. That Ipe is a lot fun to work with isn't it? A little rough on blades but it turns out so nice. I always have a bunch of short cut-offs floating around that I make jigs and do-dads with.
Kimball
Thanks.First time using ipe. Won't be the last.How's Annapolis this time of year. I grew up in Bowie.Constructing in metric...
every inch of the way.
Very nice work, the ipe and ceiling look great.
We've had a great fall, good working weather. Did have 3 days of rain last week when the remains of Ida blew through. It was 71 yesterday.
Did you use EBTY's on that deck? They look nice but are pretty labor intensive.
Kimball
We did use EBTYs. I got a deal on some pre-slotted ipe so it helped with some of the labor.Constructing in metric...
every inch of the way.
mike when i first opened this thread and saw the size of those pictures the first thing that came to my mind was rez. I thought i 'll look on down and see if rez resized them. then it hit me. way to go. thanks
>>>Resized in honor of Rez:
Very nice. One MORE thing that I forgot he contributed on a regular basis.
Sigh.....
I just emailed a link to this thread to my wife. I told her that these pictures represented what I want our sunroom to look like when I am done. She's seen my hand-drawn sketches but there's nothing like a photograph to tell the tale.
Of course, I mean this as the highest form of praise - you already built what I am trying to build. Congratulations.
Edited 11/19/2009 6:45 pm ET by Mike_Mills
Not me....holy hammer...But I know what you mean, it's nice work.Scott.
Sorry, I meant the praise for the OP. I've gotten into a bad habit (on another site) of clicking the nearest "Reply" button.
Great minds think alike, good luck with your porch.Constructing in metric...
every inch of the way.
Holy hammer!, tell me about your roofing. What is it made from? What's the slope? Any pics of the roof?
The roof has a Sonoguard coating on 3/4" t&g. The plywood was glued and screwed to 11 7/8 engineered joists which dropped about 2 1/2" in 18 feet. The roof plane is super flat with a pitch that isn't noticeable. It poured last week and it drained great. No puddles.I have been waiting for the weather to clear so I can take more photos. I'll get some of the roof too and post them. I am also going to have a pro take some pictures to use in ads and on my web site.Constructing in metric...
every inch of the way.
I think I just found my new roof. Thanks for that.
Can you tell me more about the roofing. How was it flashed where the deck meets the walls, etc?
Is it really as simple as the product brochure and instructions make it seem?
Edited 11/20/2009 9:54 pm ET by Mike_Mills
You apply Sonoguard over clean dry plywood. You fill all plywood seams with NP-1 and then roll a heavy base coat on the plywood seams and embed six inch wide mesh over the seams. You flash with aluminum where needed and embed the mesh over the flashing/plywood junction. You also need to nail a drip edge and embed the mesh at the junction of metal and wood. When all joints and flashings are covered in base coat and mesh then you go back and fill in the areas not covered with base coat. Roll it on thick and tape the bottom part of the drip edge with masking tape cause it is self leveling and runs.Go back the next day after the dew has burned off and roll on the top coat. The base coat will be very tacky. Really tacky. Stick to your shoes tacky. (I once coated a pair of goal keeper gloves when I used to play soccer. It would have worked but the grass and the dirt stuck better than the ball. They did OK on Astroturf though.) It needs to be tacky for good bonding of the top coat. After rolling on the top coat, sprinkle it with aggregate (fine round sand particles) and let it dry over night. The next day blow off the aggregate that did not bond and re-coat with top coat.Tips; Wear old clothes and shoes. Apply when no rain is in sight. Use a respirator if odors bother you. Be sure to stir well. On 4x4 posts cut a kerf 4 inches up and 1/4 inch deep and fill with NP-1. Bring your coating up to this level. five gals of top coat was around $215.00.I've done decks that have lasted for 20 years although they should probably be re-coated every 5 -10 years.Best of luck.Constructing in metric...
every inch of the way.
Nice job
What SS cable system did you use?
I used stock parts from a local rigging supplier, Charleston's Rigging. It was a little cheaper than the stuff at my lumber yard, but still pretty darn pricey.Constructing in metric...
every inch of the way.
Darn thought you found the ultimate low cost system. I have 2 big decks I would like to use it on.
I bought a handful (90) of threaded terminal through bolts and the bill came to just over 12 hundred bucks. The cost of the fittings will kill ya. The cable was sixty-five cents a foot and there were nine cables in each section. It adds up quick.Constructing in metric...
every inch of the way.
Ouch!! Well on to step 2.
Would I look conpsicoius hanging around a wharf with a set of bolt cutters, eyeing well rigged sail boats. Not to worry no wharf near me.
I just use microsoft paint, I think paintbrush is a mac clone. Might do it.
Nice looking job also.
Mike
Small wheel turn by the fire and rod, big wheel turn by the grace of god.
Edited 11/21/2009 1:46 pm by ruffmike
I tried to buy Sonoguard but it does not meet the southern California Air Quality Management District allowables, so it cannot be sold/used here.
I did find a product, also by BASF (like Sonoguard), that is available here. It is called CONIPUR. The product instructions are almost identical to Sonoguard. I also found a material called POLYCOAT. I'll spend some additional ttime reading the various descriptions, then I will order some.
I am likely a bit too late because they are forecasting rain for this weekend. I will have to wait for the rain to stop before sheathing and coating the roof.
I still think your project looks most excellent. Thanks for the help, too.
Edited 12/1/2009 6:28 pm ET by Mike_Mills