Installing a Bay Window by Yourself
Remove the sashes to lighten the window, and use a temporary support as an extra pair of hands.
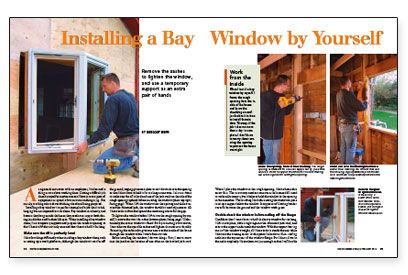
Synopsis: The project featured here is the addition of a small bay window to an existing home, with emphasis on doing the job alone. Installing shims ahead of time and working from a sturdy scaffold are two of the keys to success.
As a general contractor with no employees, I’ve learned a thing or two about working alone. Getting a difficult job done by myself sometimes means I have to rent a piece of equipment or spend a few minutes making a jig. But mostly, working solo is about thinking ahead and being prepared. Installing a bay window is a perfect example of a job that is challenging but not impossible to do alone. Bay windows are heavy, and because they hang outside the house, they need extra support both during installation and for their life span. When installing a bay window alone, I use temporary supports and prepare the window opening so that I have to lift the unit only once and don’t have to hold it for long.
Make Sure The Sill Is Perfectly Level
I do a few things differently when installing a bay window alone, such as setting up a work platform. Although the window is not far off the ground, staging gives me a place to set it down close to the opening so that I don’t have to hold it for too long at one time. I also use shims to make sure the sill is level and one of the jack studs on the side of the rough opening is plumb before installing the window. When I lift the window into the opening and slide it toward the shimmed jack, the window shouldn’t need adjustment. All I have to do is shim the top and the remaining side to fill the gap.
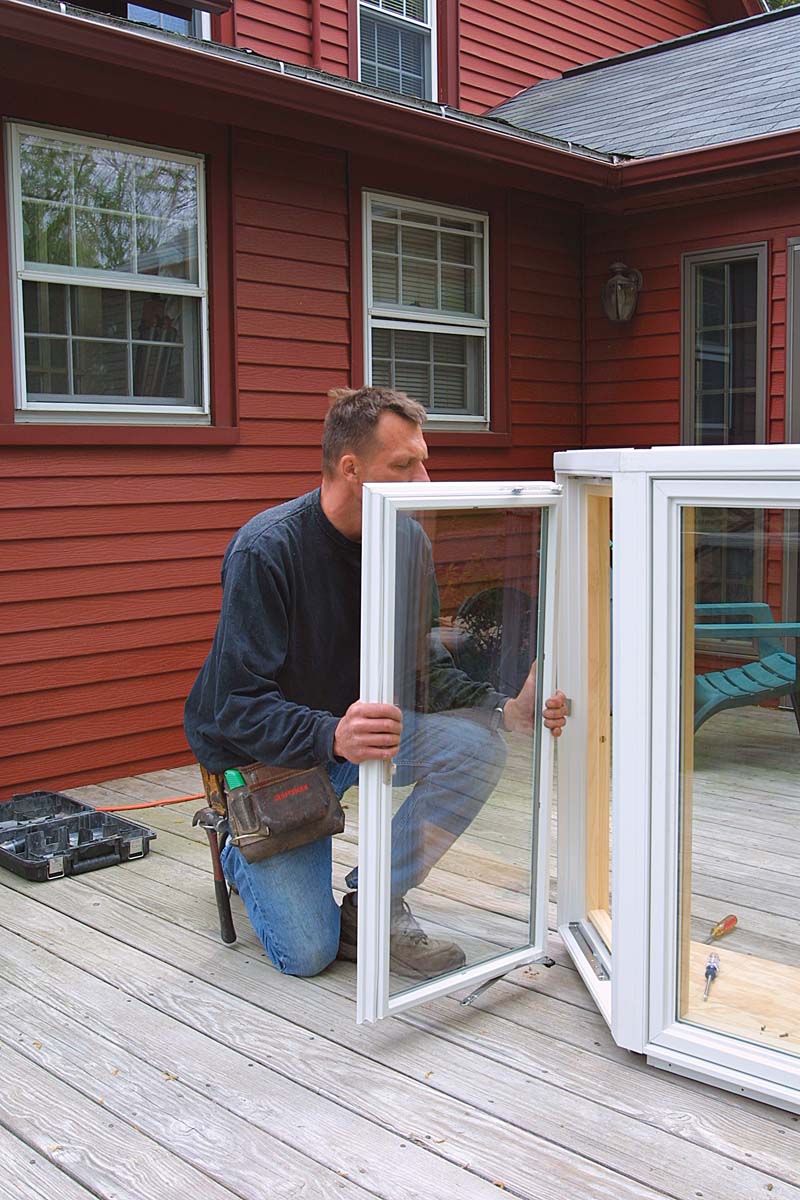
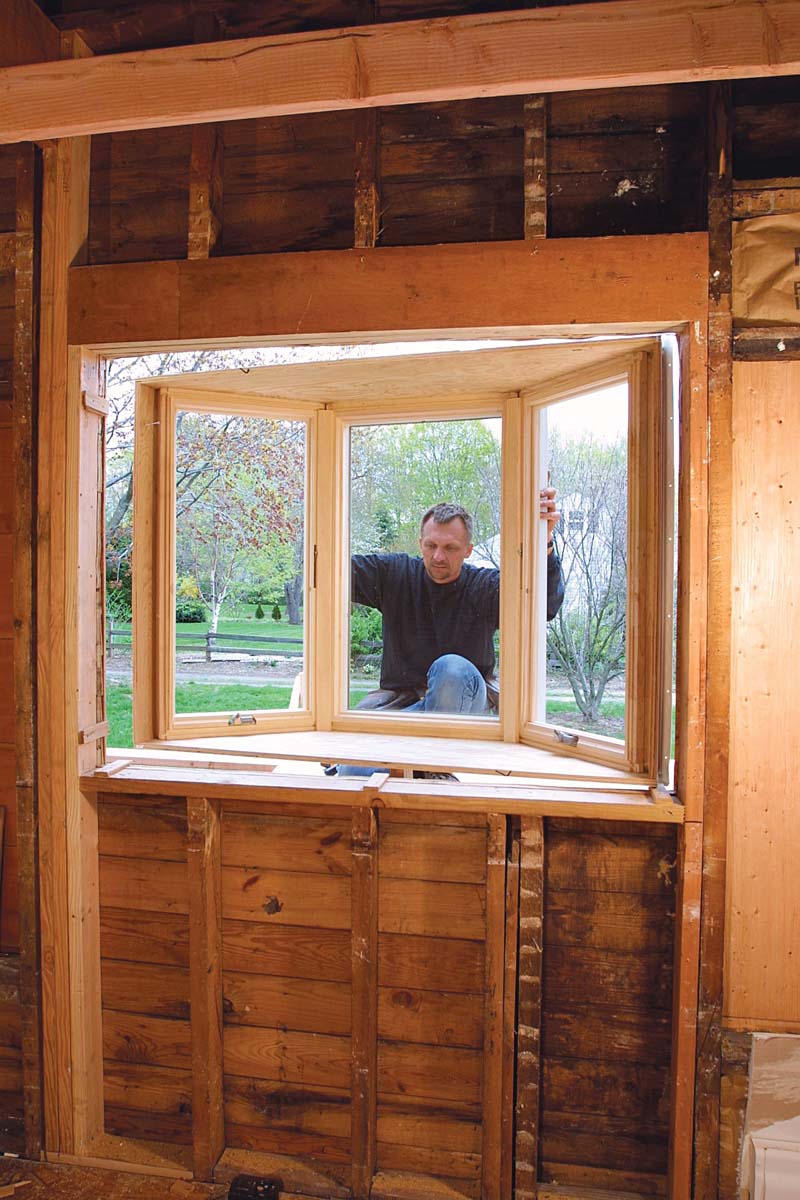
To lighten the window before I lift it into the rough opening by myself, I remove the two side sashes. Unfortunately, the center window is fixed. But by removing a few screws, I can take out the operable sashes and lighten the unit considerably. Removing the sashes also gives me access to the inside of the house through the window while I work from outside.
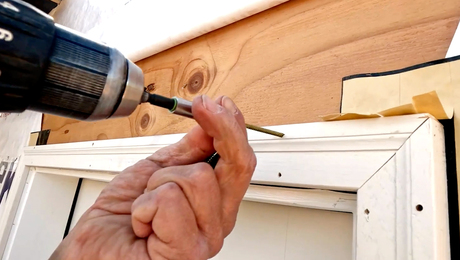
Before installing the window, I do two things. First, I start a screw into the jamb at the location of one shim on the leveled jack stud.
When I place the window in the rough opening, I drive home this screw first. The screw may need to come out or be loosened if I need to make adjustments, but it helps to hold the window in the opening in the meantime. The last thing I do before setting the window in place is set up a support below the window. Scrap pieces of framing lumber cut to fit between the ground and the window work great.
Double-Check The Window Before Nailing Off The Flange
Confident that I won’t have to hold the heavy window for too long, I lift it into place, slide it tight against the shimmed jack stud, and secure the support underneath the window. With the support bearing most of the window’s weight, all I have to do is steady the unit while I drive in the waiting screw. At this point I also drive 11⁄2-in. roofing nails into the top corners of the window flange. But I don’t drive in the nails completely. I leave them out just enough so that I will be able to pull them easily if I need to make an adjustment. With the window temporarily secured, I double-check the bottom of the unit for level and the side of the unit for plumb. It is important that the unit be installed perfectly so that the casement windows open and close properly. If the unit is perfect, I set the nails into the top corners of the flange. If not, I adjust the window from the inside with more shims.
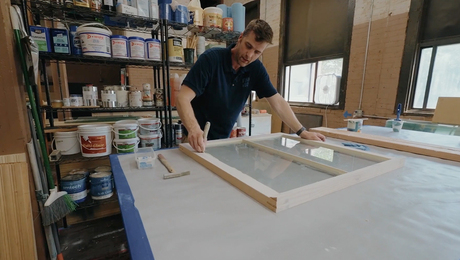
Before nailing the side flanges, I use a straightedge to check that the jambs are not bowed in the middle. The edge of the side sash where it meets the center unit is held straight by the fixed center window, but the edges that meet the house can bow and cause problems. Once I am sure the edges are not bowed, I nail the flange with 11 ⁄2-in. roofing nails every 8 in. To keep out water, I seal around the entire window with silicone caulk, then lay housewrap over the side flanges. I then secure the housewrap to the side and bottom flanges with contractor’s tape (the kind used to seal housewrap). Above the window I will build a roof that is flashed separately to keep water from leaking in. Inside the house I shim each side of the window in three places: the center, a few inches from the bottom corner, and a few inches from the top corner. Shims should be used to form a tight, flat surface that fills the gap between the window and the studs and provides a place to secure the window with screws. If the window jamb moves when I drive in the screws, the shims are not tight enough. Before I trim around the inside of the window, I stuff strips of fiberglass insulation between the shims.
The Roof Protects The Window And Helps To Support It
There are companies that sell factory-made roofs for bay windows. But when I install a bay window, I build the roof myself to be sure it offers both protection and support. I build a 45° hip roof with 2×4 rafters and plywood sheathing. I also add a soffit and fascia to the top of the window to create an overhang that protects the glass from water dripping off the roof.
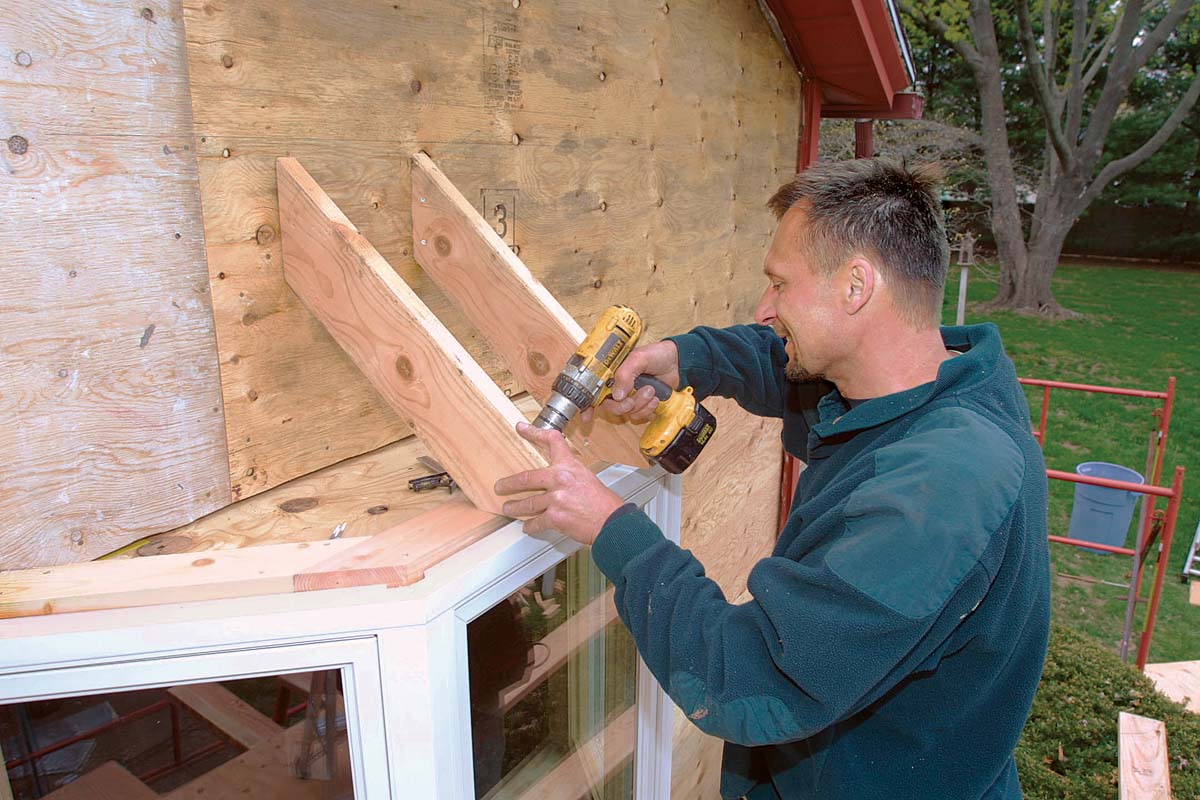
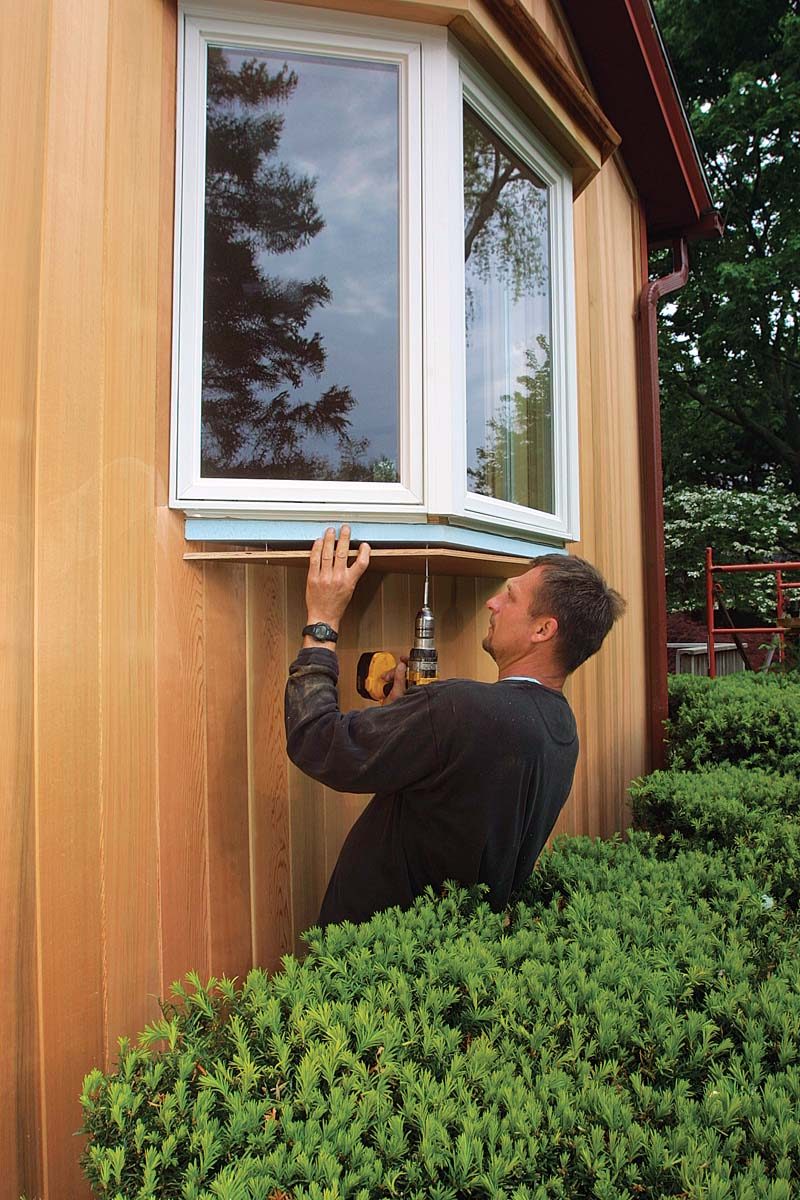
To make sure the roof is helping to support the window, I first glue and screw a 2×4 plate to the perimeter of the top of the window (photo above). The 2x4s give me extra blocking on the window to which I screw the rafters for a strong hold. From the blocking, the rafters extend up to the house, where I screw them securely to framing members. The rafters frame the roof and prevent the top of the window from pulling away from the house.
I fit a piece of rigid foam insulation inside the 2x4s and on the top of the window. On most 45° bay windows, all I need to frame the roof are two common rafters, two side ledger rafters, two hip rafters, and 1 ⁄2-in. plywood for sheathing.
If water gets inside the roof, it will rot the window and likely get into the wall cavity, so I pay a lot of attention to flashing the roof. I use copper drip edge to prevent water from wicking up underneath the shingles; ice-and-water barrier that covers the entire roof and extends onto the wall; step flashing that goes up the side of the roof with each course of shingles; and base flashing along the top of the roof.
Add Insulation And Support Below The Window
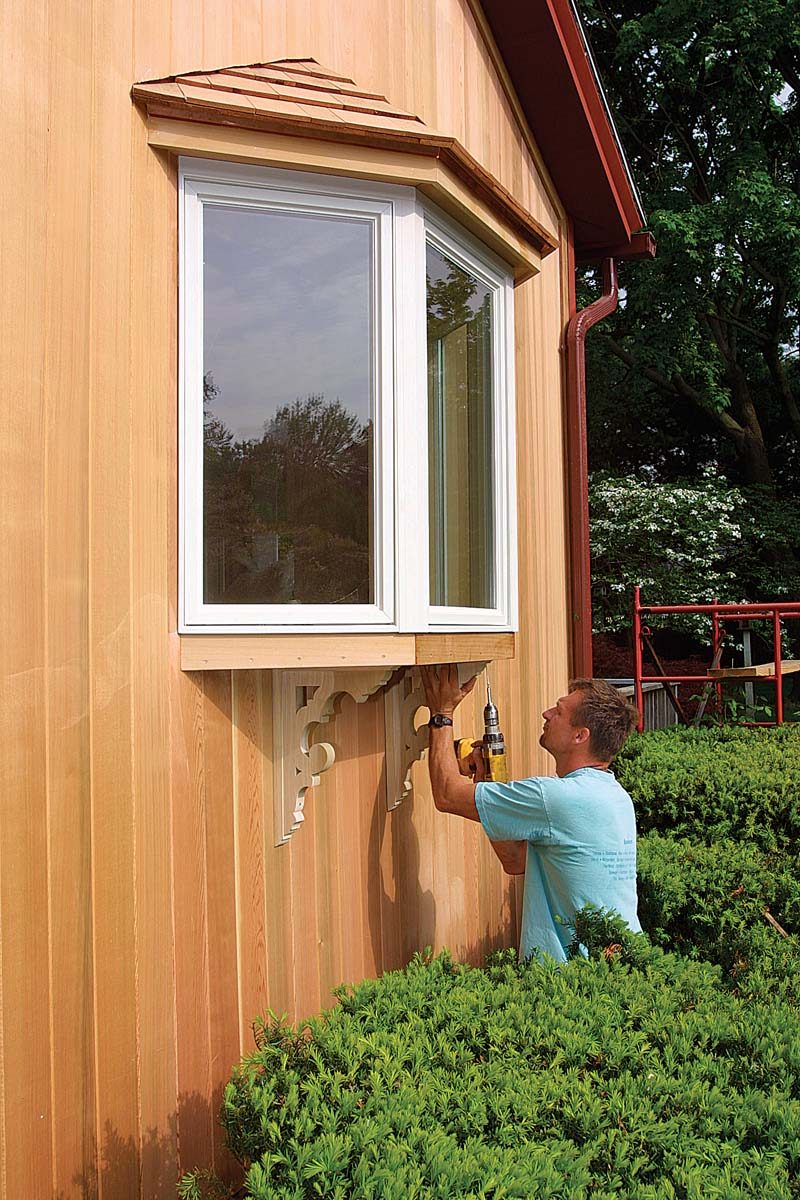
Before I install brackets below the window, I cut another piece of rigid foam insulation and a piece of 1 ⁄2-in. plywood to seal the bottom of the window (inset photo below). I use adhesive between the layers to help hold the plywood and foam to the window, and I hide the assembly with trim. The last step is to add brackets that decorate and help to support the window from below. Metal brackets can be hidden behind the siding, but I prefer to use decorative wood brackets (www.vintage woodworks.com). I attach the brackets to the window and to the house, again making sure to screw into framing members.
Work From The Inside
When I install a bay window by myself, I frame the rough opening from the inside of the house and leave the sheathing on until just before it is time to install the window. This way, if the job takes me more than a day to complete, I don’t have to worry about covering the opening to protect the house overnight.
|
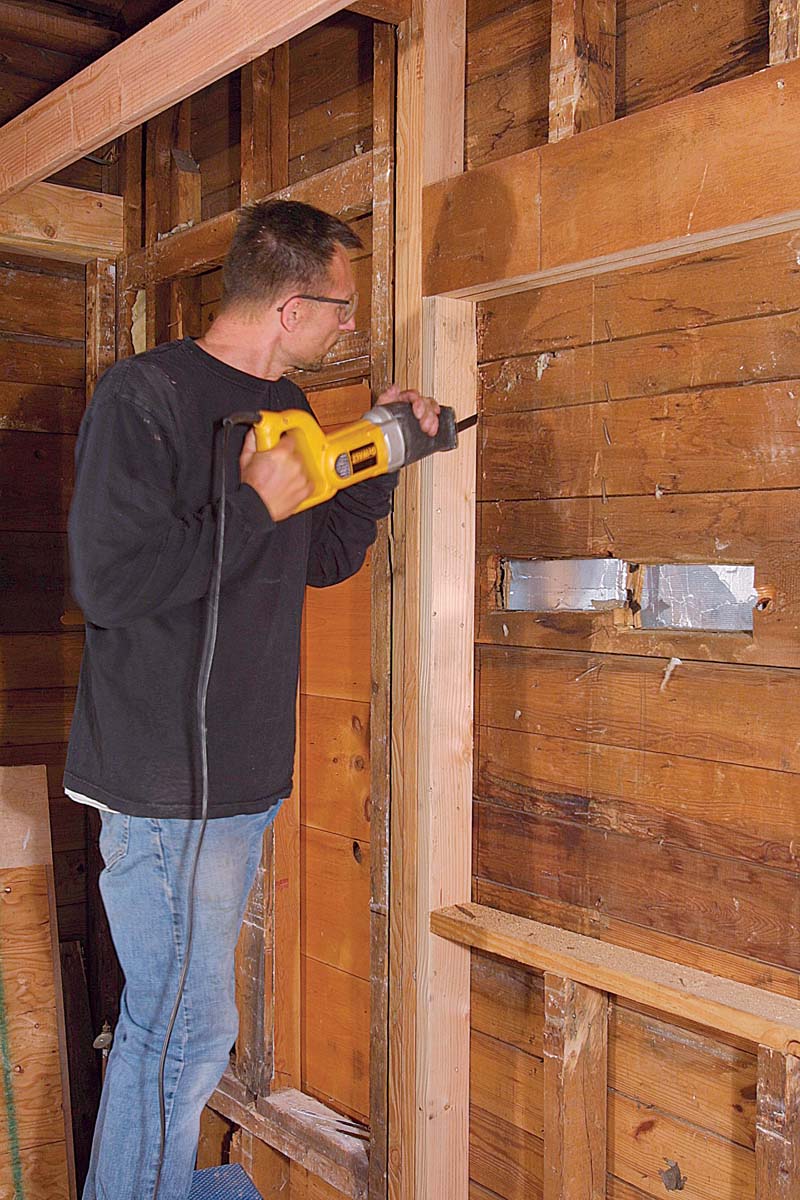
Frame the opening, then cut the sheathing. The rough opening is framed with a header supported by jack studs and a sill that will support the window. The new framing can act as a guide for cutting the opening. |
 |
|
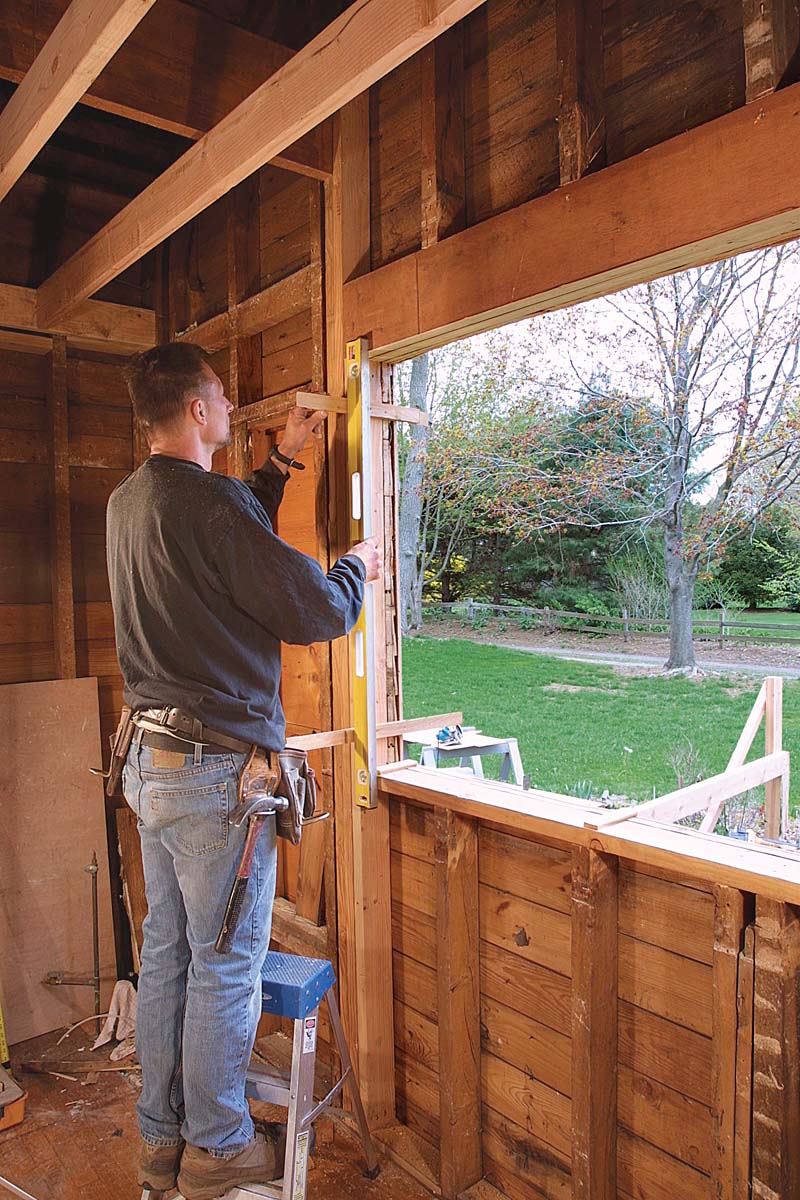
Plumb and level the framing in advance. Rather than installing the window first and then making big adjustments, shim the sill level and make one jack stud plumb before installing the window. |
 |
Preparation Is The Key
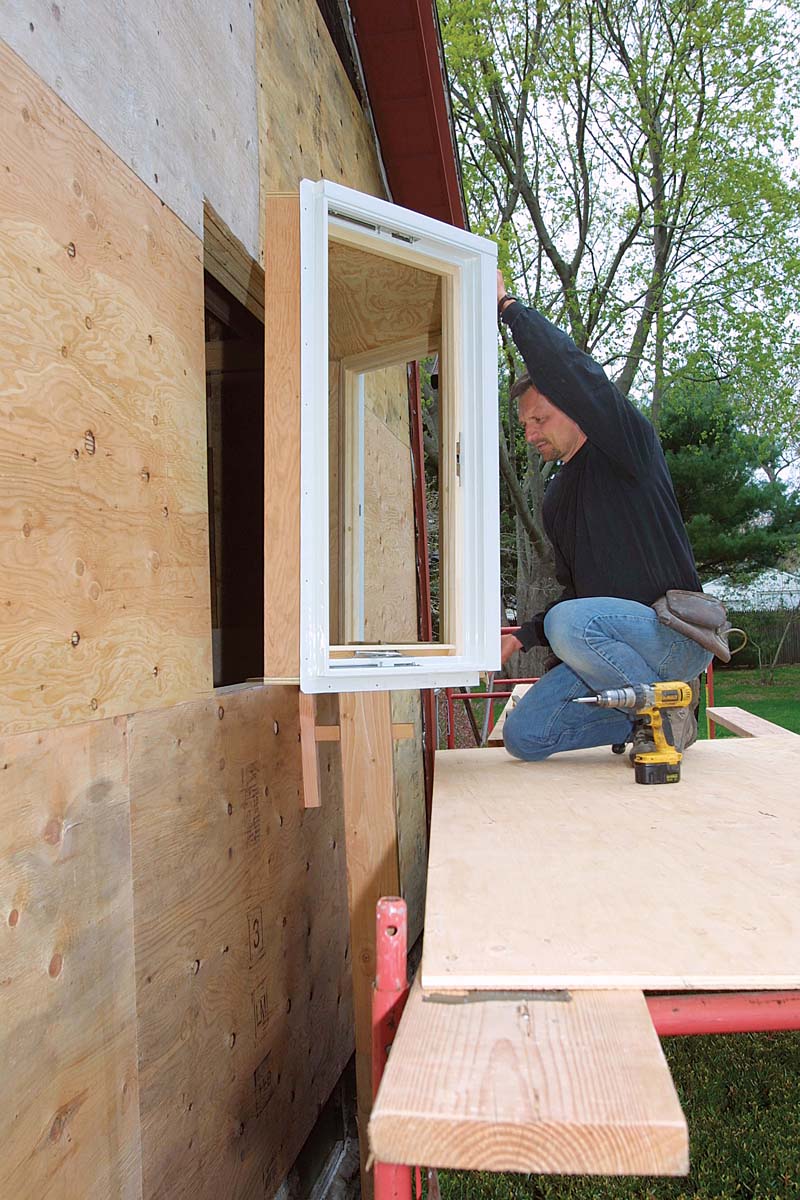
When you’re by yourself, scaffolding is better than a ladder. With the support leg and installation screw ready, I lift the window onto the scaffold and then into the opening.
|
Remove the sashes to lighten the window, and use a temporary support as an extra pair of hands. |
 |
|
Remove the glass to lighten the load. It takes only a screwdriver and a few minutes to remove the operable sashes, but doing so makes lifting the window much easier. |
 |
|
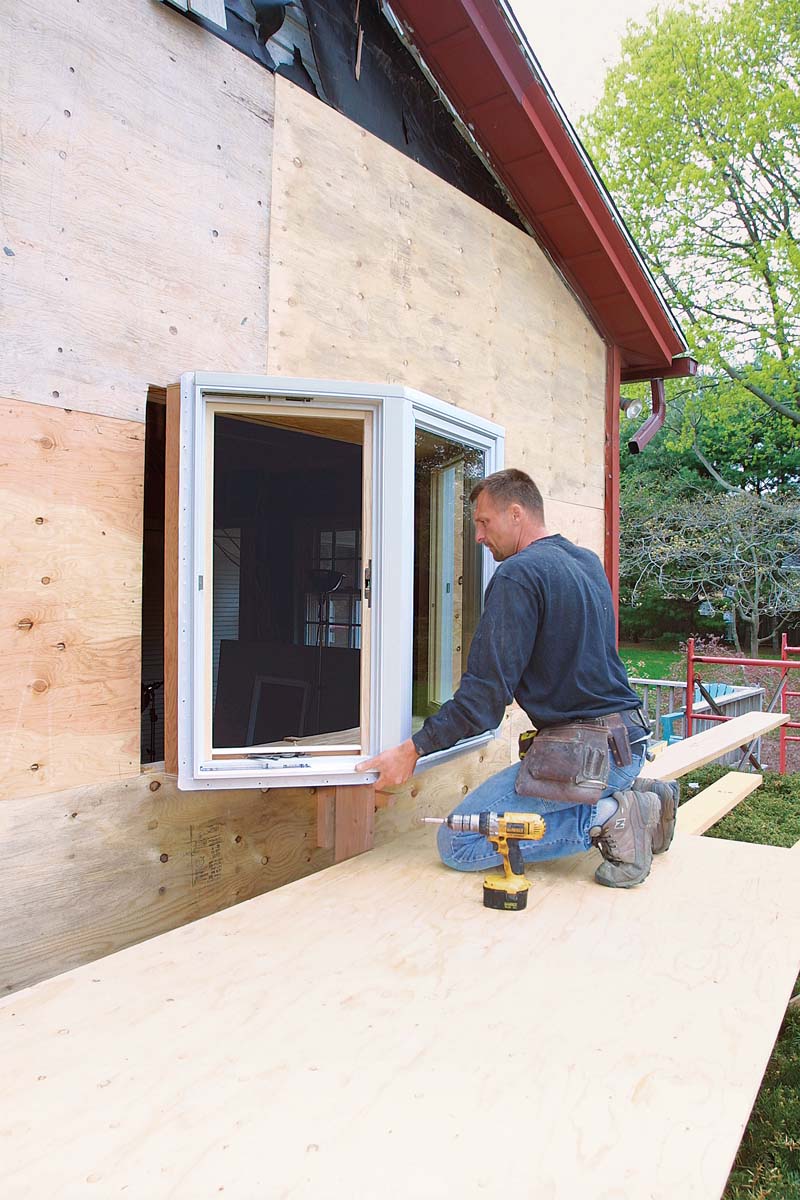
Have temporary support ready. Below the window, a temporary support made from scrap lumber bears the weight of the window until it is secured. |
 |
 |
Start a screw before lifting. A screw or nail partially set into the jamb will make life easier when you lift the window into the opening and need to secure the unit quickly. |
|
Lift the window onto the support. There is no need to muscle the window into the opening in one shot. Lift it onto the temporary support and ease it from there into position. |
 |
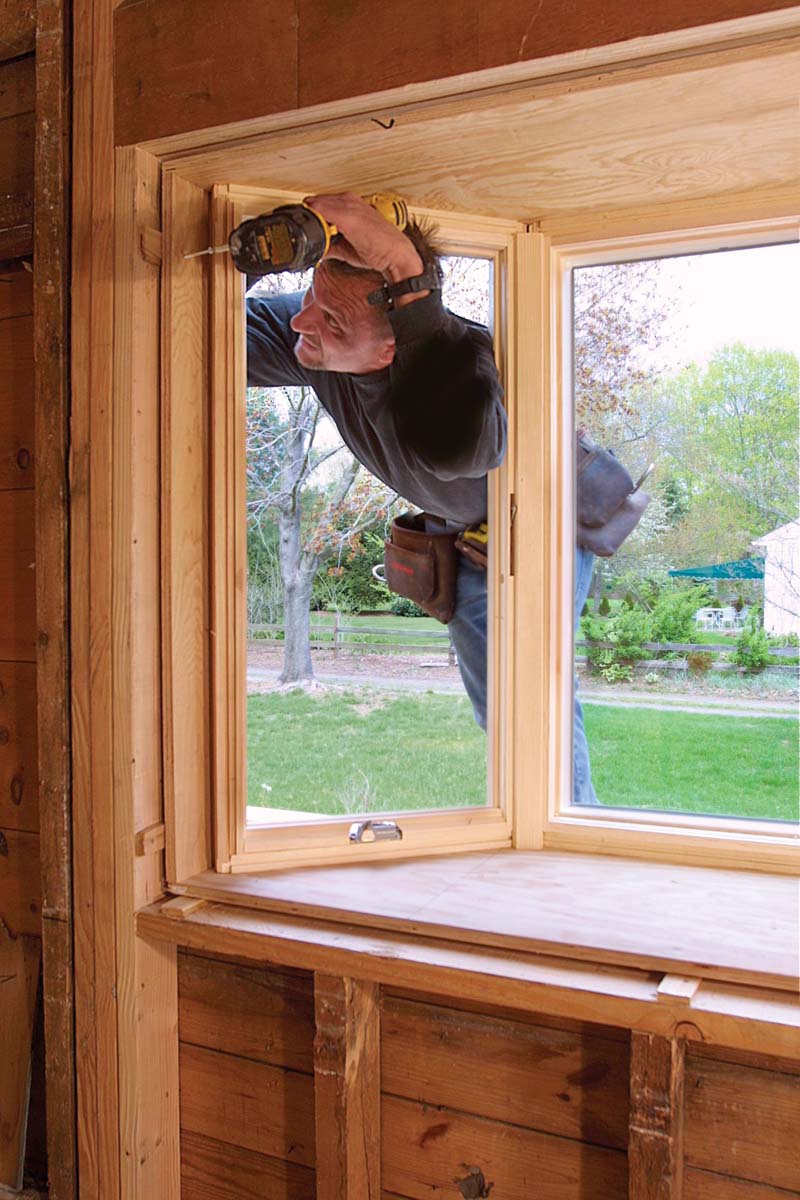 |
Secure the window to the plumb stud. Slide the window against the prepared jack stud and fasten the waiting screw. The window is now secure enough to be left alone while the installation is completed. |
|
Screw 2×4 plates to the top of the window for strength. The roof helps to hold the window in the opening, so there needs to be a good place to attach the rafters. The 2×4 plate also makes it easy to create an overhang to protect the window from dripping water. |
 |
 |
 |
|
Rigid foam insulates the bottom. A piece of foam insulation and 1⁄2–in. plywood cut to the shape of the window help to prevent heat loss below the large window. Decorative brackets add the final level of support. |
For more photos and details, click the View PDF button below: