
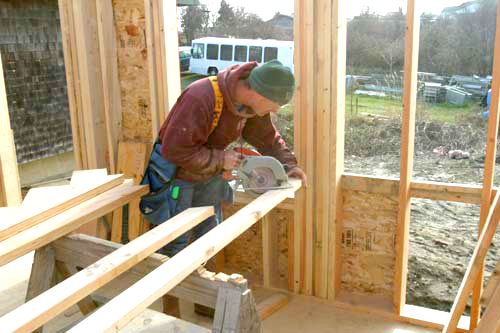
Stair construction can intimidate even the most seasoned carpenters. There are lots of ways to build stairs. But regardless of the method you choose, every set of stairs requires the same basic approach to get from one floor to another safely, comfortably, and legally.
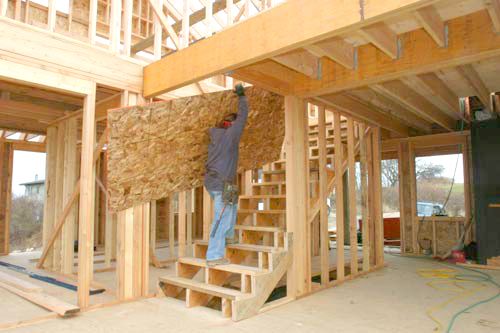
In this photo slideshow, Fine Homebuilding author John Spier takes you through the steps of building a set of stairs. The process begins with figuring out the exact size and proportions of the staircase. Use the drawing below to get familiar with the basic parts of a stair and the formulas used to calculate the two key variables — rise and run. Once you’ve determined the rise and run, you’re ready to start.
For more on framing a staircase, read John’s article “Strong and Simple Stairs” in the April/May 2005 issue of Fine Homebuilding (#170); or see Michael Maines’ article on calculating rise and run, “2 Rules for Building Comfortable Stairs. For a look at how to fabricate a classic set of housed-stringer stairs in the shop, see this article by Andy Engel.

Photos by: Roe A. Osborn; Illustration by: Dan Thornton
Fine Homebuilding Recommended Products
Fine Homebuilding receives a commission for items purchased through links on this site, including Amazon Associates and other affiliate advertising programs.

100-ft. Tape Measure
Short Blade Chisel

Magoog Tall Stair Gauges
-
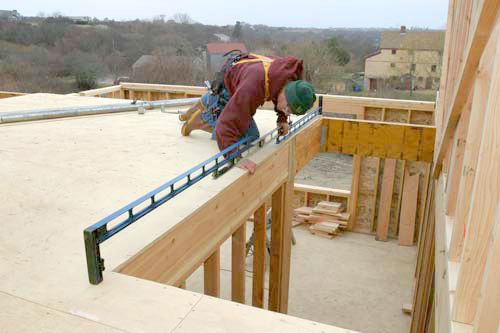
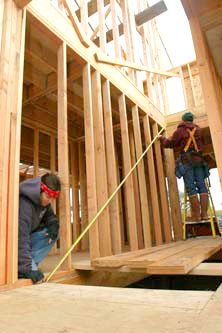
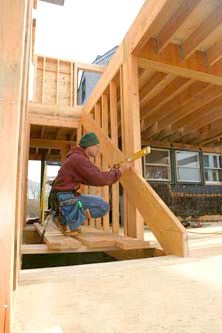
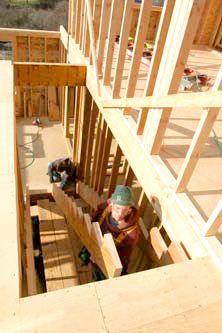
Level over from the top of the stairs to a point above the bottom of the stairs.
-
Then measure down for the total rise distance.
-
Engineered lumber such as LVLs make the best stringers but check them for straightness.
-
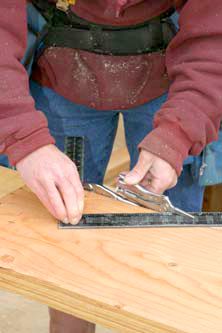
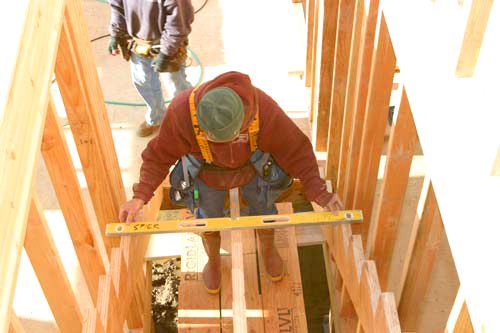
Try locking pliers instead of stair gauge stops to position the framing square for layout.
-
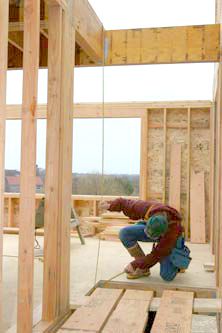
Lay out the steps down the first stringer, but don’t cut anything yet.
-
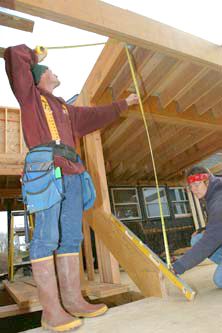
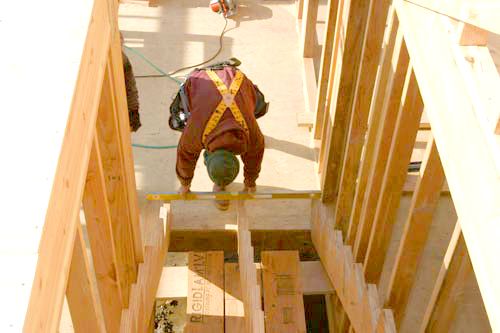
Don’t forget to account for the finish floor at the top.
-
Then measure down to the top of the first step.
-
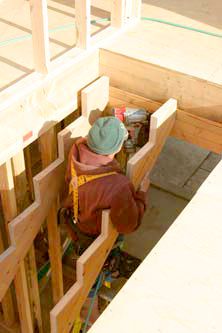
Transfer the measurement to the top of the stairs for the stringer’s top landing point. Make the mark on both sides.
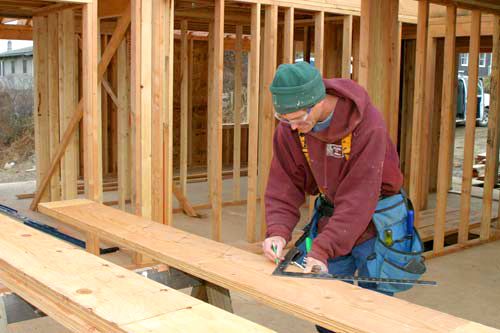
-
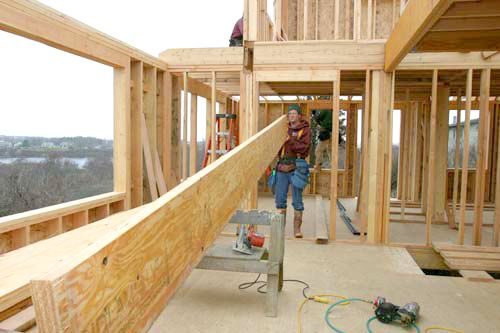
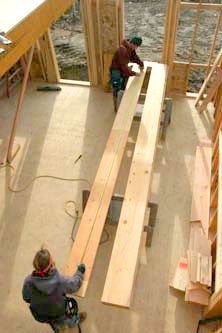
Measure the length of the stringer from the top landing point to the bottom.
-
Then check the stringer before cutting.
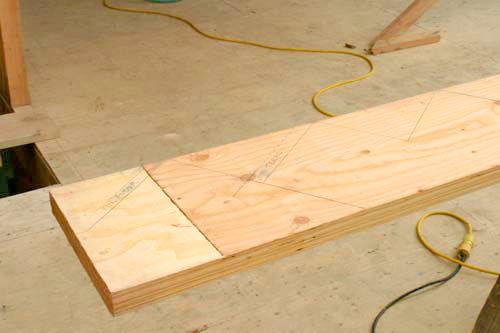
-
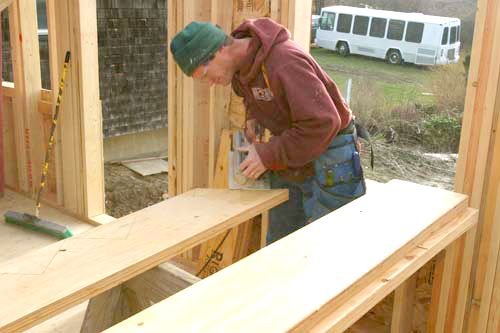
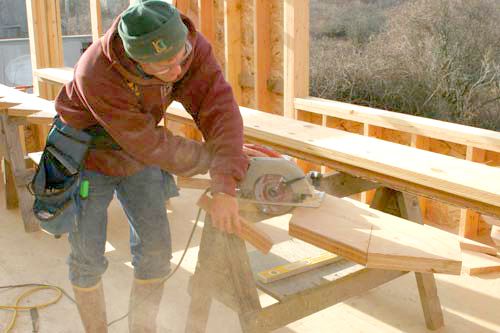
To begin, cut just the top and bottom of the stringer.
-
Include the notch at the bottom.
-
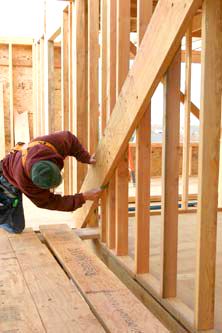
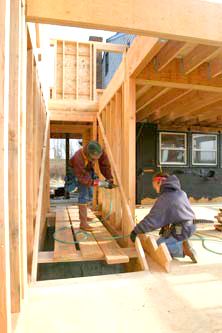
Set the stringer in place and check treads for level.
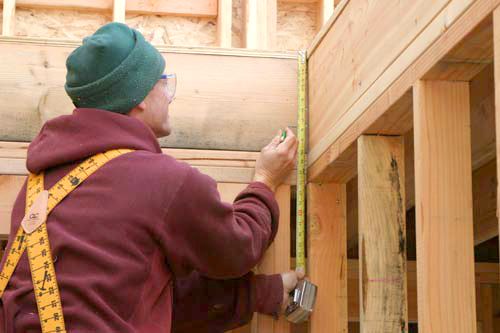
-
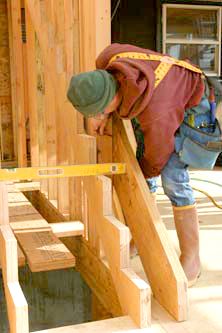
Check for headroom by putting a level along the top edge of the stringer and measuring the distance.
-
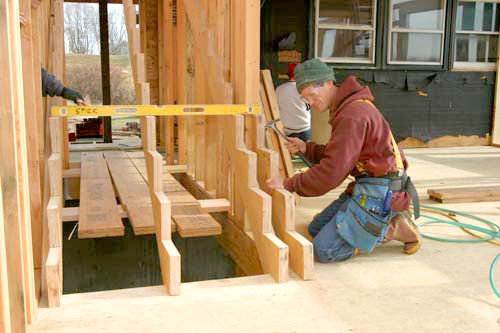
Check both sides and draw a line on the framing along the bottom of the stringer for the 2x spacer.
-
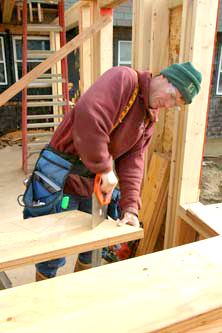
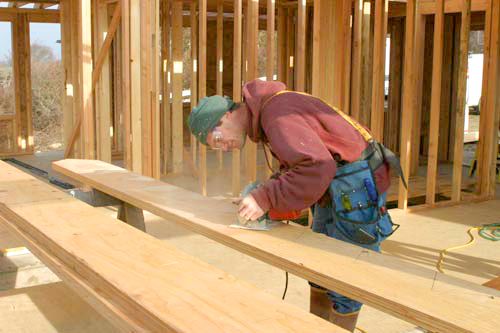
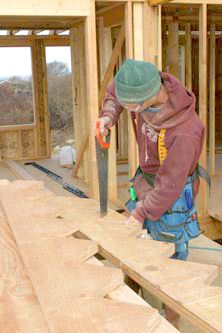
Now cut the steps in the stringer.
-
For supported stringers, such as the side stringers here, over cut slightly in both directions to remove the waste.
-
For unsupported stringers, such as the center one, finish the cut with a handsaw to keep from weakening the stringer.
-
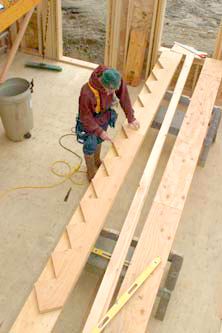
The first stringer becomes a template for the others.
-
It also becomes a template for the spacers.
-
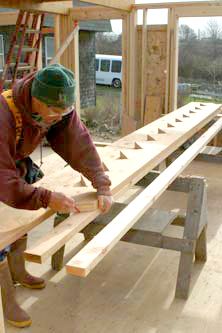
Cut the spacers.
-
Then nail them to the lines you drew earlier.
-
Nail the first stringer to the spacer.
-
Then nail the other side stringer to its spacer.
-
Drop the middle stringer into place.
-
Check the riser plane.
-
Then check the tread plane.
-
Then toenail the stringer into place.
-
Set up and scribe the extra stringer to length for the open section of the stair.
-
Cut the extra stringer and nail it into place.
-
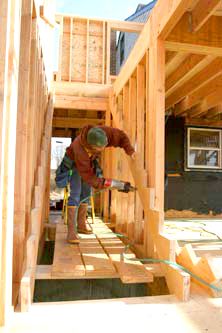
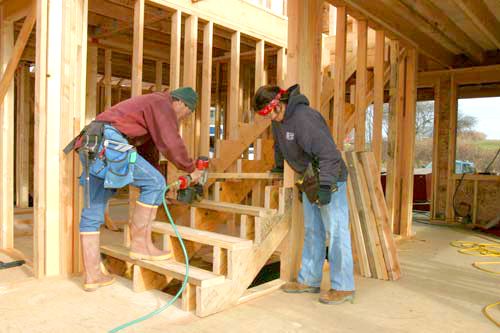
Install the treads.
-
Complete the tread installation at the top.
-
Make sure the treads are set back from the edge of the stringer to facilitate finishing.
-
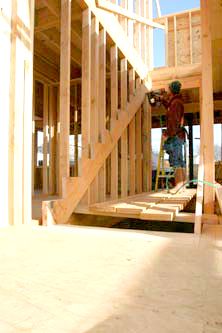
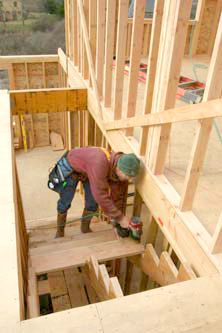
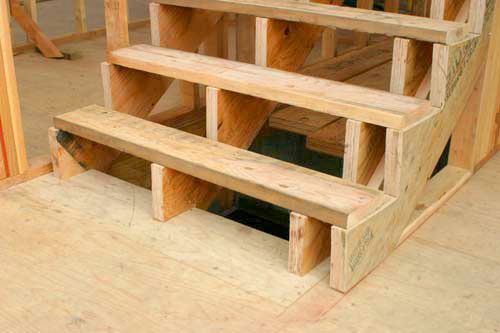
Finally, the stairs are ready for action.


View Comments
I'm not a professional, but around here (Southern Ontario) there are specialized stair manufacturing companies. ..Fabricated in a factory, using numerically controlled machines and delivered to the jobsite. I presume they'd need some shimming to fit. I also note that one never sees rafter and ridge beam construction here either. Always, trusses made a specialized lumberyards.
Good measurements for a staircase is mentioned which is a good point. You should also add Glossary of Staircase for terminologies. https://www.customspaces.com.au/