Prep for the Perfect Paint Job
A good paint job is in the prep work. Professional painter Tyler Grace walks through the process step by step.
Sponsored by Sherwin-Williams
A lot of people ask how to achieve a really great paint job and realistically, it’s all in the prep work. There are a lot of steps involved. I’m going to walk you through my process.
Mask and protect
After giving all surfaces a thorough cleaning with a good cleaner/degreaser, the first thing I’m going to do on any paint job is mask off where we don’t want paint. We’re going to be spraying all the trim in this room, so I want to protect all of these window sashes, the jam liners, and everything else from paint. My first step is to take FrogTape Multi-Surface Painter’s Tape and tape around the perimeter of my existing window. That’ll give me a really good seal. If I flood that primer, the paint’s not going to go beneath it, and I can create a pretty accurate paint line there.
After that, I’m going to take my masking machine and basically mask the perimeter of the window where I’m spraying. The easiest thing to do would be to take plastic and cover everything up. The issue I have is when we go to sand, and when I spray again, the paint doesn’t necessarily adhere to the plastic. Every time I touch somewhere that has plastic and paint on it, it falls into our finish. So, I like to use paper around the perimeter and then I’ll throw a layer of plastic that’s just skip-taped on there and that will prevent any dry overspray from hitting the window sashes.
Another critical area of protection is going to be on our newly refinished hardwood floors. I’m going to take strips of FrogTape® Delicate Surface Painter’s Tape and create our paint line against our baseboard and quarter-round molding. That’s going to seal paint out and create good adhesion to the new floor without damaging the finish.
Then we lay our masking paper over onto our floor protection. When we walk on it, it doesn’t pull the tape off, so we don’t have any issues with paint getting underneath. Plus, I now have a 12-in. section that we can vacuum, or that we can tack cloth to—whatever we need so that I’m not spraying and blowing dust into our newly painted surface.
Touch up imperfections
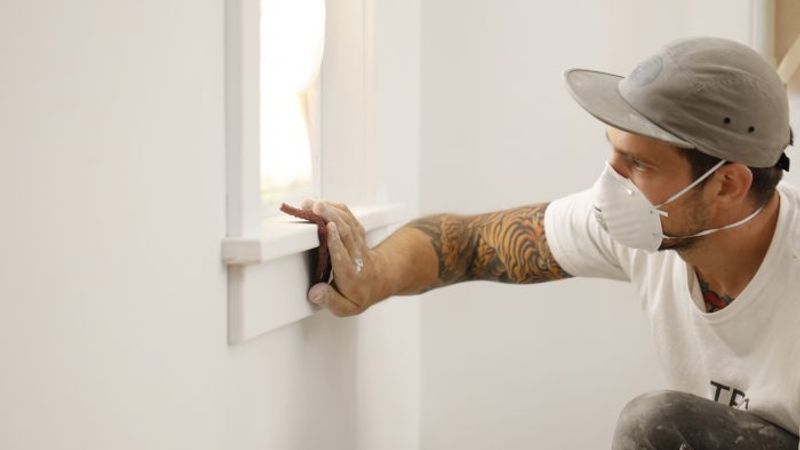
As you can see, all of our walls have been pre-primed, so next thing for me to do would be to go and touch up any imperfections. It’s going to take some time to dry, so we’ll go around any of these nicks, we’ll stand down, and then we’ll hit them with spackle; we’ll let them dry, and before we paint our walls we’ll go and knock them down. Then we will spot-prime and then paint over them.
We have a bit of a unique situation with this door. It’s a smaller closet door. The old paint we’re going to scuff with some 80-grit sandpaper and then 150-grit, and basically what we’re doing is knocking down any paint-drip imperfections and then it’ll be ready for the primer to adhere. So, it’s one extra step to get this ready for primer that a newer door wouldn’t necessarily have.
Editor’s Note: If you’re disturbing old paint on a home built before 1978, be sure to follow lead safe remodeling guidelines.
First coat of primer
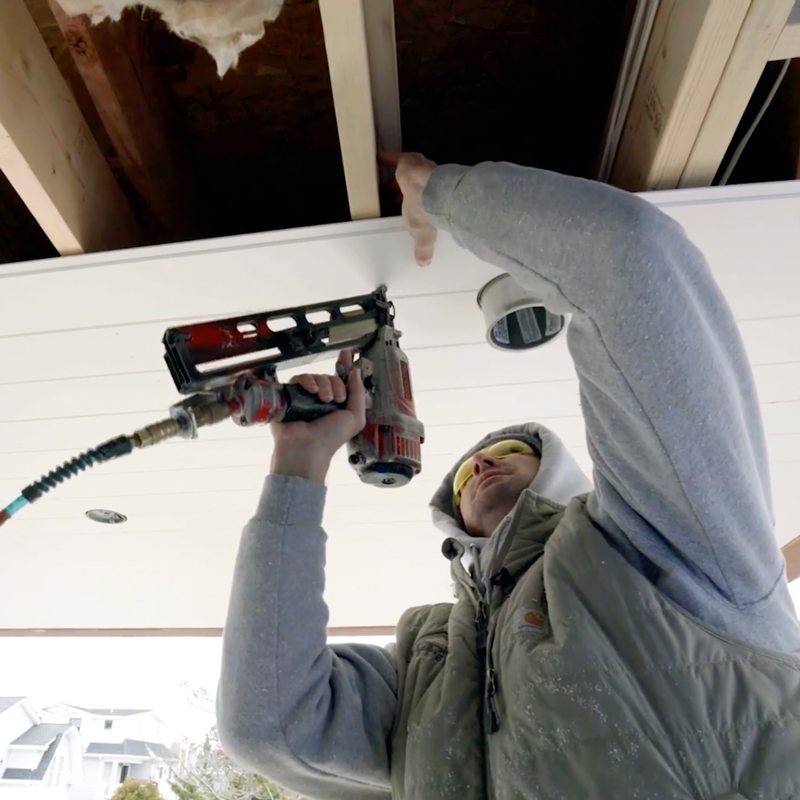
We’re almost ready to begin caulking and filling our nail holes, but the first thing I like to do is spray a coat of primer over all of our trim. The reason I do that is to build a body we can sand and to create more of a seamless surface, but also if we were to caulk raw trim and at some point we had a failure, you would see raw wood. So, we prime everything first because it seals the wood up. Our caulk has something good to grab to and then if there is shrinkage at some point, you don’t see raw wood, you would only see white—so it’s easier to fix the problem down the road. Now we are on to filling nail holes.
Sand, spackle, and caulk
I’m using Sherwin-Williams SHRINK-FREE™ Spackling. I’m using my finger; you can use a putty knife. It depends on the profile of your trim. If it’s an intricate profile, sometimes your finger works better, but basically what I’m doing is I’m filling these holes. I’m cleaning the bulk of the spackle off, leaving it a little proud, and then I’ll come back for a second round. I’m going to have two full coats on these nail holes and then I’ll take a sanding sponge and I’ll knock them down, but then I’m also going to go around and sand every square inch of this trim. Anywhere that we primed at this point is going to get knocked down again and then we’ll vacuum that off. Then we’re finally on to caulk.
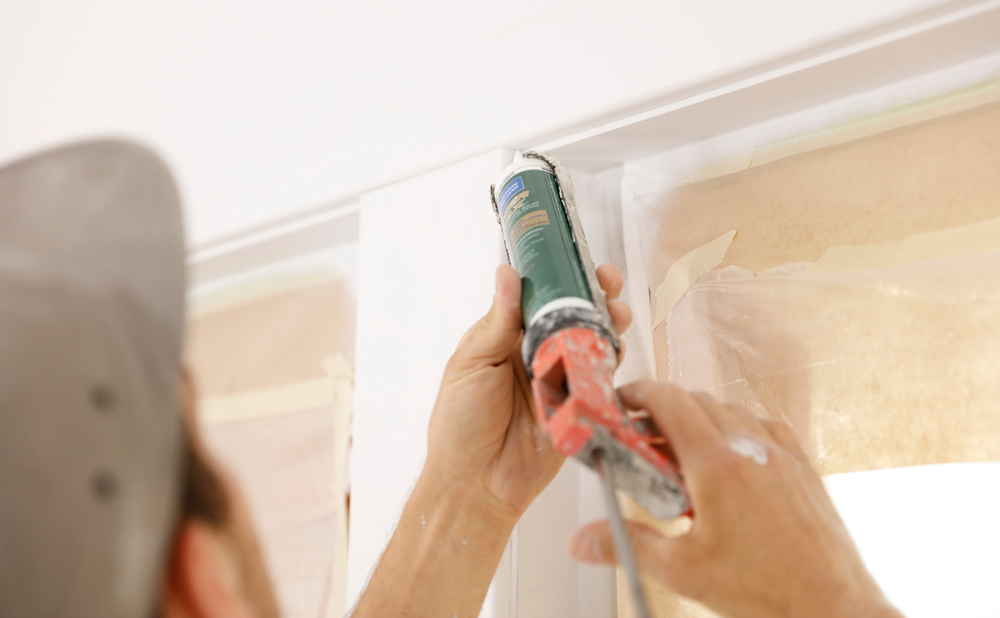
So, we are at the stage of the game where we’re going to begin caulking. I’m using Sherwin-Williams SherMax™ caulk. I’m going to use this basically on every change of plane—drywall to wood, casing to extension jamb, stool to apron, base cap to wall—so every change of plane will get caught in preparation for our final coat of primer.
We finished up our last coat of primer and now I’m just going through and doing one more final quick sand. I’m going to go through everywhere and hit it with a sanding block and then this sanding sponge. What I’m trying to do is get rid of any orange peel that’s on our primer and then make sure that I don’t need any more touchup on the filler. Now would be the last opportunity to fill anything before we start our finished coats. You want to make sure you’re going through everything with a fine-tooth comb and you’re ready for your final coat.
Finish coat
We’ve loaded up our pump with the Sherwin-Williams Emerald® Urethane Trim Enamel. I’ve adjusted the fluid pressure and the air pressure, and we’re ready to start spraying our finish in preparation for our wall paint. The first thing I’m going to do is sand all of our overspray around all of our windows, our door casing, our baseboard—basically anywhere that we hit with paint. I want to get rid of that glossy sheen so that our matte wall paint covers it and it doesn’t flash through. The next thing would be to take a pole sander and knock down the entire wall. That’ll hit all of our touched-up spackle spots from earlier in this process.
We’ll do a quick spot-prime on any of that raw spackle and then we’ll be ready for paint. For paint, we’re using Sherwin-Williams Emerald® Designer Edition™ wall paint. I’m going to start by cutting in at the ceiling, the casings, and the baseboard, and then follow up with rolling the paint on the walls.


View Comments
Can you indicate why you are using an air sprayer vs an HVLP unit, and did you have to dilute the paint before spraying? Also, what is the brand/source of that masking paper dispenser - I could use one of those!
Tyler has a great article on the HVLP unit he uses. If I was deciding between an airless and an HVLP for this job, the amount of trim to be painted in this room would suggest using an airless as it's going to be faster than an HVLP. And using a fine finish spray tip should provide a good enough quality finish such that using an HVLP would provide diminishing returns. No thinning/diluting of the material should be necessary when using an airless. The masking paper dispenser looks like the 3M Hand-Masker Dispenser M3000. It is a very helpful tool, but I did find there to be a learning curve with it. Be diligent when purchasing it as most places seem to sell the blades separately from the dispenser.