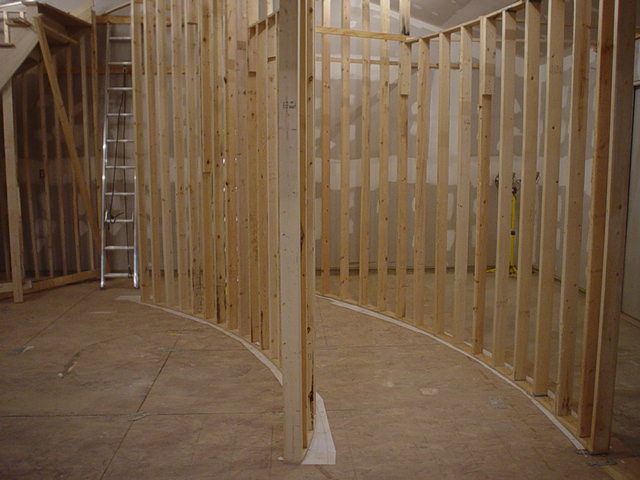
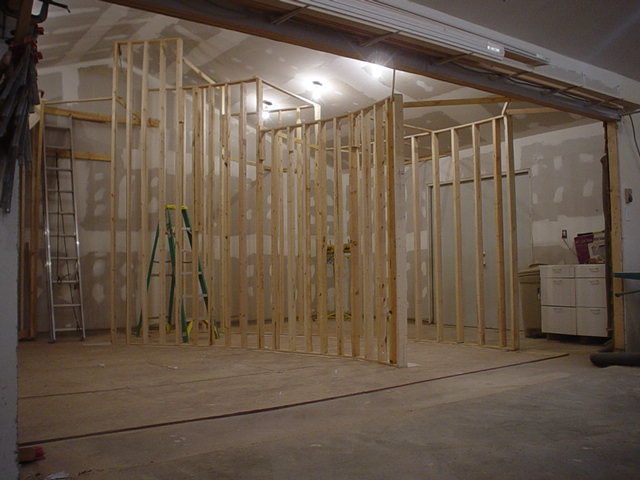
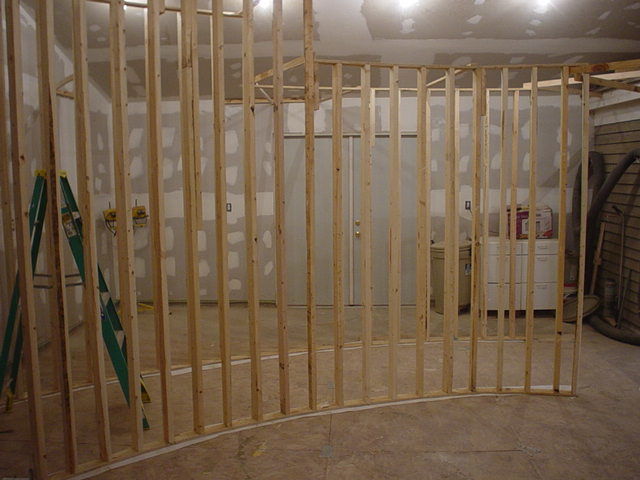
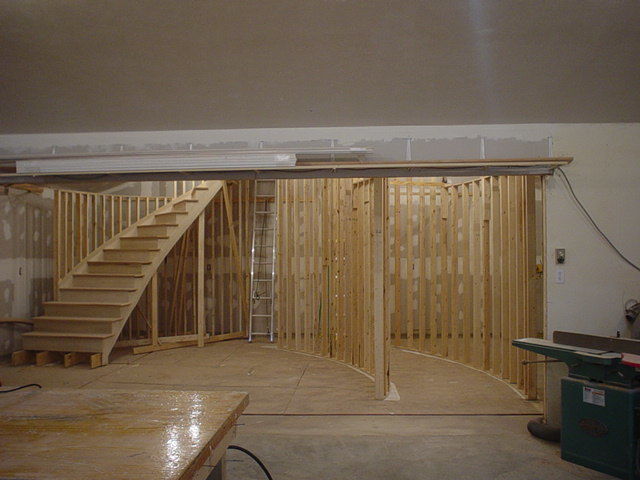
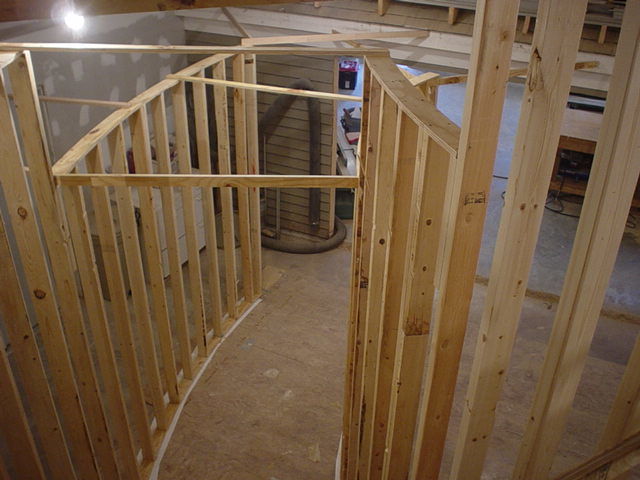
I am just starting a curved stairway in my shop and I thought I would post pictures occasionally as it is being built. This stairway will be built over a period of two months as I am working on several others and this one is not due till June for installation.
It turns 51.5 degrees, the floor to floor height is 143.25 inches. The stringers are closed and will be 3 inches thick with a curb above the treads. The treads are going to be granite,which I am sub contracting out. I am putting in 6/4 poplar subtreads that will be pocket screwed to the risers. The railing is going to be all custom made iron scroll work with gold leaf applied to ornamental hand forged leaves and vines. I am going to make a paint grade handrail that will be finished with a faux finish.
This is the picture of the forms that I am going to start laminating the three inch curb stringers in. This stairway is going to be going into a 2.5 million dollar …12000 foot home. The owners are going allout throughtout the home.


Replies
That sounds neet , granite treads. What color granite? I am useing a redish brown graite for the window sills on my house. Thought that it would be cool to have granite treads on my stair. But then I know they aren't in my budget now.
They havent picked the granite out yet...there is even a chance they will put marble on instead. I cannot routh the stingers till I know because the granite is 1 1/8 inch thick and the marble is 3/4 of an inch.
Stan,
I have two questions for you.
1. Will they have to cover the stone tread with a runner or something like that to provide traction. I would think that would be a concern on a run of stairs. Or is this an out of town job where they don't have to worry about code?
2. You mentioned waiting for the finished tread thickness for routing stringers. Will you mortise the granite into the stringers, of are you just waiting so you can retain you 3" height above tread? I hope, for your back, that the granite will be installed after you finish up.
Edited to add question #3.
I know you use a lot of help to screw the finished stringer through the door and set in place for installation. Where do you get your help? Do you just bring along plenty of friends and tell the GC to have some guys there too, or do you have a more formal method?
Jon Blakemore
Edited 4/3/2003 1:34:50 PM ET by Jon Blakemore
Jon: They are going to put the granite treads on after the stairs is set.
I have no problem rounding up help. I have some friends and relatives who all meet at my shop..and they are only there ten to 15 minutes. I pay each one $20 and everyone is happy.
I usually arrange for the contractor to supply 2-4 guys for setting the stairs in place.
The stairs will most definately be slick if they do not put some type of grip strip or runner. I advised them about it,,and after I said my piece...it is out of my hands.
Edited 4/3/2003 8:48:32 PM ET by Stan Foster
Here are some pictures of the stairway getting its first laminates. I have to laminate the curbed stringers to three inches in thickness.
You can see one of my favorite layout tools in some of these pictures..my little yellow laser. I use a story pole with it to properly postion my laminates in the forms. It is a very accurate and quick method.
Edited 4/3/2003 9:52:30 PM ET by Stan Foster
Stan, Are you useing plywood to make those stringers?
DPapenburg:
The inner layers are 1/2 inch plywood. The inside and outside face laminates will be one by poplar milled down to 1/2 inch. These laminates will need to be longer than 16 feet..so I am going to scarf joint them together. The outside stringer is over 22 feet long. The inner core of plywood will be capped with poplar laminate strips and when all done, the three inch curved curb stringer will look like it is one solid poplar beam.
Stan,
Looks like another elegant stair project. I've got a house going that I'll be posting some pics of soon. How tight an inside radius have you done? Seems to me I remember seeing a few pics of one you did that looked less than 12". The stringer was bricklayed vertical staves? Do you ordinarily laminate to 3/4". When do you use plywood vs.solid wood laminations?
Thanks Brian
Green: I did an 11 inch one once. I will attach a picture of it here. It was a cherry stair. I did stave this tight radius and then applied 1/8 inch cherry for the face laminate. I almost always laminate my stringers to 1 1/8 inch , and thicker depending on the load. If my stairs is freestanding..then I go all out and all the laminates are of solid wood..each laminate is scarf jointed if the stringer is longer than 16 feet. The laminates are thinner as well. This stairs I am building now will basically have a wall under most of the three inch curb..so I do not have to have it built super stout.
Edited 4/4/2003 6:46:24 PM ET by Stan Foster
Here are a couple of pictures of the home this stairway will be installed in. It is over 12000 square foot...will have a tile roof, all kinds of parabolic ceiling work, a home entertainment room that is having over $100,000 going into it alone. This place is going to be freakin awesome.
Stan,
Does the client have any relation to the Ryan's of Illinois political fame?
Jon Blakemore
Jon: I have no idea about any connection....this house is in Springfield, Ill.
I just laminated the inside face of the inside stringer. This stringer is 17.5 inches deep...3.25 inches thick..and about 19 feet long. The outside stringer is next..it is around 22 feet long.
The face laminates were poplar and are scarf-jointed.
Stan
You say that your stringer thickness is 3.25" and on a previous post you said that this particular set of steps there would be a wall underneath so that it did not have to be built particularly stout, (hope I'm remembering correctly) how thick would they be if they were going to be free standing? cant imagine that 3.25" wouldnt be stout enough. Just curious, cant wait to see more pics as it progresses.
Doug
Just curious, how many trucks does it take to haul your clamps.
Joking, great work.
Sorry meant to post to Stan
Edited 5/2/2003 10:57:32 PM ET by JANATION
Doug: The top eight steps are free standing, but they will be holding granite treads. If these were just wooden treads...I could easily make the inside stringer strong enough with no support except at the top and bottom with a 1.5 inch thick stringer.
This stringer is so thick because it is a curb style stringer with wrought iron railing centered on it. I have 10 vertical pockets routed into the inside stringer to receive the iron railing supports.
This is a picture of the face laminate being glued to the outside stringer. It was 22 feet long by 17.5 inches wide. My helper and I had to move fast.
The inside stringer is now all laminated. You can see a few of the post pockets... there are ten... that were incorporated into the stringer as I was laminating the 3.25 inch thickness. My next project is to remove the inside forms and plane/sand the top of the stringer, then make a nice roundover edge on it.
The geometry of this stringer is interesting. The 3.25 inch width results in an inclination difference between the inside and outside faces of over one half degree.. 0.53 degrees to be more exact. This means it is not flat..but helical..and I will have to be careful and plane this off the best I can..then finish up with a beltsander and a finish sander using mostly my eye and touch to keep this surface helical. Cant be any flat spots or the light reflecting off it will show it.
If I could only build something straight.. :)
Edited 5/3/2003 7:34:18 AM ET by Stan Foster
NEVER go straight. stair wise......your work would lose it's charm, and WOW appeal...Don't do it, don't go over to the dark side....cheers,Phil.If it is to be.... 'twil be done by me.
Craftsmanship at it's finest. Stan, I applaud you for your work and the heart and soul your pour into it.
Thanks...Here are some photos of the inside stringer all laminated and ready to be mortised for the treads and risers. It is 3.25 inches in thickness...17.5 inches wide and is very heavy.
The top 8 treads will be open and will have to carry the granite treads and the very heavy wrought iron railing.
Since the face laminates are over 20 feet long...I had to joint them. This was done with a 6:1 ratio scarf joint. In this case the laminates were 1/2 inch in thickness..so the scarf joint was 3 inches wide providing a very strong glue joint.
Edited 5/5/2003 11:39:35 PM ET by Stan Foster
Increible!
The metal railing is now being started. It will have all hand forged scrolls..leafs..etc. with gold leaf.
It's cool watching the process, I already know the end result will be stunning.
that a little welder I saw?
Do you do the metal work as well?
Looks like your at the capacity of your ceiling, ever run into a problem of not having a tall enough work area?
are you tried of answering questions yet lol?
Never be afraid to try something new. Remember, amateurs built the ark, Professional build the Titanic.
Cag: I am subbing out the ornate iron work. This one is too in volved. That is a Lincoln wire welder.
I positioned the stair in my shop for best floor space...I could have rotated it and started square to the peak. I can build a 13 foot tall stairway then. This one is abour 12 foot 4 inches. I have another building should I ever take on a really big one someday...but in all my years..havent needed it yet.
I never get tired of answering questions, or building curved stairways. I remain small on purpose to prevent burnout. I still get just as enthused as ever building stairways. I lock the shop everyday at 3 p.m. and go home looking forward to the next day at the shop.
stan,
any chance you could post a shot of the router template you use to mortise the stringers for the treads and risers.
I'm doing a curved stair for my own home and it's at the same stage as the one you have posted here. One difference is the mold is in the middle of my, soon to be, dining room.
The wife has been pretty patient. Guests just think I'm crazy, But its coming along pretty well.
ken
Ken: I dont have a picture right now of the router template...but basically all it is is a piece of mdf routed out following the outline of a tread cutoff...riser cutoff,,and the wedges that go under the tread and behind the riser.
A pattern following bit works slick cutting these mortises.
Ken: Here is a router template I made to mortise tread tenons through an oak column. The idea is the same. Basically,,whatever you want to route..make an exact copy into a piece of mdf and then use a 1/2 inch pattern following router bit.
Stan,
I've been following your work for months now, and it is facinating. Since you said you were not tired of answering questions, I have a couple?
I noticed on your photos that at the top of the stringers are two horizontal members. Are those the means of attachment to the second floor landing?
I'm building a stairway that ends on a log bridge between two lofts, on either end of the house. I used a log with a 22 inch butt and a mild curve, and split it so the resulting stairway will flare from the top to the bottom. It will be straight.
My dilemma are two.
First, how to attach the top of the stringers to the round logs of the bridge.
Second, how to cut the mortices for the treads into the curved surface of the log stringers. The stringers are oriented with the round surface of the log up, and the flat, cut surface down and landing on the floor/logs. The treads will be 4x12s.
Any suggestions?
Thanks
Stef
Stef,
I know, I'm not Stan, but why don't you want to mortice the treads into the sides of the logs? It seems to me (from looking at MY [fuzzy] mental picture) that this would remove a lot less meat. with 12" treads and trying to get a "standard' tread : riser ratio you will have about 3" overlap per tread. If you top mount, you would need either to cut deep into log or cantilever some tread. If you went with side mounts you could use a stand up jig and cut with a sidewinder and knock out the waste with a chisel, then just peg the treads in place.
Of course I don't have a clue as to what you want or are thinking, but it sounds like it's gonna look really nice with log stringers. Have you got any pictures?
SamT
Thanks Sam,
What you suggest is exactly what I want. I do want to mortice into the side of the log. It is just HOW to do that that puzzles me.
I hadn't thought of using a sidewinder. I had been looking for a way to create a routed mortice. But I can see how your method could work.
You are exactly right about weakening the log by cutting it away like a conventional stair stringer. Don't want this hughe hummer collapsing.
Thanks for replying,
Stef
Thanks
Stef: There are no horizontal members right now on my stairway. I will end up bolting a 3 x 3 angle iron to a microlam header to hold the top of the stairway.
As far as mortising your treads into your logs...I would take a scrap 4 x 12 tread cut off...cope it to roughly fit the log where it is to be mortised...then holding this coped tread cutoff so as to be level both ways, scribe the mortise to be cut into the log stringer. Then your real 4 x 12 tread should just slide in. You will have to over mortise one side..then slide the tread in the deeper mortise until the other end can then be put into its mortise. Then just equalize the depth the tread goes into both mortises.
Stef: Those horizontal 2 x 4's at the top are just to maintain the exact width. When I get back on this stairway in ten days or so, I will be putting in treads and risers starting from the top and working down.
Just got back on this stairway this week. The pictures here show the stringers all mortised to receive the treads and risers. This particular stairway is having granite treads applied to my subtreads..thus there is no nosing on my subtreads.
Here is the stairway two days later with all the treads and risers installed. The curved stringers and risers will be painted. The subtreads are just to support the granite treads.
Nice, as usual, Stan. Paint grade Poplar? What's your guess on the weight? How many people do you use at one to move these things?
Dave: Thanks for the compliment. I am estimating it to be around 1100 pounds. I did one two years ago that wasnt near as big and it weighed 900.
The difference mostly being the stringers that are 3.25 inches x 17.5 inches.
It will take no less than ten guys to lift this into place.
You move that as a single unit? Could it be KD'd and reassembled on site?
Very nice work Stan!!!
I could preassemble..but I much rather prefer putting it together in my shop. It really is only a few minutes of hassle getting it set in place. What it costs me to have it lifted in place is far less than me driving everyday to assemble it on site.
The thought of putting so much as a scatch in that beautiful work of yours makes me cringe.
Stan: Watching the progress of your stair has been great. I am very impressed by your work and truely amazing craftsmenship. Do you need an almost middle-aged apprentice? :)
Rugby
So, what kind of stair do you build for a challenge? Nice work, as always....that's not a mistake, it's rustic
Stan
As always, a treat to see your progress.
How much will each tread weigh?
Will all the wood be painted with just the granite treads showing?
You might have mentioned it before but what will the handrail be, I remember something about the mortises in the stringers for some reasom.
Doug
Doug: The handrail is going to be just a simple oval shaped, also in poplar. They are going to apply a faux finish to it.
I really dont know what each tread weighs as a dont know how much 1.125 inch granite weighs.
The hand forged railing is now being made. The gaps in the scroll work will eventually be filled in with gold colored hand forged leaves.
Yur looking better all the time Stan... Damn you do some fine work.
Your iron work?
Imerc: I am not doing any of the ironwork. I have delegated that to an artisan that does unbelievable work. He has his own foundry and reproduces large castings such as street lamp posts etc. He was very excited to get involved with this project.
Edited 6/14/2003 7:00:21 AM ET by Stan Foster
Is that John up in StAnne, at Cando ? I have him do casting for me all the time .
Don: No...it is Dean Rose out of Champaign-Urbana, Illinois. It is all made on the anvil.
you rock stan. when are you publishing the official manual of curved stairways? i know most of us would buy one from you.
good luck rg
Ricky: Thanks..but I have said many times that my work isnt anything special.
Stan,
What is a ballpark estimate of the weight of your stairs? I was thinking it would take more than 5 guys, especially getting through a front door and then tilting up. How do you transport/secure the assembly on the way?
Jon Blakemore
Jon: This stairs will weigh around 900 pounds. I will have eight guys on this one to load and set it in place.
These stairways just get layed on a trailor and temporary 2 x 4 props are screwed to the floor of the trailor and inside the stairway to keep the stairway from rocking. Then just a single web strap holds it down on the trailor.
Edited 4/4/2003 6:43:37 AM ET by Stan Foster
Edited 4/4/2003 6:44:51 AM ET by Stan Foster
Larry" Thanks..but that is overating me a lot. Now...that iron work that I am subbing out on my stairway is true artisan work.
More progress has been made on the railing. Here are some pictures of most of the iron work completed. There are still some leaves to be fabricated inside the hollow places. When it is done..it will pass the 4 inch sphere rule..that being that a 4 inch sphere will not be able to pass through anyplace in the balustrade.
The stairs is hanging out of plumb from the ceiling in case it looks out of level. The railing is being assembled in my shop and I did not have enough ceiling height for this large stairway.
Wow Stan, that looks really nice. I'd like to hear a number($) on it, myself.
Dave: I never reveal a price of a stairway out of respect for the clients privacy.
I will say it is my second most expensive stairway.
Stan
As usual it looks great, my compliments to the iron guy.
Doug
Sure would like to see some pictures of the first most expensive staircase you've built. :-)> Kevin Halliburton
"I believe that architecture is a pragmatic art. To become art it must be built on a foundation of necessity." - I.M. Pei -
Kevin: Here is the most expensive stairway I have built. I do not have any finished pictures as the security is very tight at this place. I only have a few cluttered construction photos. Just the balusters for the stairways in this house were over $48000. Over 400 at $121.00 each my cost.
I am planning on trying to seek permision to go back and check my stairwork and maybe "sneak" some more pictures.
I installed this stairway finally after waiting over two months. It took twelve guys to lift it in place. My son and I had it all secured in about an hour and a half. Here are some more pictures. The balcony will have a 4 inch curb on both sides that will blend into the stairway.
The treads will be 1.125 inch granite.
Edited 9/24/2003 7:48:00 PM ET by Stan Foster
Absolutley beautiful Stan! Next time, instead of using 12 guys just have the buider hold off on the roof and drop it in with your gyro copter. :-)
You never cease to amaze me.
"Rather be a hammer than a nail"
Bob
Bob: Thanks....
Stan
Once again great work, it is always a pleasure to see your work.
The house looks nice to.
Doug
Doug: Thanks....It is quite an impressive house. 12000 feet...clay tile roof....$450,000 TV audio system with an awesome home theatre.
450k home audio system?
Damn.
Beautiful stairs as always.
CAG: The home theatre has over $100k in equipment. The rest of the house is "smart wired" whatever that is?....All I know is that there are bundles and bundles of cables throughout the house and it is going to have many huge plasma tvs.
"smart wired" whatever that is?
well with that much wire and equipment it probably means it's just like a computer, you pay x amount of dollars to have it but only use maybe 10% of it's capabilities. and the customer probably needs extensive training to be able to turn his lights on and off lol
But be damn sure I wish I had the loot to go out and have something like that. Even if I wasn't smarts enough to use it
Absolutely stunning. Did you make the stringers?
Tim: I made the stringers in my shop. The earlier posts show pictures of the process. They are 17.5 inches wide by 3.25 inches in thickness. The top 8 treads are open on the inside stringer and I also have an additional laminated beam inside the stairway making sure it does not flex under the heavy dead load of the iron balustrade and the granite treads.
Sorry, I thought I just read that you said GRANITE TREADS!!!!
Boy I hope we get to see pics with the balustrade and treads on....
Stunning work as usual.
Mr. Foster,
That is just magnificent.
I haven't checked my lottery ticket for last night yet, but if I should win. Would you consider taking on some free help for your next project.
I would be proud to be able to say that I made even the smallest contribution to a project like that. I'd do whatever you needed, heck I'd even spring for lunches.
Keep up the great work and thanks for sharing.
BrianView Image
Bee
Hey, get in line!
I have offered to work with Stan for a long time now, as I'm sure others would like to as well.
I have never been disapointed to see his work. Go back through this Photo Gallery, you will see a lot of his stairs.
Doug
Stan,
Excellent work as usual.
Stan, do you give the framer the exact dimensions of the platforms?
The stair companies around here always fax me or the builder a drawing or they will come out and mark the subfloor. This way there's no problems.
Joe Carola
Joe: I usually layout the curved walls. In this case though the walls were already built. It takes much longer to make sure I have the exact layout in my shop when the walls are layed out by someone else. There are too many variables.