After all the help I recieved on this from the people in this group I thought I should post a project report.
Demo done


After all the help I recieved on this from the people in this group I thought I should post a project report.
Demo done
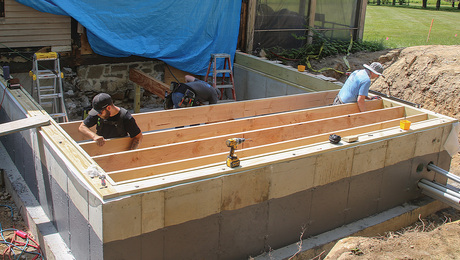
Framing the floor inside a crawlspace foundation keeps a gable-end addition close to grade.


"I have learned so much thanks to the searchable articles on the FHB website. I can confidently say that I expect to be a life-long subscriber." - M.K.
Dig into cutting-edge approaches and decades of proven solutions with total access to our experts and tradespeople.
Start Free Trial NowGet instant access to the latest developments in green building, research, and reports from the field.
Start Free Trial Now


Replies
Materials used. No back priming of course.
And a new freind.
Completed. Almost.
Nice work. I wanted to see a before and after so I found your previous post.
Before:
View Image
After:
View Image
Thanks. How do you get those pictures in your post like that? I know I read how to do it earlier but when I went to post couldn't remember how it went.
Thanks,
Now that don did it, you can just right click copy and paste in this message. For you to do it. After loading your picture. Go to Preview instead of post. Open your attmt in a new window. Right click-copy. Close that window. Go to Edit. Paste your copied picture. Click Post.View Image
A Great Place for Information, Comraderie, and a Sucker Punch.
Remodeling Contractor just outside the Glass City.
http://www.quittintime.com/
Edited 3/23/2008 9:16 pm ET by calvin
If you embed pictures, be sure to keep them small. There's actually people out there still on dial-up :-). To keep them small, I changed them from bitmaps to jpegs.
I attached the pictures
previewed the post
clicked on the attachment (to open it)
copied it to the clipboard (ctrl-C)
hit the browser "back" button
selected "revise"
pasted the contents of the clipboard (ctrl-V)
mumbled some incantations and hit post... ta da!
Ok. Picture is a little large but I got it. Thanks,
View Image
Thanks for the update. Everything looks good so far. If you want to ensure that your new trim boards don't curl, alter your nailing on boards a bit. Instead of nailing down the center of each board, stagger the nails high and low. Also, double nail the ends of every board. This prevents the twisting action from starting during the drying out process. A lot of guys will double nail instead of staggering. I'd probably double nail trim boards. Bob's next test date: 12/10/07
Allen
That looks a lot better!