Extending a Tablesaw’s Work Surface
An infeed support arm and outfeed table improve extra reach and stability.
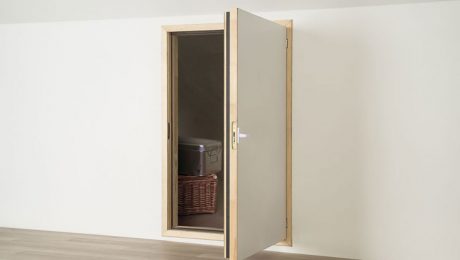
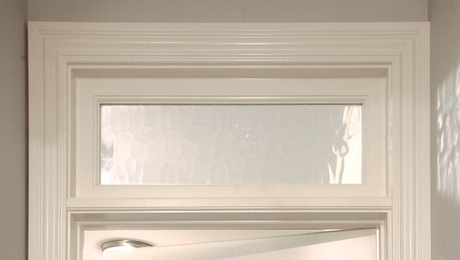
Because I’m an architectural designer, samples of custom doors often are delivered to my office for client approval. Observing these high-end entries whetted my appetite for similar doors of my own. Yet when I learned the doors I admired were $7000—per door—I felt like the newbie in a car showroom.
When I investigated further, I found that for just less than $100, I could purchase enough lumber to build a beautiful paint-grade door. Sure, my doors would be simpler, but I knew that buying them would be out of the question. Having just finished our new bathroom—all but the door—I jumped right in. The previous bathroom door was a solid-core slab with a birch face, certainly of good quality, but it just wasn’t what I wanted, especially after seeing so many custom doors.
After I made my new bathroom door, I loved the door but hated making it. Something had to give, especially because I needed to build 13 additional matching doors.
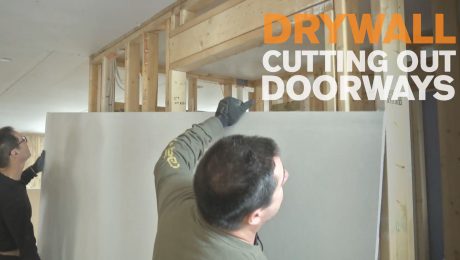
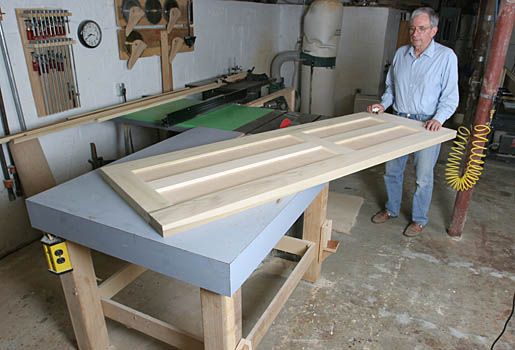
The big problem was how to handle the door after it was glued up. The door had to be run over a tablesaw after assembly to trim its width and to bevel the strike side. I also had to hold the door on edge to mortise a relief for the hinges and drill for a lockset.
I already had a sturdy table on the outfeed side that easily accepted a 4×8 sheet of plywood coming off the saw. What I needed was an infeed support. For me, the infeed support had to be easy to attach to the saw, adjustable, and easy to store without taking up precious space. This addition solved my leverage problems and made sliding long stock into the tablesaw an easier process.
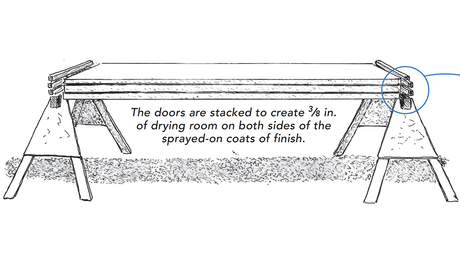
Then, to improve the stability of the door during mortising, I added some small supports to the outfeed table’s legs, which worked nicely.
Click on the links below to download my plans and view additional photos of my process.
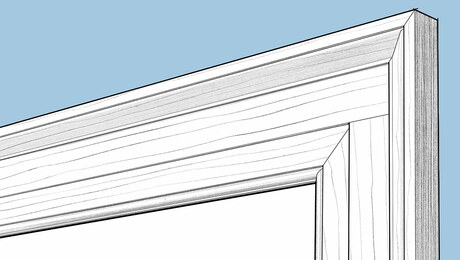
And to learn how Levine uses joinery and moldings to construct his doors, read Build Your Own Interior Doors from Fine Homebuilding Issue #192 (Dec 2007/Jan 2008), pp.54-55.
Photo by: Justin Fink