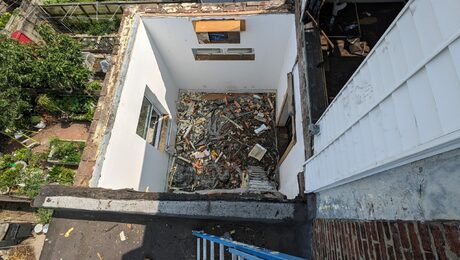
The lath and plaster ceiling in our living room had been the victim of a leak in the roof for many years and was beginning to sag ominously. The previous owners had covered it with fabric-based wallpaper, followed by a textured layer, painted buff white. The fabric was evidently the only thing keeping an oval-shaped section of about 50 sq. ft. from hitting the floor. I was reluctant to replace the entire ceiling (it’s a very large room) if the surrounding plaster was still in good condition, so I carefully removed the ailing plaster and inspected the edges unaffected by the leak: They were still quite sound.
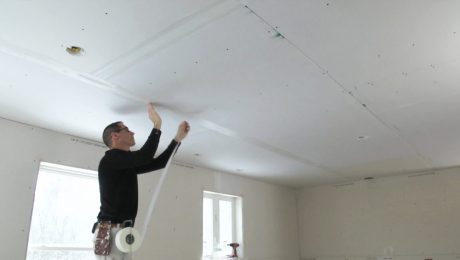
Rather than replaster the entire damaged section, I decided to use 1/4-in. drywall, cut to match the irregular-shaped void in the ceiling. The critical link in attaching the new ceiling was the Phillips-head drywall screw, driven with a variable-speed drill. These needle-sharp screws go in without a pilot hole, and since they don’t require pounding like nails, they leave the delicate lath and plaster bonds undisturbed.
Thanks to the drill-and-screw installation, the lightweight drywall went up easily; the original lath accepted the screws without a problem. I feathered the joint with quick-drying Fixall (joint compound), sanded the edge to provide a flat bonding surface, and taped the joint with standard drywall tape. Matching the textured surface finish of the existing ceiling took several gallons of joint compound and some experimenting with a concrete trowel, but eventually I mastered the technique and covered the patch, overlapping the taped joint by about a foot onto the original ceiling. A coat of paint, and the patched ceiling looks as good as old.
Charles Mueller, Normal, IL

