Hang Drywall on the Ceiling the Right Way
Follow along as Myron explains how to make straight seams and accurate holes for electrical boxes when hanging ceilings.

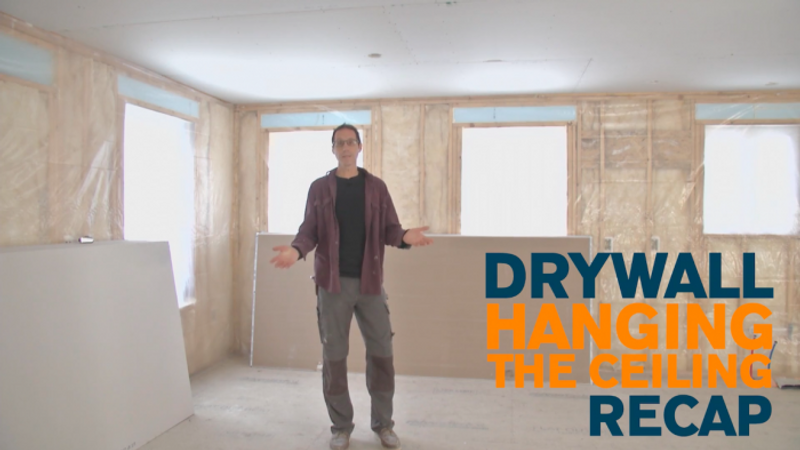
On-site at a Habitat for Humanity build, drywall expert Myron Ferguson shares his tips for correctly and efficiently hanging drywall on the ceilings.
In this room, I hung the drywall on the ceilings before we insulated the walls—before I even brought the drywall in for the rest of the job—because I was blowing in insulation in the ceiling. When I started hanging this ceiling, I started against the longest wall and the straightest wall. But because no wall is ever perfectly straight, I actually measured out from the wall on each end, 48-1/4 in., and snapped the line. And when I hung this first run, I actually put the drywall to that line. That way, every time I moved along on this ceiling, each subsequent row of drywall stayed straight. If the first row had started out crooked, that would have been compounded by the time we got to the other end of the room. Starting straight is really important.
The first piece is 12 ft., and we finished it up with an 11-ft. piece. For the second run, because this room is approximately 24 ft. long., I actually started with an 8-ft. sheet and filled it in with a 12-ft. sheet and then finished it off. So the first run has one butted seam and the second one has two, but I did that to avoid having my butted seams line up.
This next room has a pretty big ceiling and the customer’s expectations were very high, so we wanted to do whatever we could to make it a perfect ceiling. The biggest problem we had is hiding the seams on this ceiling. The more difficult seams to hide are butted seams. To deal with this, I have floated every butted seam—so there are two ceiling joists and the seam is in between those two joists. Above that I have what is called a back blocker, made of a piece of MDF board that is specifically designed for back-blocking. When I attach the drywall to that, it actually pulls it up slightly. So instead of having a butted seam that is a bump that I’m trying to hide, it is actually recessed, similarly to a beveled-edge seam on a ceiling.
I rarely hang a ceiling where I’m not using a drywall lift. Often, when you hang a piece of drywall without using a lift, you’re standing on a bench and you’re balancing on that bench, and you’re hoping that you get the drywall in the exact right spot. But when you use a drywall lift, you crank it up to the ceiling and you can stand back and look at it and make little adjustments. Most of them just have a hand winch and they are mobile, so you can move them from side to side.
Once the drywall is lifted into place, especially when I’m using a lift, the only place that can really fasten it is along the perimeter. Once the lift is out of the way, I fasten the center. On this particular ceiling, I put four screws into the face. Typically, 12 in. on center is plenty, but because I put about 15 in. to 16 in. of cellulose in this attic, I put an extra screw in there just for my own protection.
When you’re fastening the drywall, make sure you don’t put a fastener too close to an electrical box because you will have to cut that out—and because it protrudes down flush with a ceiling, putting a faster too close puts too much pressure against it. Then when you route it out, it busts out. The important thing for me is accurate cuts on all these electrical boxes. Every time I cut one incorrectly, I have a five- to ten-minute repair to do because each repair takes three coats to finish. When I first got a router, I was making a lot of mistakes because I was trying to do things as fast as possible. But there is no reason to be in a hurry. The important thing is to do a quality job. Take your time—when you use the router, go in a counter-clockwise direction around the outside of the box.
Related Links:

