Installing Grab Bars
These safety devices aren't there for looks—they must be well anchored to help prevent bathroom injuries.
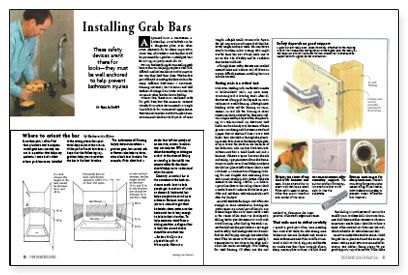
Synopsis: Grab bars are those injury-preventing handles on bathroom walls that work as designed only when they are solidly anchored. A specialist in grab-bar installation explains the installation process for a variety of surfaces, including fiberglass tubs.
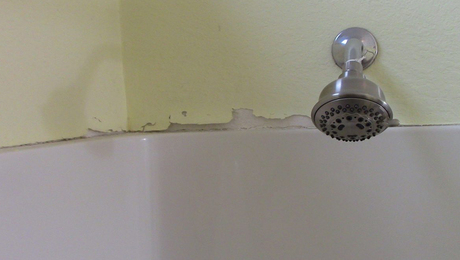
A sprained wrist. A concussion. A broken hip. A wet bathtub can be a dangerous place even when you’re physically fit, let alone impaired in some way. All it takes is one slip that could be prevented by a grab bar. I install grab bars for a living; it’s pretty much all I do.
For me, the best thing about installing grab bars is that I’m helping people to deal with difficult medical conditions and to improve the way they lead their lives. The hardest part of the job is making the bars work in the many different bathrooms I encounter. Framing materials, bar locations, and wall surfaces all change from house to house, but no matter what, that bar has to hold up.
Where I live, there is no residential code for grab bars, but the American National Standards Institute recommends a weight limit of 250 lb. for commercial applications; the National Kitchen and Bath Association recommends that bars hold 300 lb. of static weight. A fragile 100-lb. woman who slips in the tub may exert much more load than her actual weight, and next week, she may have a 200-lb. brother-in-law visiting who might use the same bar. So I always make sure to err on the side of safety and be confident that the bar will hold.
Although these safety devices are installed around toilets and sinks as well, I’ll focus on a more difficult situation, installing bars in a tub/shower stall.
Finding studs is a critical task
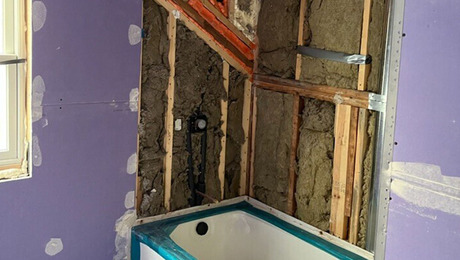
Unless I’m working with reinforced concrete or hollow-block walls, my most time-consuming task is locating studs. After all, the success of any grab bar depends on its attachment to a wall’s framing. Although most building codes call for framing on 16-in. centers, in real life the framing is never where you think it should be. The task is often complicated by a layer of tile, the plumbing, or a tub-surround. An electronic stud finder can be a handy tool, but some of these gizmos can’t distinguish between a stud and a pipe, duct, or electrical line. I use a stud finder, but I also look in through the plumbing access door, remove the shower face plate, or try to locate the studs on the backside of the bathroom wall. My last-ditch low-tech solution involves a small finish nail and a hammer. If there’s a space between the tile and ceiling, I get permission from the homeowner to make several nail holes just above the tile line where I think a stud is located. A combination of tapping, looking for nail dimples, and measuring from each corner usually yields results. If the tile extends to the ceiling, I drill a hole in a grout line close to the ceiling where I think a stud is located. I make as few holes as possible and seal them with tub-and-tile caulk after I’ve finished.
For more photos, drawings, and details, click the View PDF button below: