12 Tips on Ordering and Installing IKEA Cabinets – Part 2
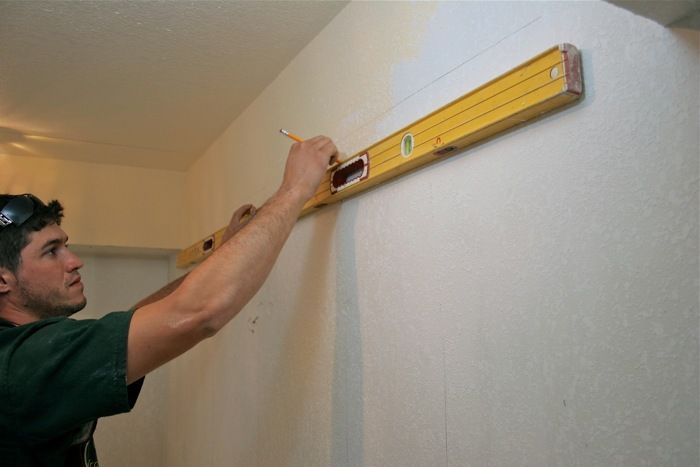
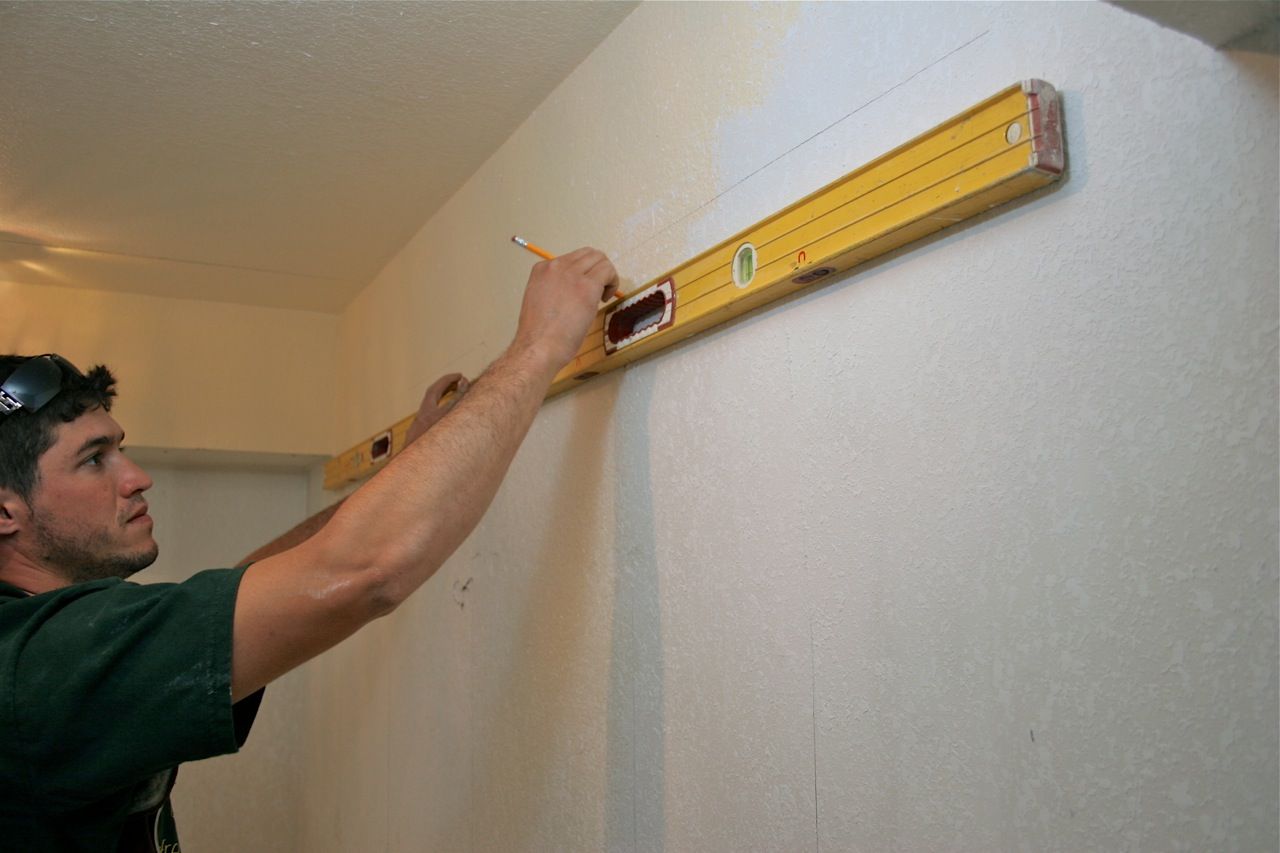
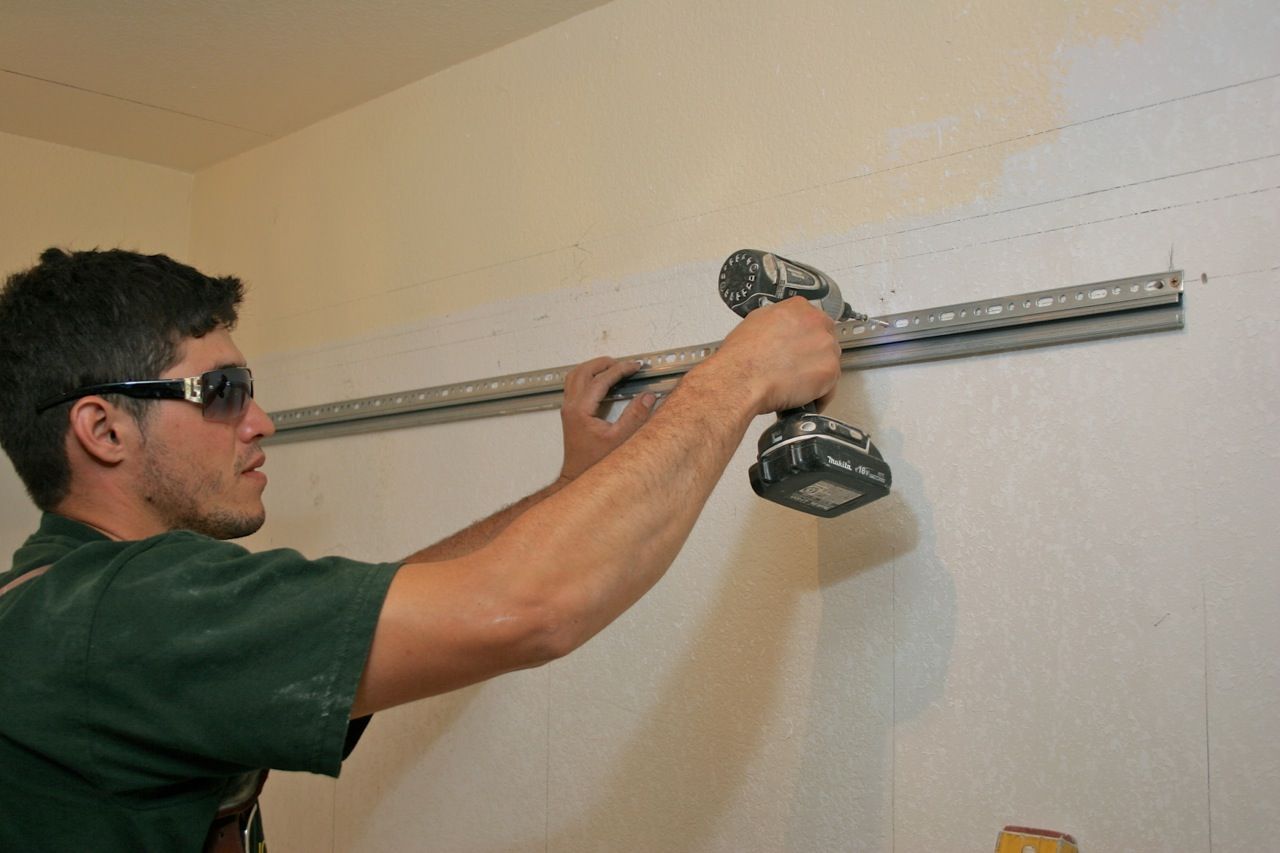
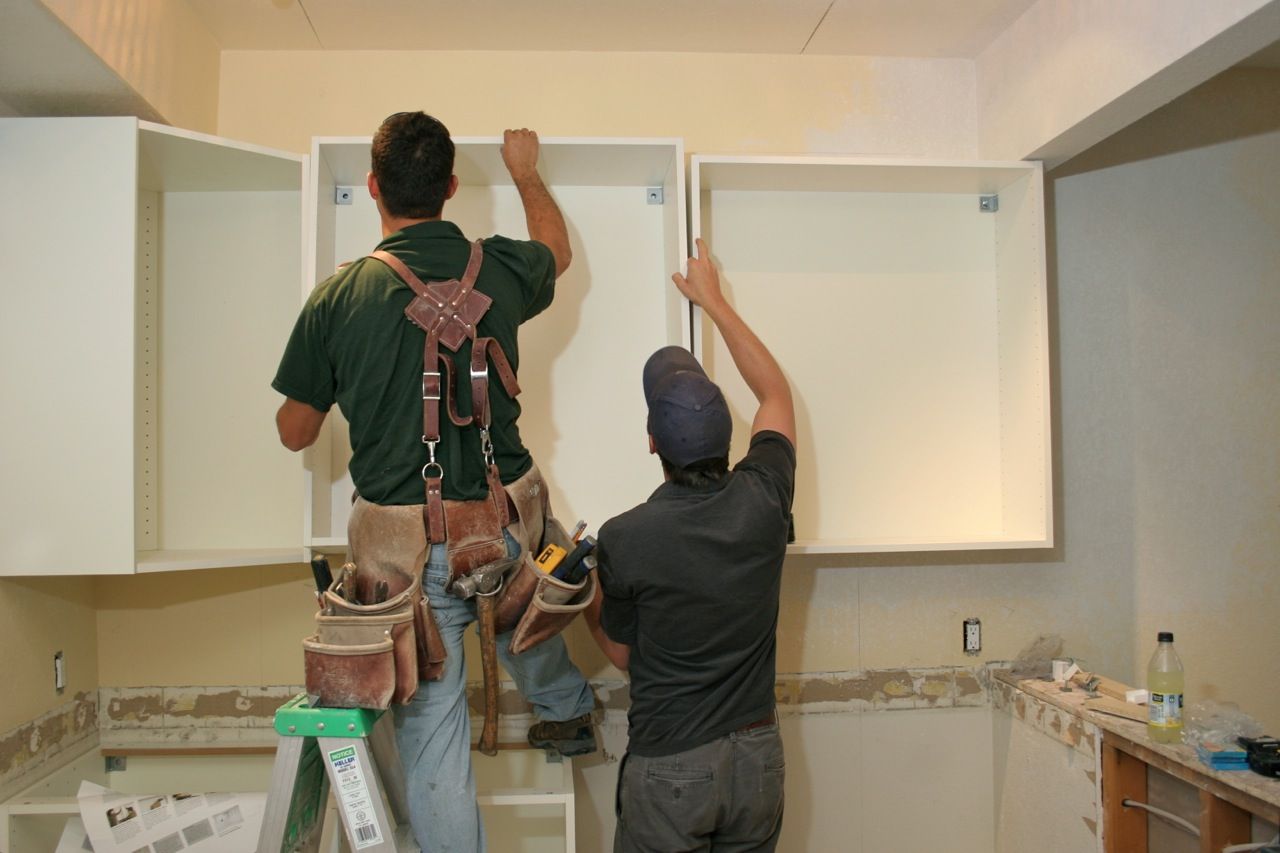
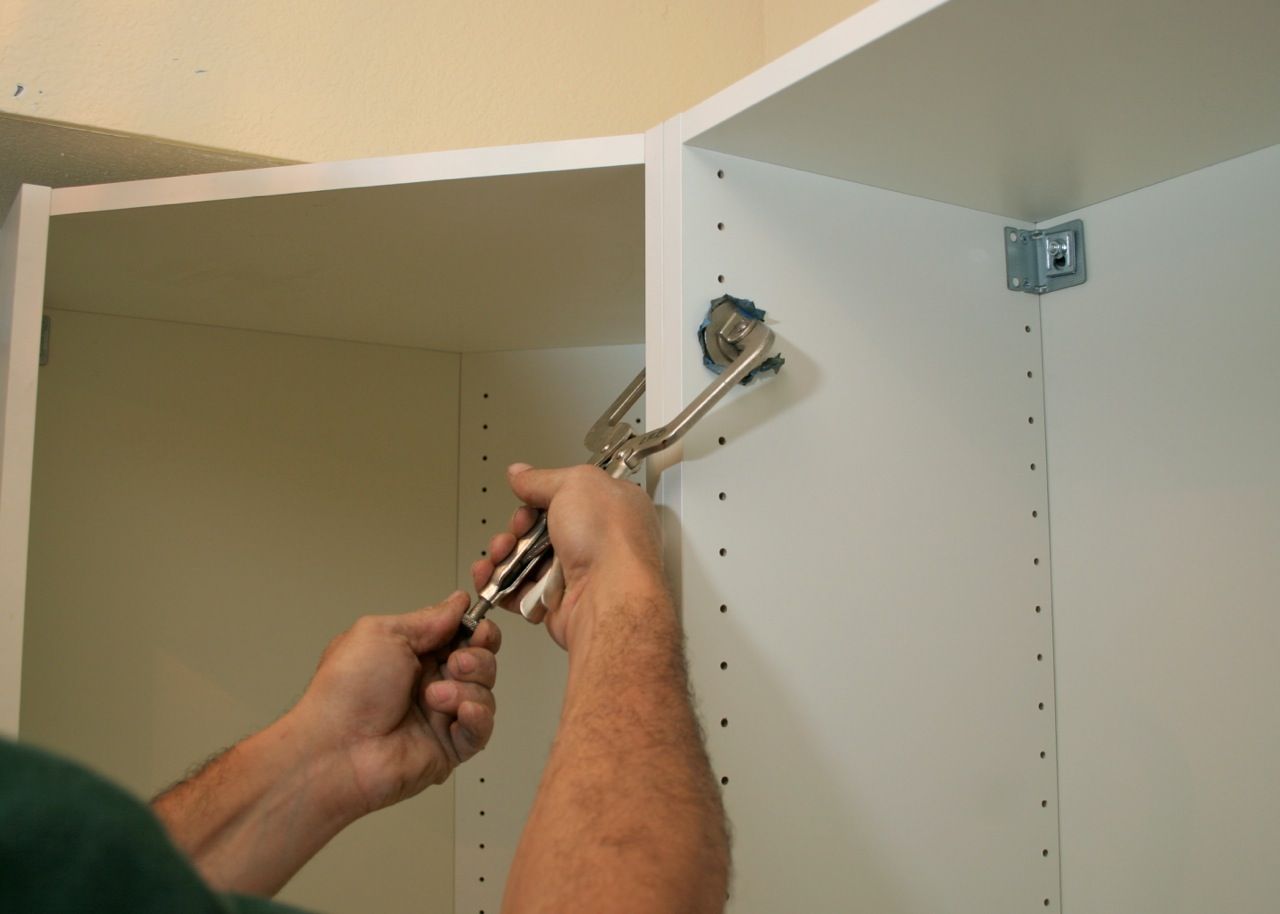
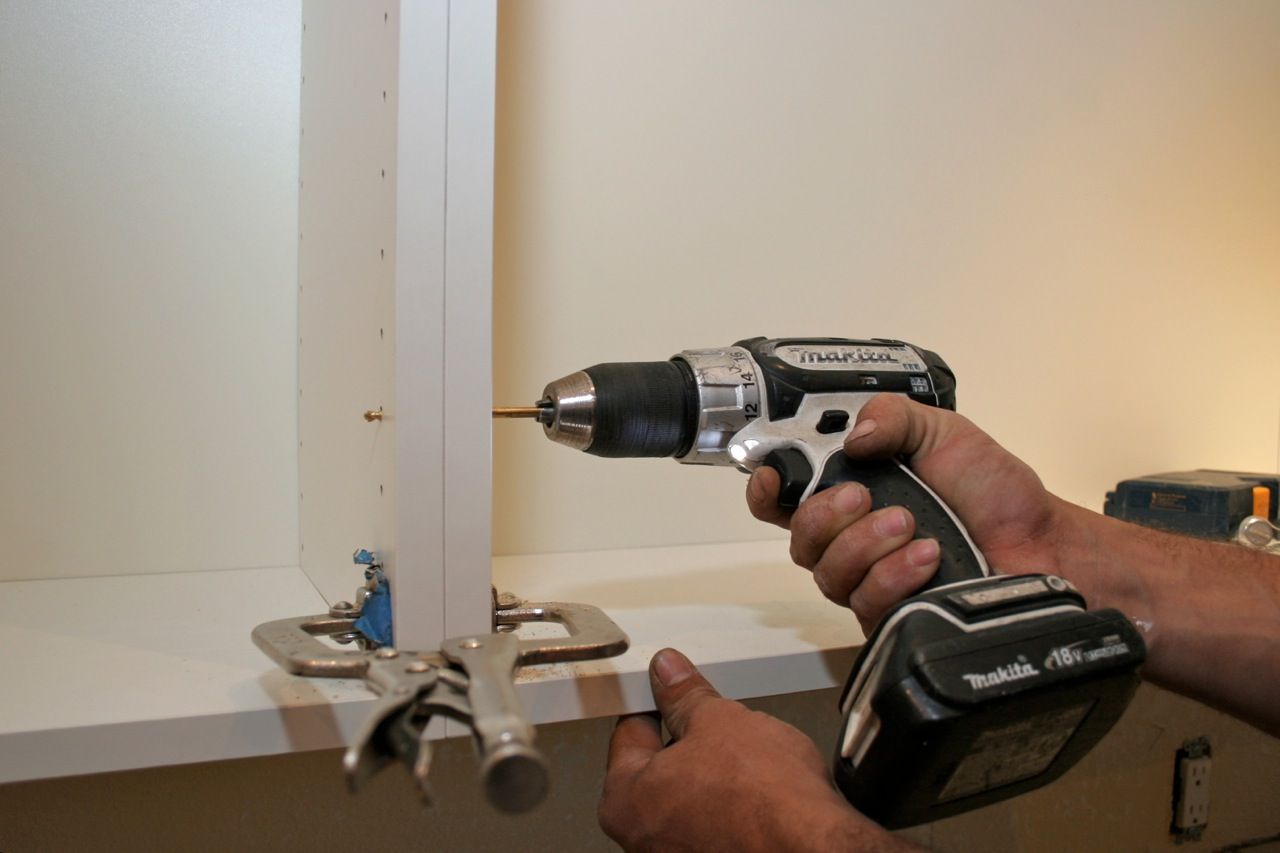
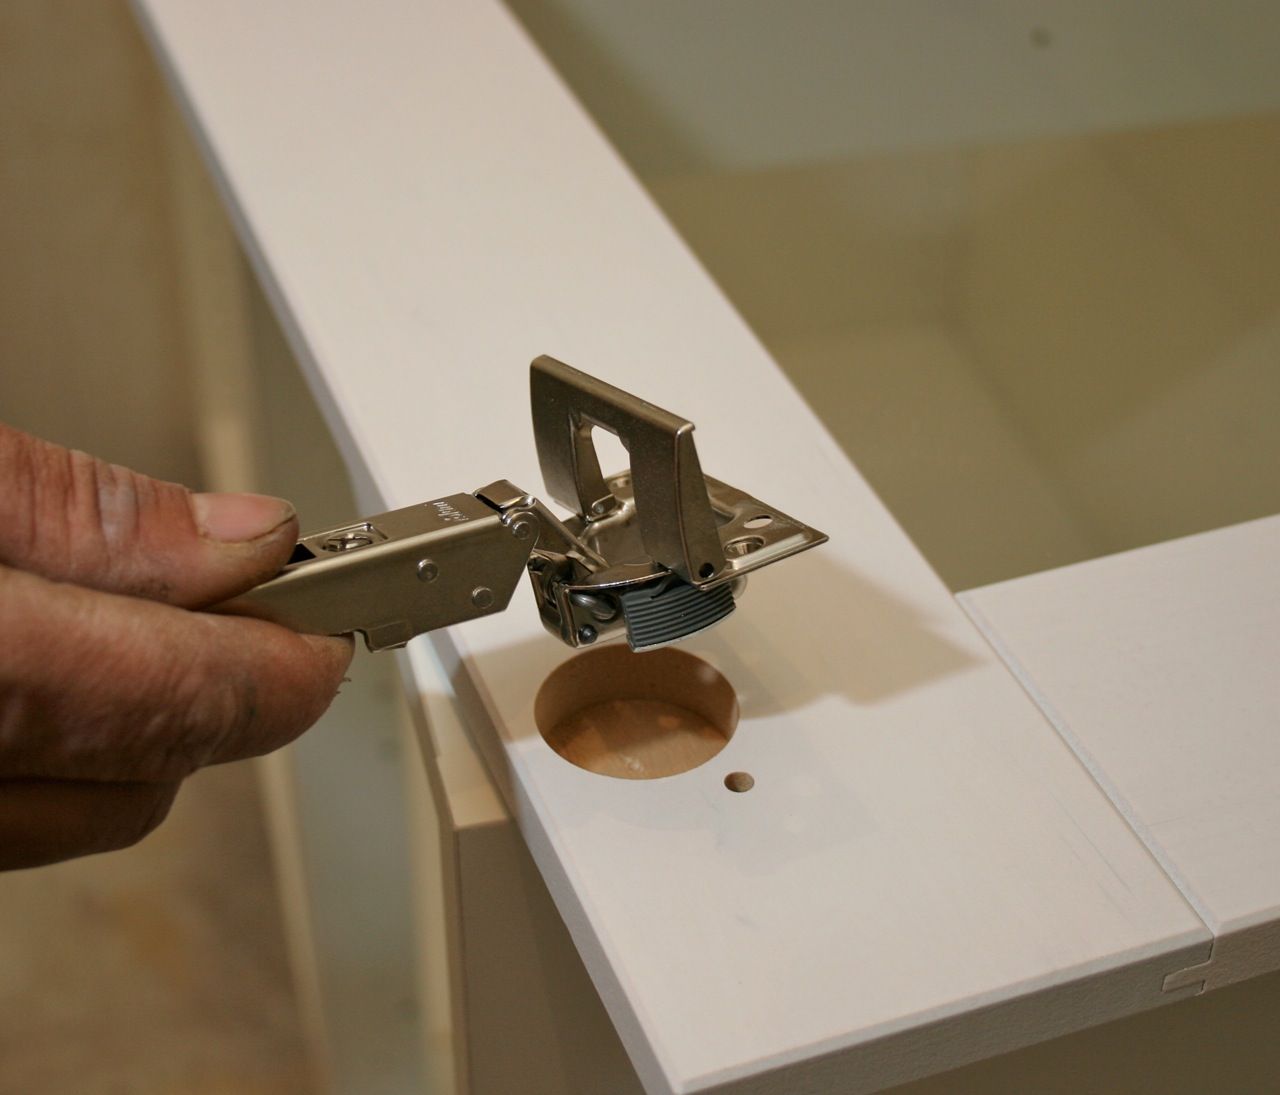
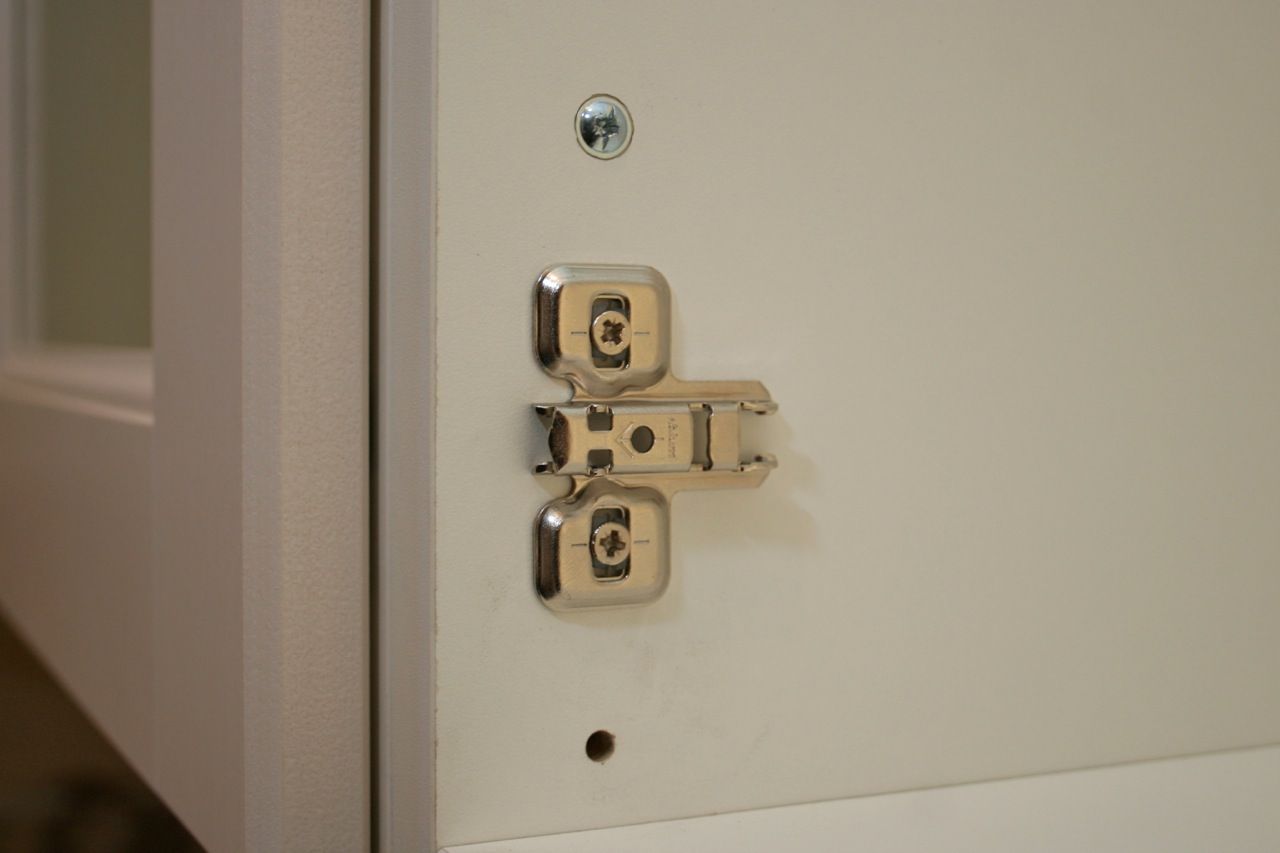
Swedish manufacturer IKEA offers a wide range of support materials to help customers assemble and install its prefabricated cabinets, including videos, step-by-step photo broadsheets, online help, phone support and the infamously minimal pictographs shipped with every order. Because IKEA has such thorough instructions, it makes little sense to duplicate them here. The six tips below are a personal take on the process, supplemented by the 12-photo sequence of a professional installer at work.
Getting (and staying) organized
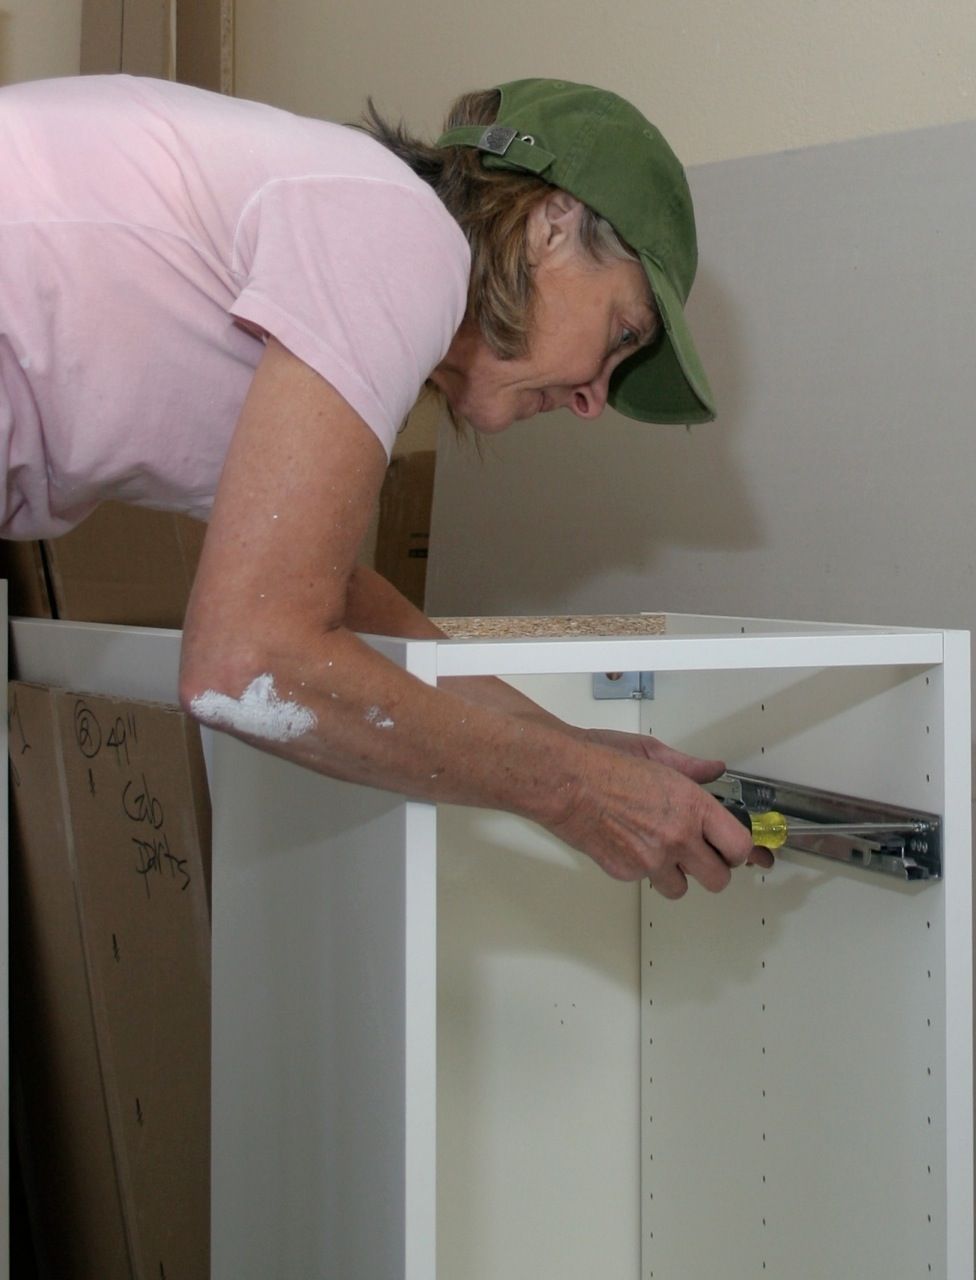
7. Keeping track of a kitchen’s worth of parts takes meticulous organization. Because IKEA assembly hardware is uniform, we assembled all like parts in plastic zip-lock freezer bags, labeled them and put them someplace safe. Large hardware elements, such as drawer slides, we grouped in smaller cardboard boxes. Leave the melamine panels for each cabinet in its large shipping box till you’re ready to assemble the cabinet. Tempting though it may be, do not throw out the large boxes yet.
D-Day
8. Invite friends and make a weekend of assembling the cabinets. It’s possible for a handy couple to assemble a kitchen’s worth of cabinets in two days but it’s easier to maintain momentum with more bodies. If one member of the party has a good collection of tools or has assembled IKEA cabinets before, all the better.
9. Allow plenty of room for assembly and storage once each cabinet is completed. Flattened shipping boxes make an excellent assembly area, protecting both your floors and the melamine surfaces.
10. Keep cool. The pictographs showing installation are minimal but if you study them carefully you’ll find that the details are there. More than once I was sure IKEA had screwed up when panel holes didn’t line up. But after revisiting the instructions and conferring with my friends-till one of us had an Ahah! moment-the assembly was always correctly machined. Typically, a panel had to be flipped 180 degrees.
11. Never force things. Every bolt or screw has its place and if it isn’t fitting, revisit the instructions. Likewise, resist the temptation to re-drill a hole that displeases you. And when tightening screws, don’t over-do it: Panel cores are particleboard, which can strip if you apply too much muscle to a screw. If you use a screw gun, make sure it’s a variable-speed model, and take it slow.
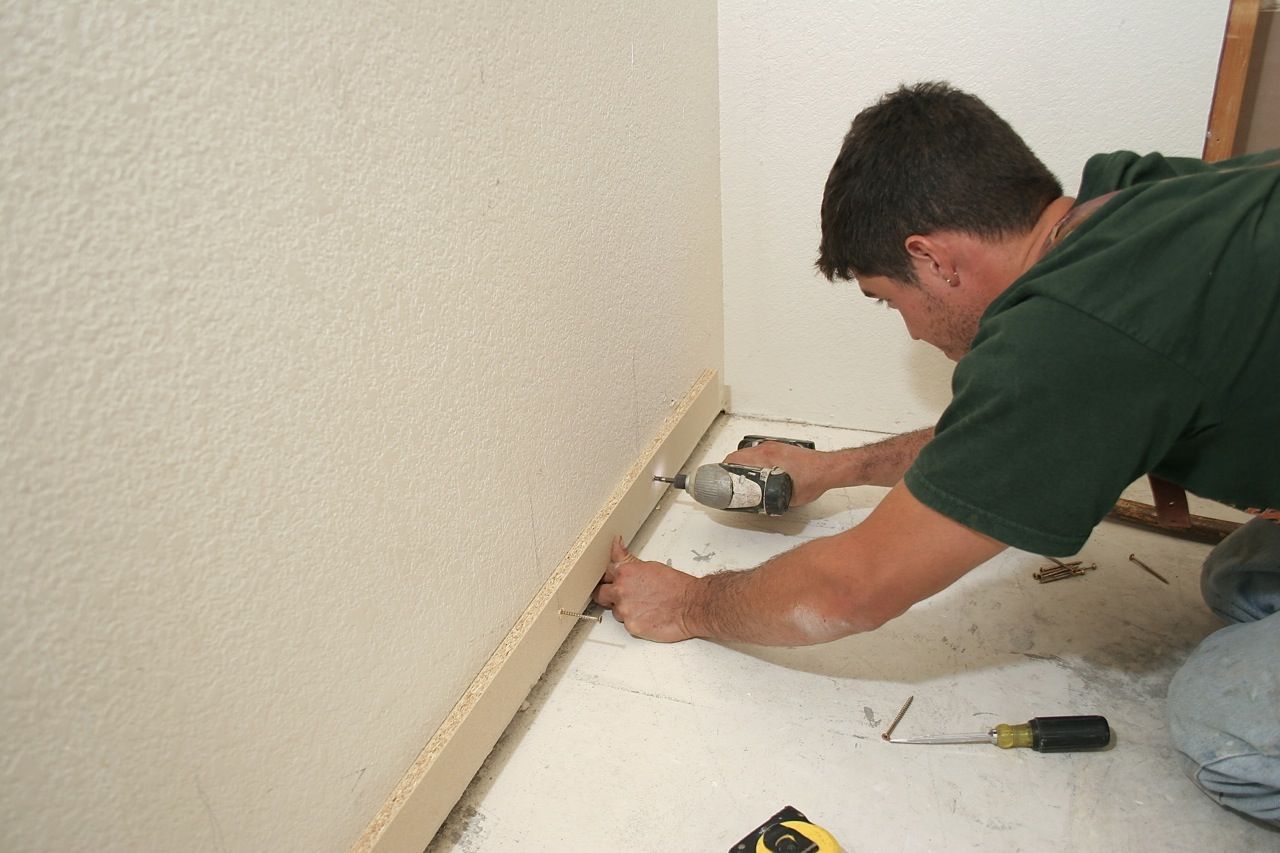
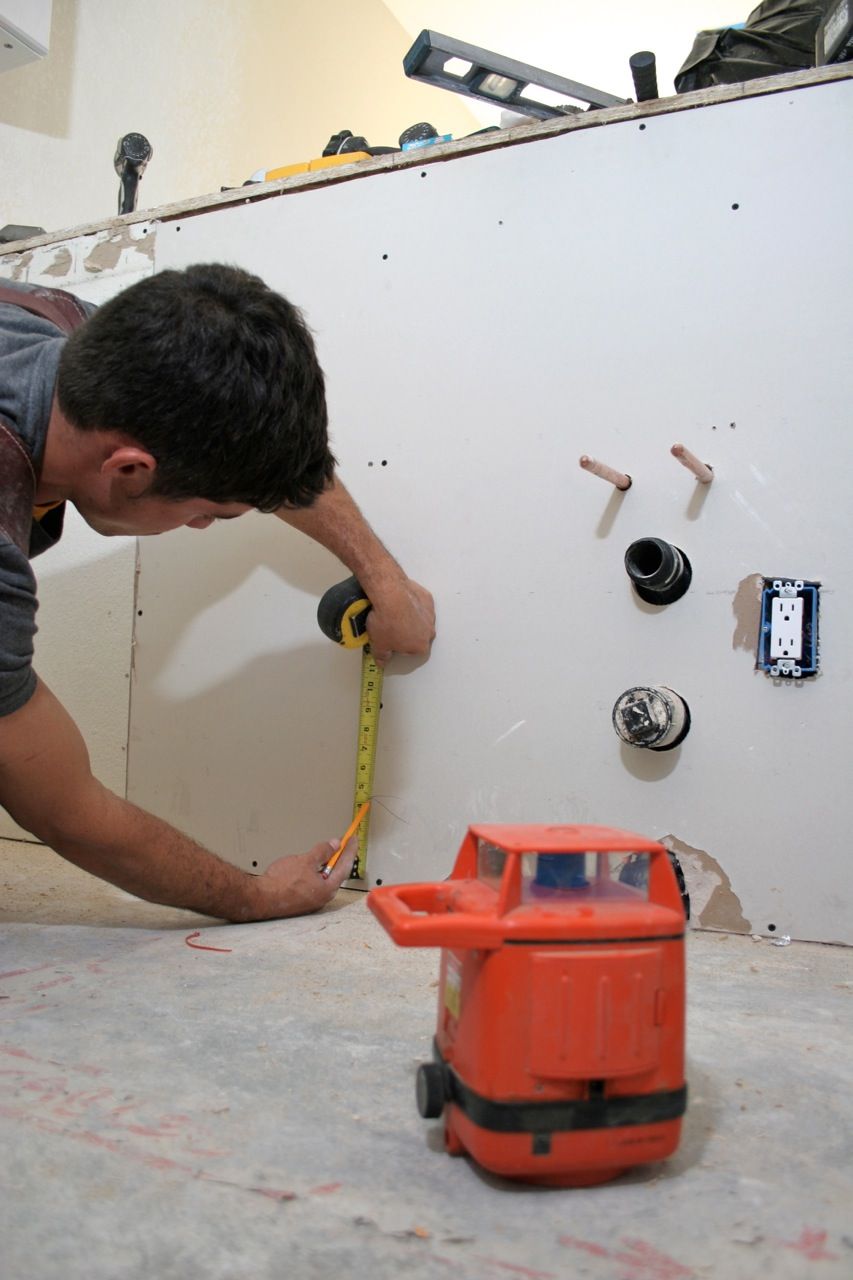
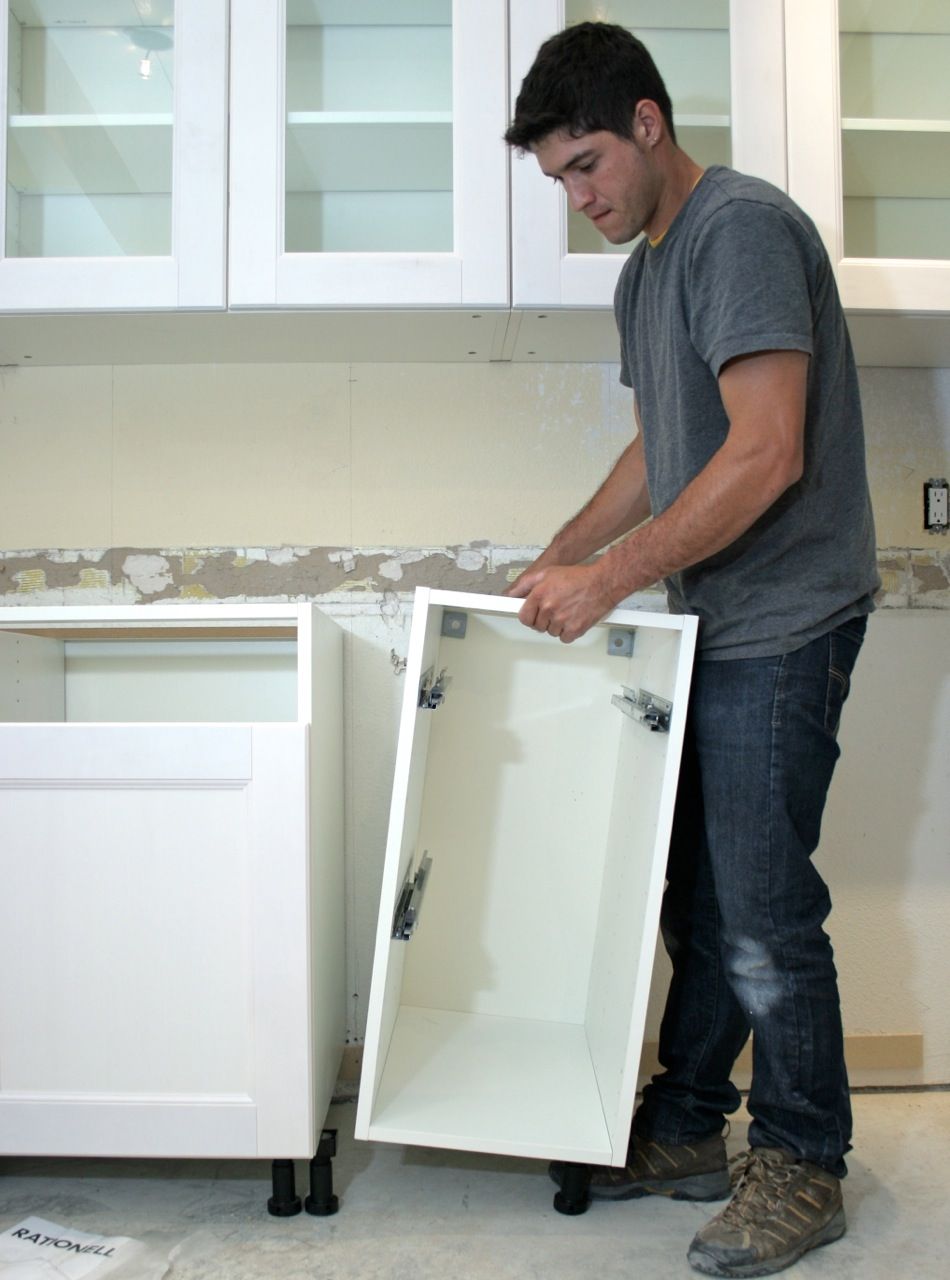
12. Hiring pros to install the cabinets is not a bad idea if you’re pressed for time or not all that comfortable doing it–or if kitchen walls are irregular. Aligning cabinets takes skill and patience–especially if there are corner cabinets in the mix. You can also leave some of the more complicated IKEA hardware for the pro to assemble, such as sliding shelf mechanisms that pull out of corner-cabinets.
Thanks to Marciel Dornelio for sharing his cabinet-hanging skills and allowing us to photograph him at work.
This blog is adapted from Renovation 4th Edition, which contains thousands of field-tested tips and techniques. Brand new from Taunton Press, Renovation 4th Edition‘s 614 pages include 250+ technical drawings and 1,000 photos selected from the 40,000 that I have taken over the years. I hope you find it useful. -Mike
© Michael Litchfield 2013
Fine Homebuilding Recommended Products
Fine Homebuilding receives a commission for items purchased through links on this site, including Amazon Associates and other affiliate advertising programs.

Affordable IR Camera

Reliable Crimp Connectors

8067 All-Weather Flashing Tape


View Comments
I would not have thought to install the IKEA cabinetry on my own. All those storage cabinets are quite expensive and you do get a good price when you get the IKEA guys to come and put their product into your home. But you guys did a really good job and it looked simple enough. Maybe something to try the next time!