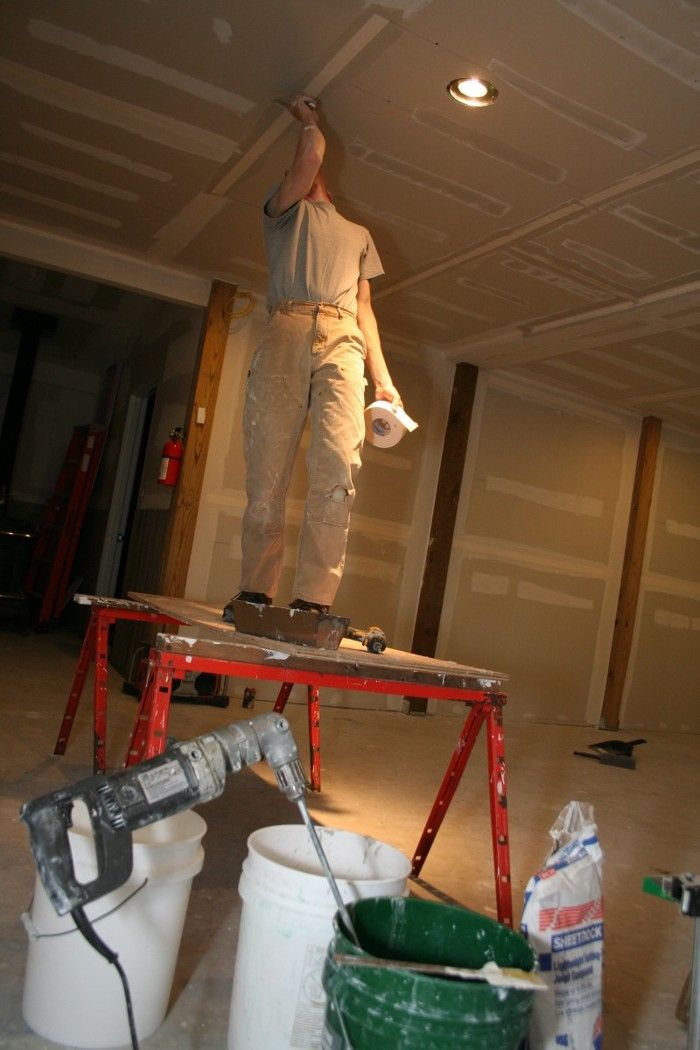
Thinking about the self-taught methods I used for taping drywall when I was a teen and twenty-something now makes me cringe. I used ready-mix compound (sometimes lightweight) that I pulled straight from the bucket without mixing. I also used mesh tape because bedding paper tape in a layer of compound seemed like a waste of time.
But living with my early drywall projects revealed problems with both my materials and my methods. I found that mesh tape is easily cut by taping knives, that it shows through the surface (telegraphs) under glossy paint, and that it doesn’t produce nice, straight inside corners. I found that lightweight compounds damage easily and have a finished surface that looks different from drywall under even relatively low-sheen paint.
My methods changed when I learned how pros tape drywall. My current taping method, which I learned from a web forum, uses lightweight, setting-type compound that I mix in half-bag batches with a drill-mounted paddle. I marked the inside of a 5-gal. bucket to indicate 5 pints, which is more or less the appropriate amount of water to mix with half a bag of compound. I make half-bag batches because that’s the maximum amount I can use before the compound, which sets chemically rather than by drying, is too hard to work.
To measure the right amount of compound, I flatten the bag, evening out the powdered compound as best I can, and then I fold the bag in half. I always add the compound to the water, which makes mixing easier and more thorough. Easy-Sand 90, the compound I’m using, has a working time of about 60 min. After that, it’s too hard to spread easily. When it starts setting up, I use what’s left on the corner bead that covers outside corners and that surrounds the barn’s doors and windows. These areas require a lot of compound. I’ve seen compound with a longer set time described in manufacturer’s marketing materials, but nobody in Connecticut stocks it.
Mixing the compound and rushing to use it up before it hardens may seem like a lot of trouble, but the results are worth it. Setting compound shrinks less and is better at resisting dents and scrapes. I now use paper tape for seams and corners because it makes straight corners, it’s stronger, and it costs much less than mesh tape. Something that works better and costs less is a refreshing change.
I’ve put in about 16 hours on this first coat. I’m trying to do one batch every day, which takes me between and 1-1/2 and 2 hours. I’m guessing I have about 3 or 4 more hours to go on this first coat.
You can read more about my barn here.
Fine Homebuilding Recommended Products
Fine Homebuilding receives a commission for items purchased through links on this site, including Amazon Associates and other affiliate advertising programs.

Handy Heat Gun

Reliable Crimp Connectors

Affordable IR Camera




View Comments
Paper tape is stronger and cheaper than mesh. Setting type mud (hot mud) is stronger than ready mix. A good rule is to use hot mud with mesh and ready mix with paper. I almost always use paper tape for inside corners. Mesh is super hard to use for inside corners. Paper tape is more difficult to use with hot mud and tends to have a greater chance of blistering. Paper tape bonds much beter with ready mix mud but I do reccomend using a strong taping mud. If you are going to use hot mud I recommend you go back to mesh for flat joints. I recommend you use ready mix and paper tape for inside corners. Mesh doesn't telegraph when you use glossy paint or any other paint when it is done correctly. Apply the mesh to the joit. Don't coat the joint but smash hot mud into the mesh and wipe very tight. Otherwise the mesh may float to the top of mud. This what you are seeing instead of telegraphing. Once the hot mud is set then start coating over that. Keep in mind that hot mud is harder to finish with, as it does not sand into sheetrock paper as smoothly and easily as good setting type finish muds like topping. I would highly reccomend the final coats be done with a good ready mix finish mud. Lightweight muds do damage easy but not when on top of hot mud. They will not look different under any paint if you use a non-flashing product before you paint or texture. IE Hamilton prep coat plus or USG first coat.
I like hot mud when I have a project that has to get done quickly, or a small job that I can get two coats on before leaving. For a big job that I'm in no hurry for, I prefer regular mud. The two drawbacks of hot mud are that it's much harder to clean your tools and bucket and it's harder to sand. I've found that I have to clean the tools and bucket (and mixing paddle) completely, otherwise leftover mud catalyzes the next batch and it sets much faster.
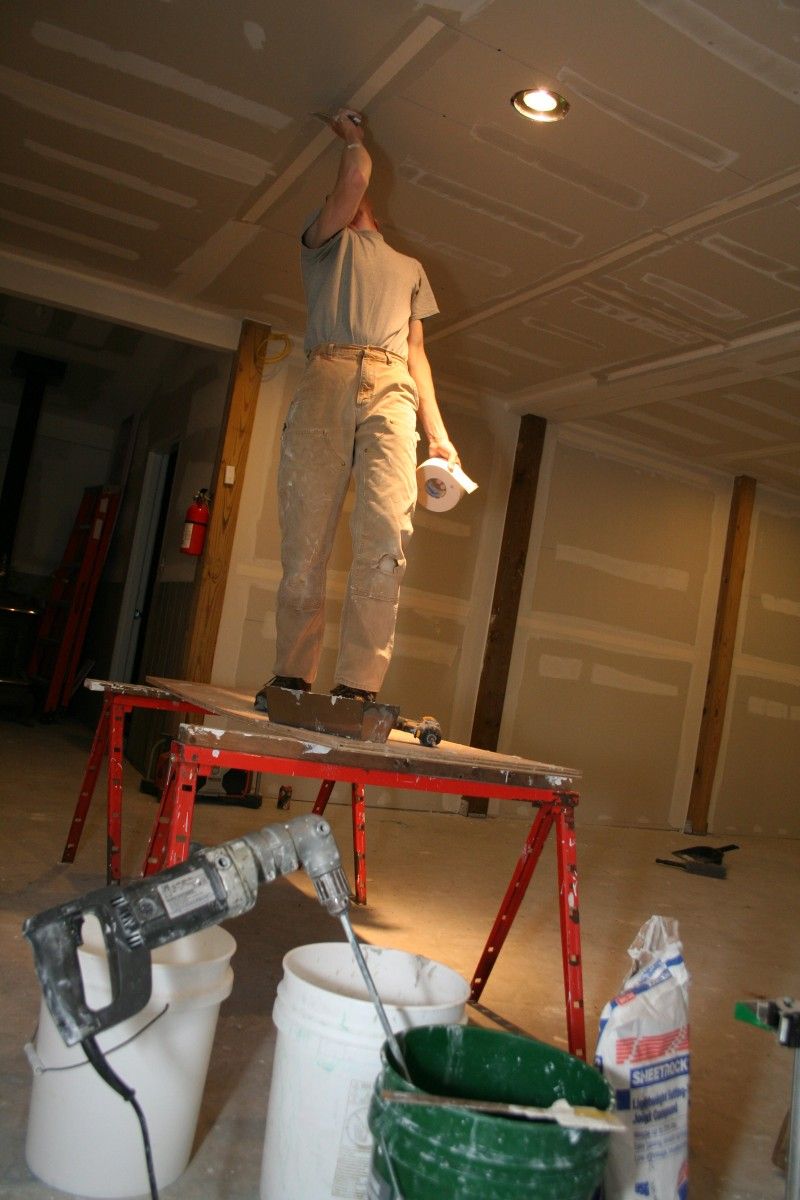
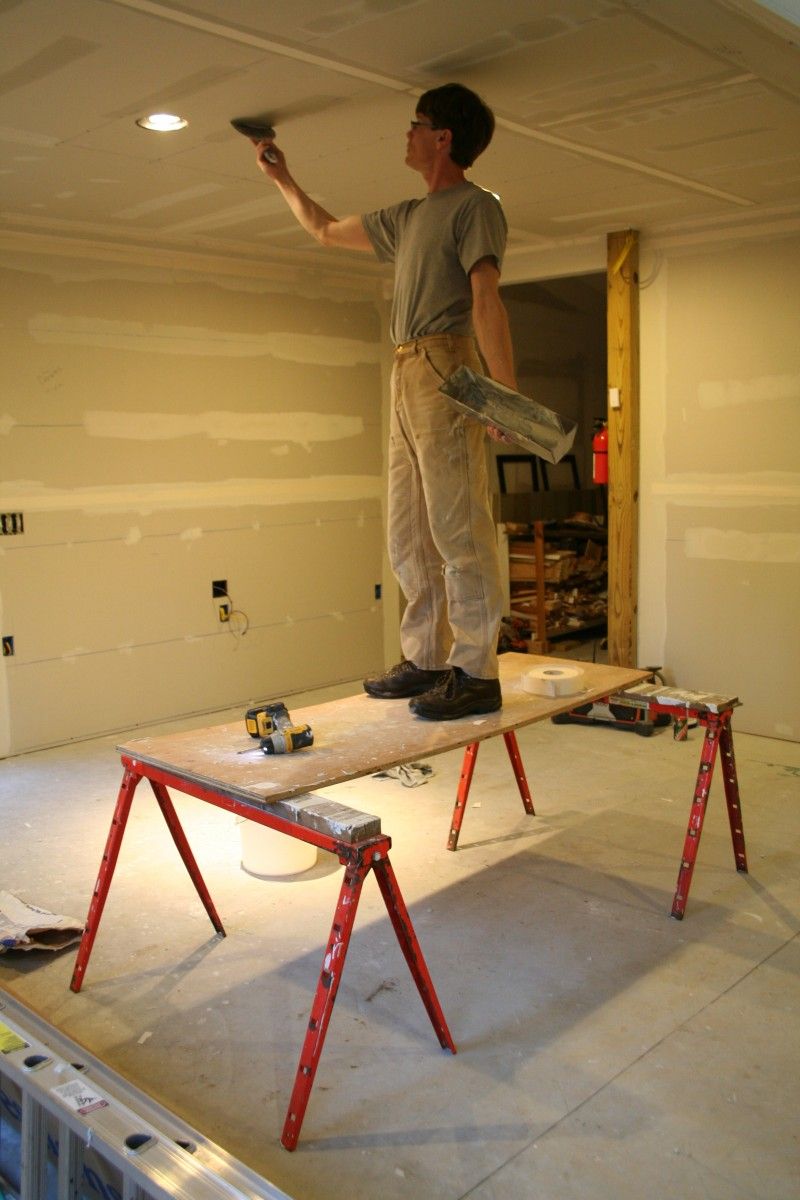
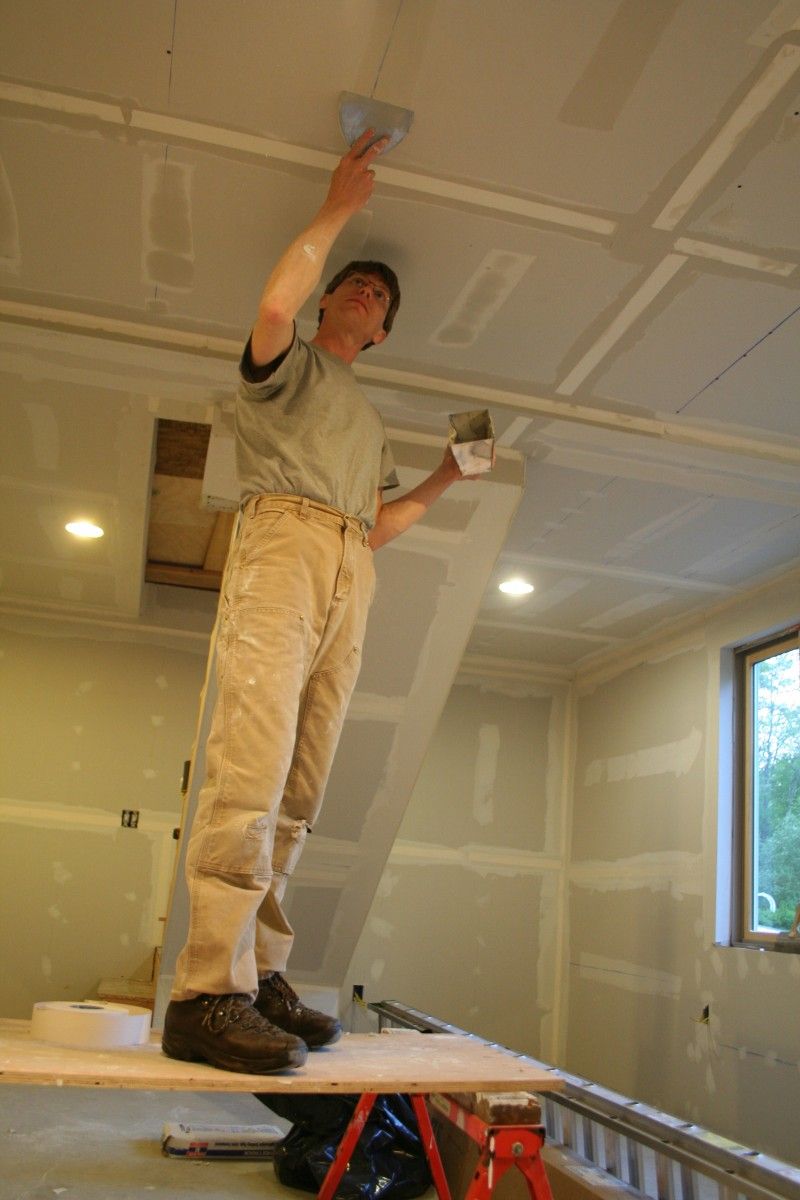
Your work platform looks mighty unsafe. Hopefully you don't do that too often
Thanks for the comments everyone. I spent about 3 hours sanding on Sunday--no fun. It's looking pretty good though. With a first coat on everything, I'm going to switch to ready-mix compound, which should be less stressful and as geoff suggests, much easier to clean up.