In temperate climates where frost heaves aren’t an issue, older houses are often supported by unreinforced foundations only a foot or two deep. Consequently, when they fail, replacing them one wall at a time is pretty straightforward once you transfer loads to shoring (temporary support beams and posts). Getting a structural engineer involved is good insurance–and frequently required by local building codes.
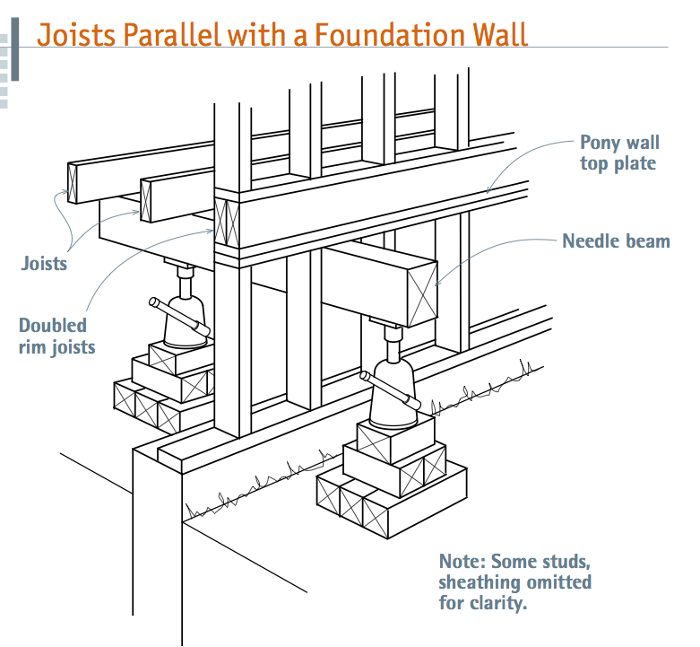
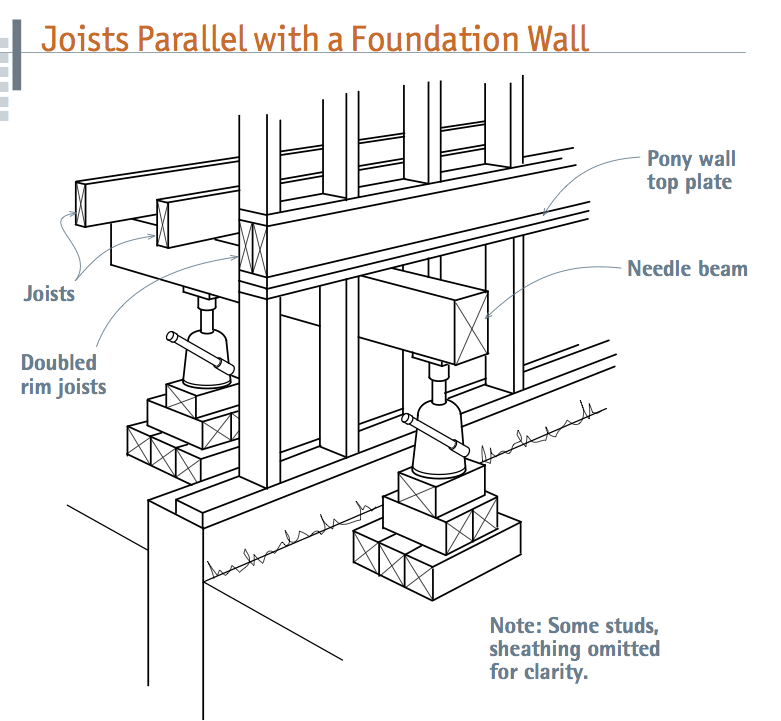
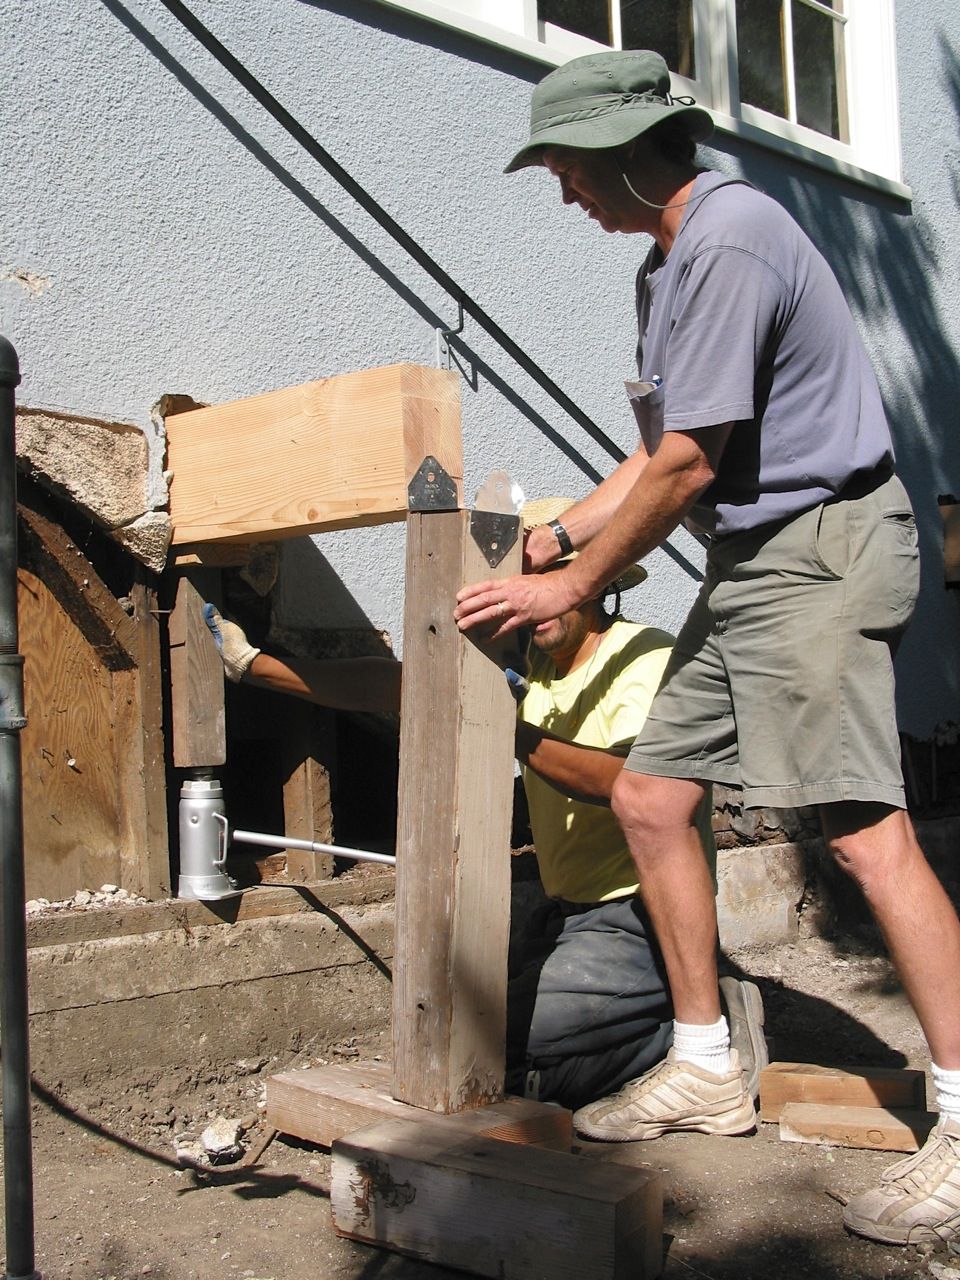
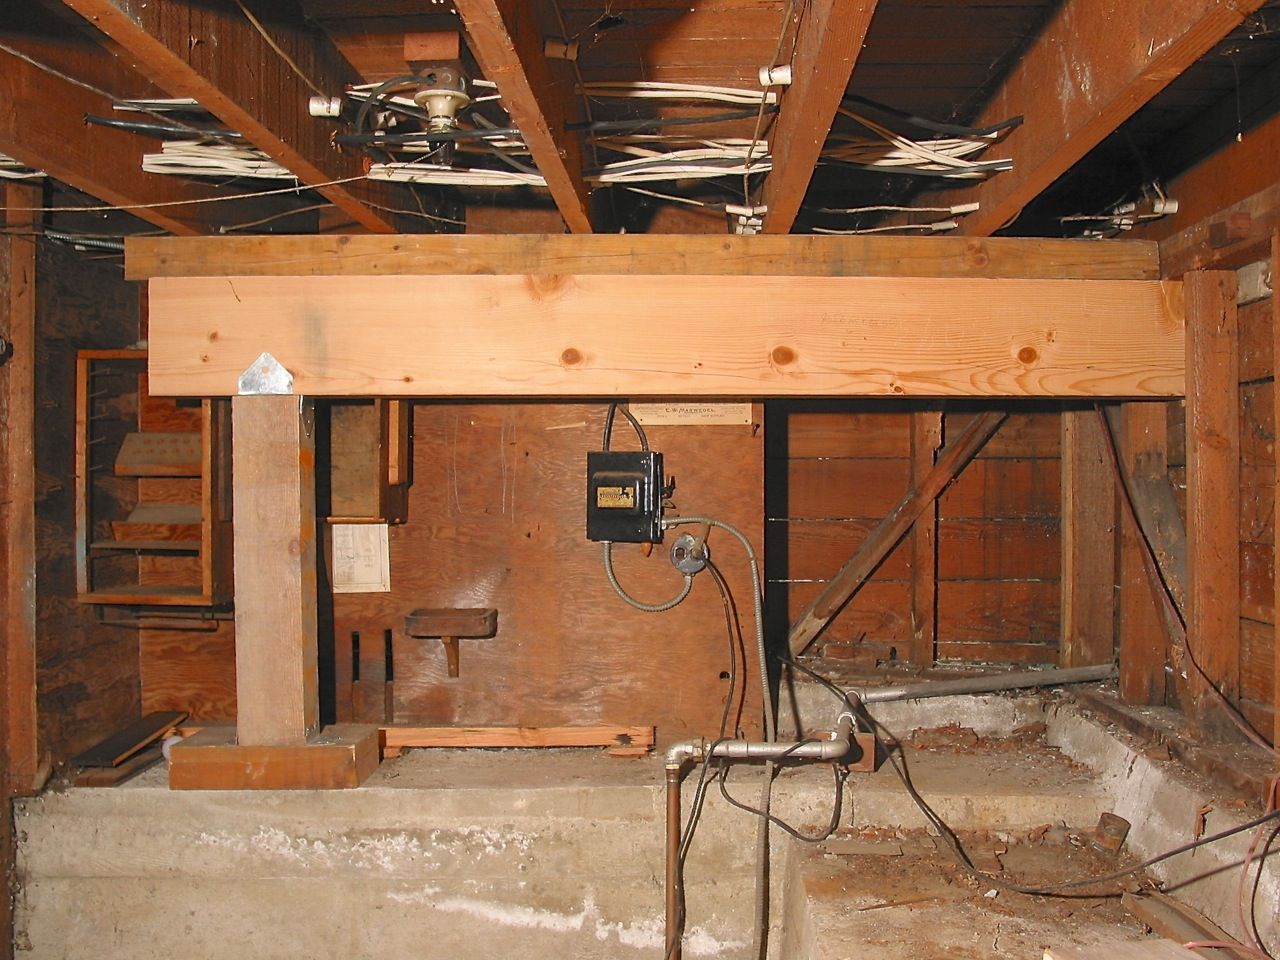
When replacing a mudsill or sections of a foundation whose joists run parallel to the foundation wall, you’ll need to run needle beams through exterior walls, and support each beam with one post underneath the house and a second post outside, roughly 2 ft. beyond the foundation wall. (Illustration A.)
For this, you’ll need to remove sections of siding so you can insert a beam every 6 ft. to 8 ft. If the siding is stucco, you’ll need to punch large holes through it. To keep the rim (outer) joist from deflecting under the load, nail a second rim joist to it, doubling it before jacking. Also, add solid blocking from those doubled rim joists to the first adjacent joist. Use metal connectors to affix the blocking and 10d nails to face-nail the rim joists.
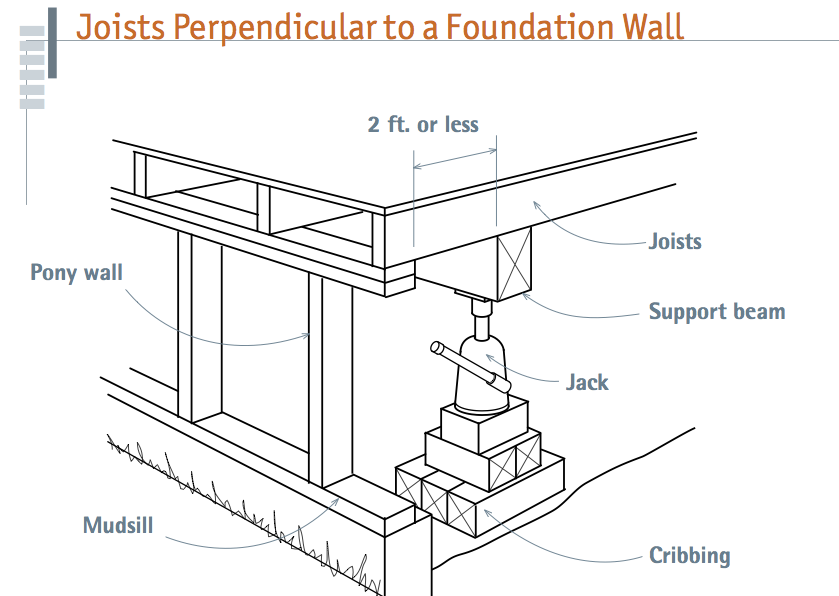
When replacing a mudsill or sections of a foundation whose joists run perpendicular to the adjacent foundation wall, place a 4×8 or 4×10 carrying beam on edge under the joists, within 2 ft. of the foundation. A jack every 6 ft. under the beam should suffice. (See Illustration B.)
This blog was adapted from Renovation 4th Edition, recently published by Taunton Press. Renovation 4 contains thousand of field-tested tips and techniques, 250+ illustrations and roughly 1,000 of the 40,000 photos I have taken on job sites. I hope you find R4 useful. –Mike
© 2013 Mike Litchfield
Fine Homebuilding Recommended Products
Fine Homebuilding receives a commission for items purchased through links on this site, including Amazon Associates and other affiliate advertising programs.

Affordable IR Camera

Handy Heat Gun

Reliable Crimp Connectors


View Comments
Mike,
Replacing support framing is always a challenging task. However, as your blog post shows, it is possible. It's good that you include photos along with drawings to show theory in practice.
I got into related work as shown and described here:
https://www.finehomebuilding.com/item/12351/light-in-the-tunnel-a-moldy-crawlspace-nightmare-part-4
Both cases show that with a plan and some hard work new life can be built back into old and failed structures.