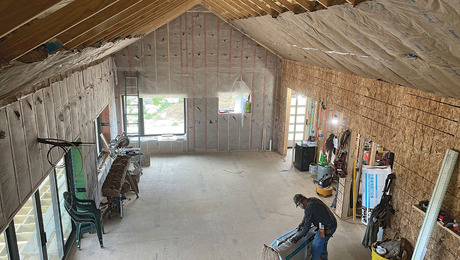
I must view 100’s of photos on Instagram a week and 90% of these images capture a project moment in time. All are missing the same thing. Care to guess what it is?
Protection: protection of hardwood, protection of tile, protection of countertops, etc …
Let’s run through how we protect our finishes as the phases of the project take shape.
Rough Stage
We normally run our HVAC and lumber as soon as we can to acclimate to the construction site. This also pulls the extra moisture out of the lumber that’s been installed so we can see if any studs twist and need fixing. In this rough stage, we nail down Cobra Ridge venting over all registers with 2” roofers. This is perfect for return vents and cover supplies so crews don’t use them as dustpans …
Finish Stage (before hardwood gets finished)
 Once our hardwood flooring (and tile) is installed, we cover it with Rosin paper. This is to protect against the painters as they prep all walls, ceiling, and trim. The paper stays down until all trim is sprayed, the ceilings are painted, and the walls have one coat of finish. And again, this paper is just for the painters. It does not protect against traffic, tools or any objects at all.
Finish Stage (after hardwood is finished)
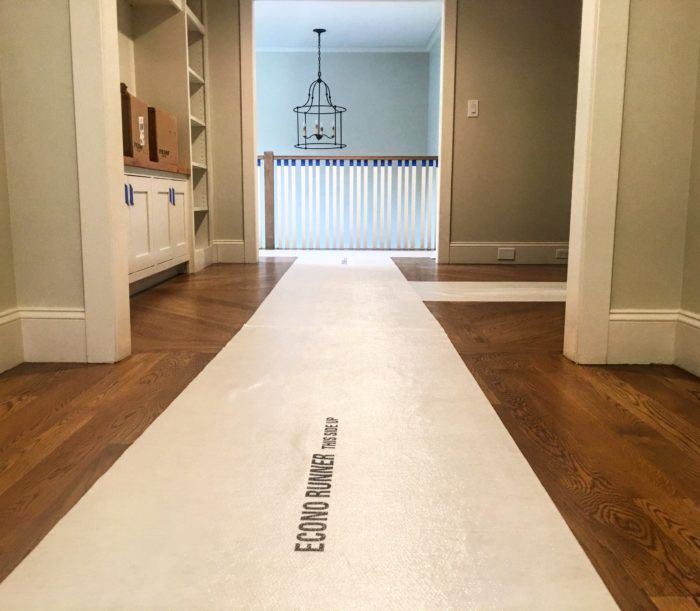
 We finish our floors in two stages. The first stage is to sand, stain, and apply two coats of finish. Once this stage is complete, we apply two main types of protection. We install “ECONO”-Runner from Protective Products to provide walking paths for all rooms, including stairs. In the winter we upgrade to Dura-Runner, which absorbs moisture and can take more of a beating. This is our go-to for protection, and the guys will use it everywhere – on countertops while installing backsplash as well as on floors for painting touch-ups. The best part is that this protection is re-usable.
Why don’t we use Rosin paper or RamBoard for this stage of the project?
Tried it!
Rosin paper does not stand up well to multiple trades, although it’s good for painters, as I previously mentioned. The paper rips, which allows sand and debris to get trapped. Those working on the paper pound this sand and debris into the finish surface below, which damages it. RamBoard is great for durability, but it requires taping, which I hate doing to a newly finished surface. For all major traffic zones (appliance delivery run and construction entrance), we install 1/8″ Masonite; $7 each for a 4’x8′ sheet is a no-brainer. We also cut individual pieces for in front of a dishwasher, range, and refrigerator because we all know these appliances get moved w/o the GC or builder knowing.
Another level of protection is the placement of moving blankets on finished surfaces such as countertops, showers, and tubs. Subs are focused on their work and don’t realize where they’re putting down their tools or against what surface their toolbelts are rubbing. The moving blankets help solve that issue.

Remember that your client is paying for a brand new product. I know it feels different from a new car, but it’s similar. Construction is the assembly line and your project is the dealer showroom. You wouldn’t buy a vehicle with a scratched dashboard or dented hood, so why would you expect your client to pay for new scratched countertops and dented floors. Only you can control the amount of damage done during construction.
Fine Homebuilding Recommended Products
Fine Homebuilding receives a commission for items purchased through links on this site, including Amazon Associates and other affiliate advertising programs.
Smart String Line
Plate Level
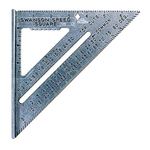
Original Speed Square


