Setting Railings
An inside look at cutting and screwing railings before baluster installation.
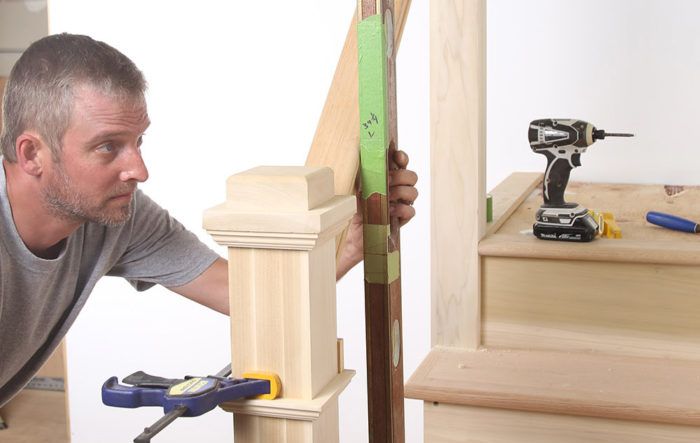
Editing a magazine article always involves a competition between information and space. James Shull’s article in FHB #269, “Mastering Balusters,” is a great case in point. Before you can install a single baluster on a stair, you need to have installed the newels and cut the railings to length. There was no way we could do justice to each part of that process in a six-page magazine article. But what to leave in and what to leave out?
When I shot the photos (about 450 of them), I knew for sure there would be no room for newels—they rate a six-pager on their own, so I didn’t even try to photograph that part of the process. But I thought that maybe, just maybe, we could squeak in some photos of cutting and installing the rail. That turned out to be overly optimistic; it took two editors and two art directors two hours to hammer out the rough layout that covered just balusters, after I’d already edited the article and made the initial photo selections. Below you’ll find the photos we cut of the railing installation process.
Another note on this particular article: We shoot the vast majority of our articles and videos on actual job sites. Every editor has stories—I’ve been on 12-pitch roofs in the snow, ended days with boots caked with 20 lb. of job-site mud, and sweated out July afternoons on an Arizona framing shoot. It’s usually the best way to develop honest content. Occasionally, though, we’ll mock up a job site, and that’s what we did here. In this case, it would have been a logistical nightmare to find similar stairs on three job sites to demonstrate how to install three types of balusters. Instead, James and I built a temporary wall and set of stairs in his shop in New Fairfield, Connecticut. Honestly, I did some of my best drywall finishing ever on that set!
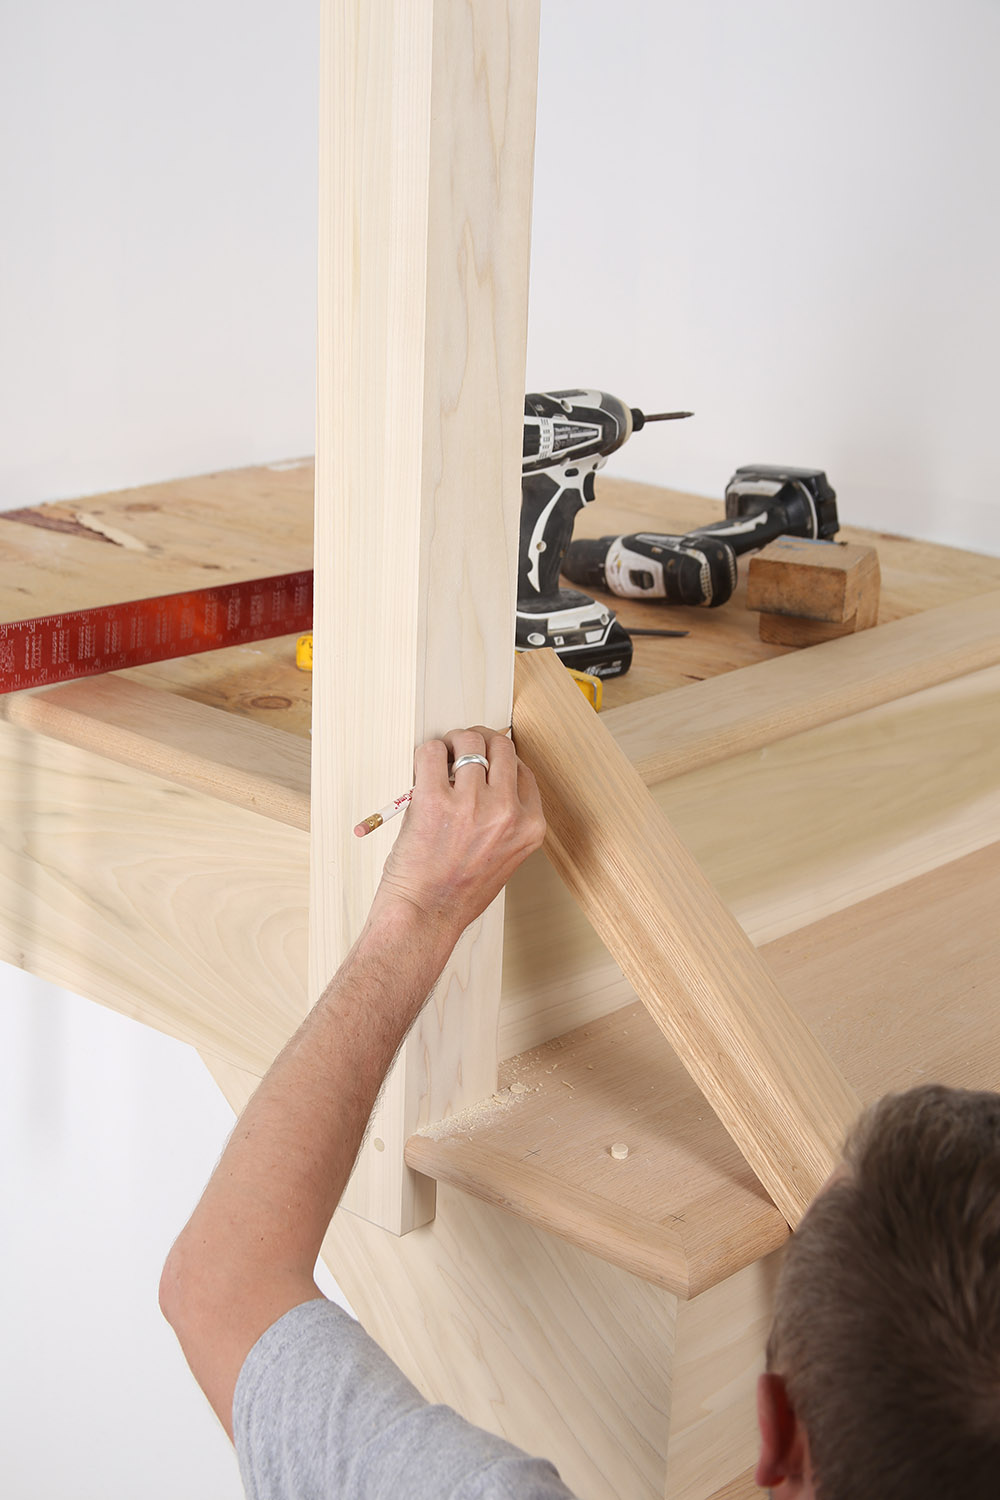
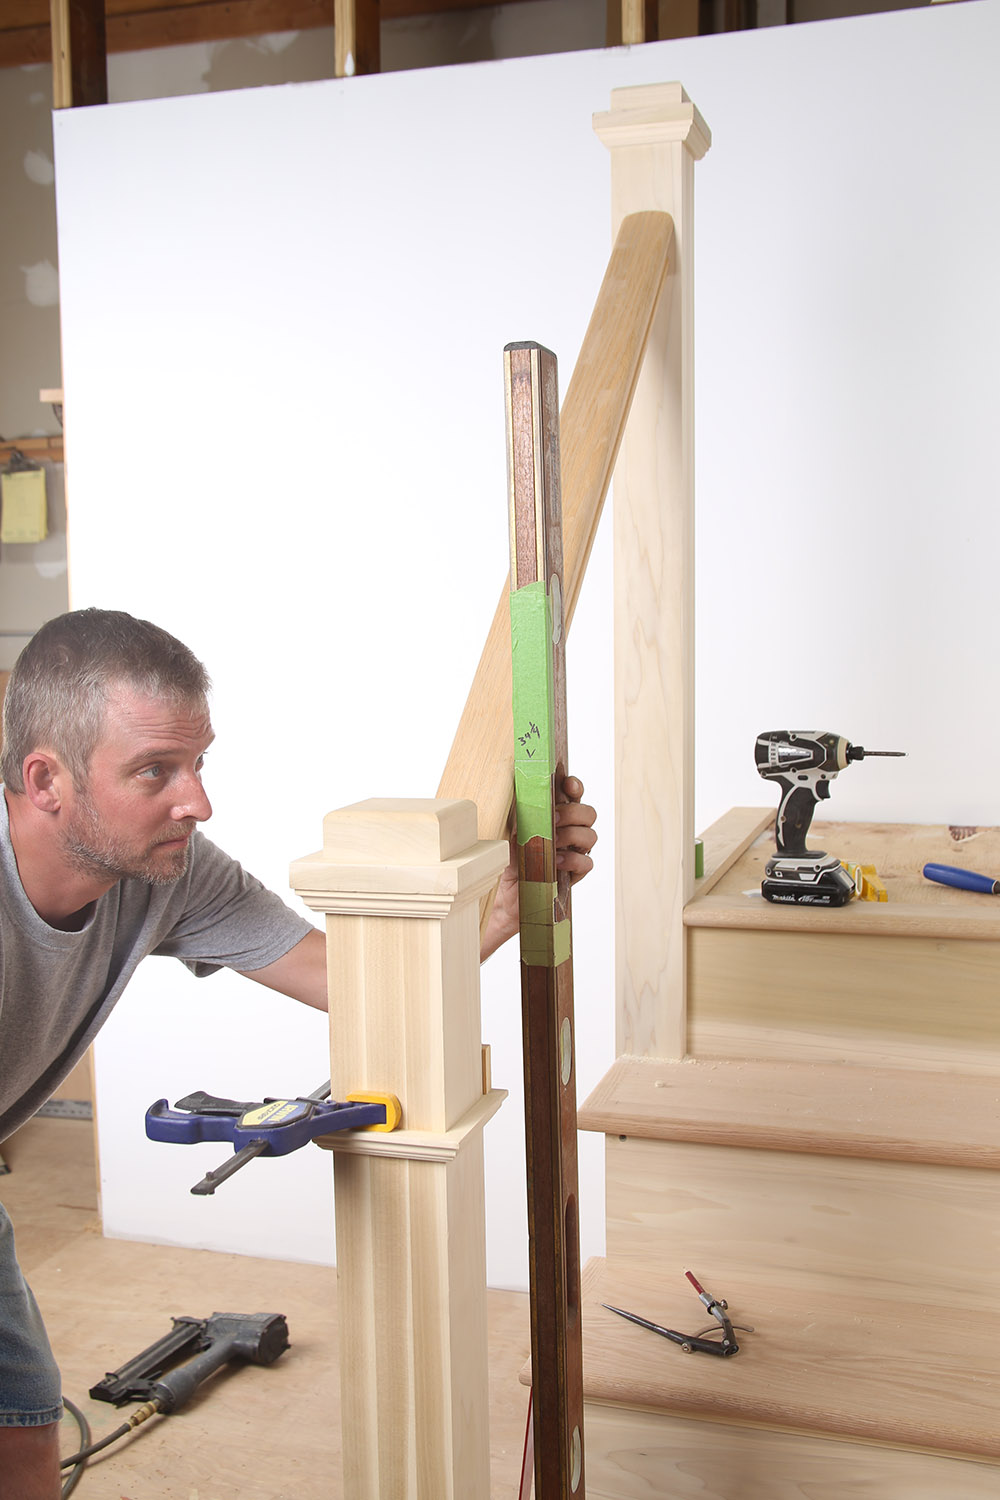
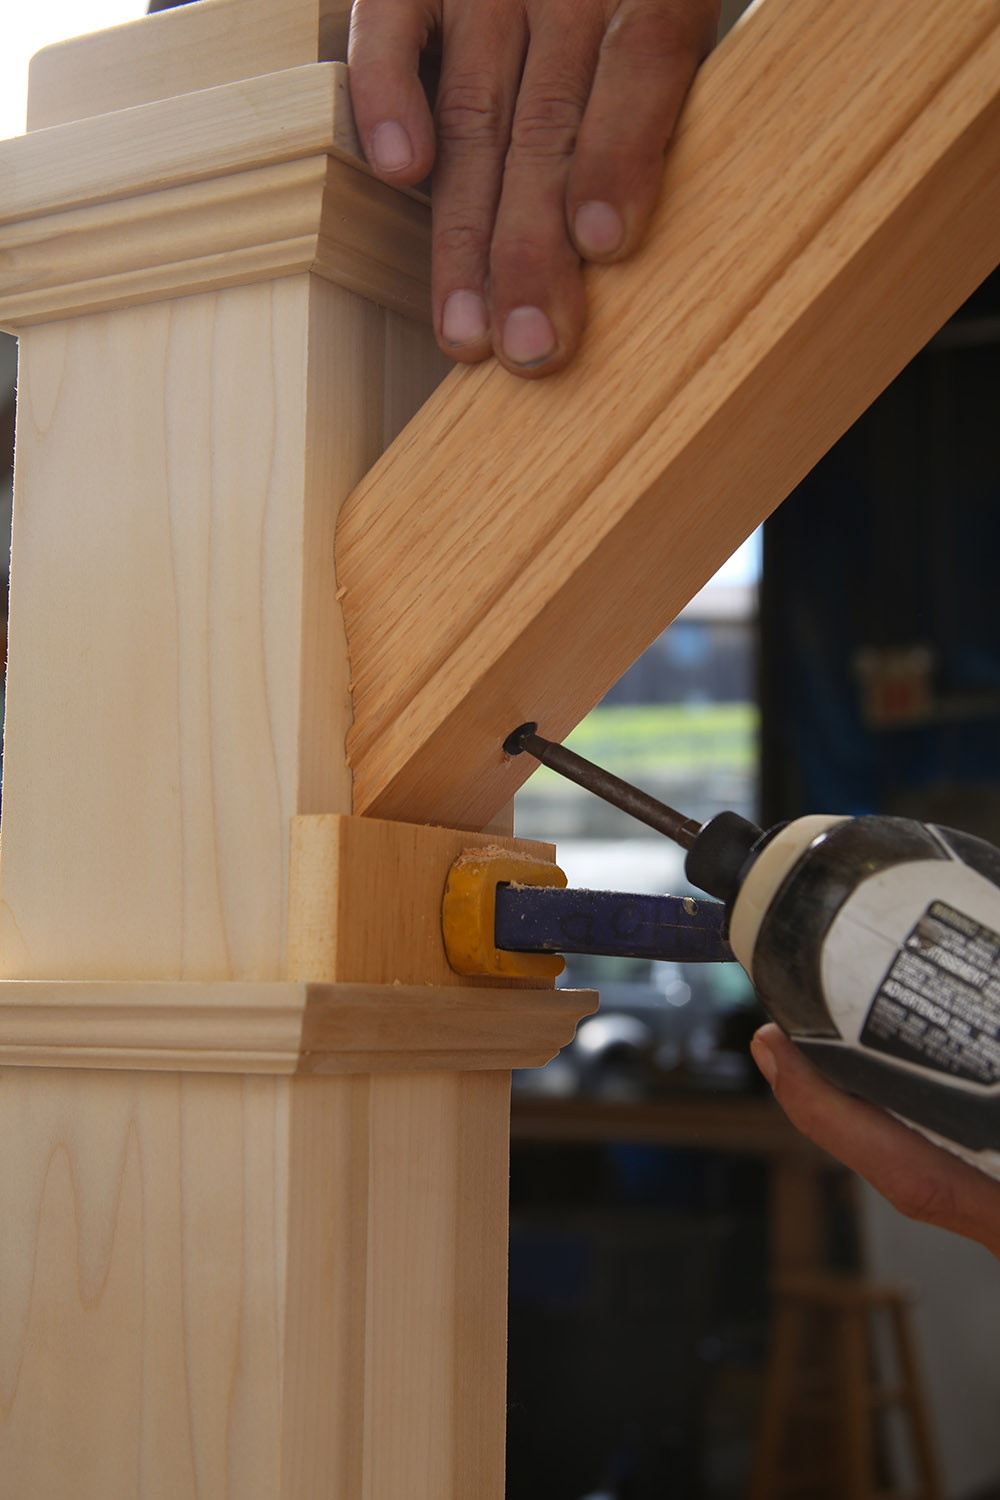
For more, check out James Shull’s article on baluster installation in FHB #269, and Andy Engel’s post on lags for baluster attachment.





View Comments
Once you've set the newels to the proper height, a better way to get the proper cut on the handrail is to use a square placed on a straight edge laying down the nosings of the treads and measure perpendicular to the top or bottom of the rail. Once you have the same measurement at the top and the bottom of the rail, you are golden Not too good with words, I hope you understand what i'm saying
I would do some things different but the article is pretty good.
Thanks for writing this. Very simple, yet extremely helpful tips!
The article shared above is informative. I think balconies must be constructed in such a way that it provides safety. In the case of kids, it is very necessary to look after the safety, So the balcony fence must be installed. Glass fencing is in trend now, as it provides a modern look to your property and also easy to clean. Different sites like http://www.sloaneaccessories.com.au, glassandfencingwarehouse, etc. are accessible on the web, that provide the installation services of the fence.